The many uses of OSB boards
Oriented Strand Board (OSB) is one of those building materials that quietly does the job and keeps on giving.
Engineered from aligned wood strands bonded with an eco resin, OSB panels combine strength, dimensional stability and cost-efficiency, which is why they are now used across roofing, flooring, sheathing, hoardings and countless DIY projects.
Below you’ll find a professional guide to choosing the right board and clear, step-by-step instructions for the most common projects where OSB excels.
Choosing the right OSB for the job
Not all OSB is the same, so pick the board that matches the load, exposure and finish you need.
The 18mm OSB 3 sheets are robust and well suited to partitions, hoardings, casings and structural subfloors.
For loft flooring the 18mm tongue-and-groove boards are particularly handy because the profiled edges lock together and many sizes will pass through the attic hatch without cutting.The lighter 11mm OSB3 panels are a cost-effective option for sheathing and protected roofing where you need a load-bearing panel without the thickness of 18mm.
For insulated loft access and a tidy finished surface consider the composite insulated loft decking boards: these combine PIR insulation with an 11mm OSB wearing surface to give thermal performance and safe walkways in one product.
Where access is restricted, the smaller 1220 × 300 × 18mm loft flooring packs are easy to handle.
With the right board chosen, it’s time to look at how OSB can be applied in real-world situations.
From creating safe and accessible loft flooring to building sturdy partitions, subfloors, or even bespoke storage, each project follows its own set of steps.
In this edition, we take you through five practical projects that show just how versatile OSB boards can be:
Project 1 — Fitting a safe, walkable loft floor
Install tongue-and-groove OSB above insulation for stable, draught-free access to your loft.
Project 2 — Upgrading loft access with insulated decking
Combine PIR insulation with a structural OSB surface for warmth and everyday usability.
Project 3 — Building an internal partition wall
Create strong, impact-resistant walls with 18mm OSB — ideal for workshops and storage spaces.
Project 4 — Forming a subfloor or site hoarding
Select the right thickness to ensure durability and strength for both temporary and permanent builds.
Project 5 — Workshop shelving, workbench or freestanding storage
Design custom furniture and storage solutions that can handle heavy, everyday use.
Finishing, maintenance and safety
Seal edges, protect surfaces, and follow safe working practices for long-lasting results.
Let’s dive in:
Project 1 — Fitting a safe, walkable loft floor (tongue & groove OSB)
Creating a walkable loft floor not only makes accessing storage or services easier, but also helps protect insulation and maintain your home’s energy efficiency.
Tongue-and-groove OSB boards are ideal for this job as they lock securely together, creating a stable, smooth surface.
This project is particularly popular in homes where the loft space is used for occasional storage but still needs to meet insulation requirements.
Before starting, gather the right materials so the job runs smoothly and the finished result is long-lasting.
Materials you may need:
- 18mm OSB 3 Tongue & Groove boards (2.44m × 59cm) — easy to manoeuvre through attic hatches and designed for structural flooring.
- Loft Legs — to raise the floor above insulation and maintain U-values.
- Structural screws such as Spax — for secure fixing into joists.
- Fire-retardant downlight covers — to protect fittings and comply with safety guidance.
- Measuring tape, saw, and drill/driver — for accurate cutting and fixing.
Step-by-step guide:
- Prepare the space by clearing the loft area and identifying any services, downlights or water tanks. If downlights are present, fit fire-retardant downlight covers before boarding.
- Measure the joist centres and plan runs so you minimise cuts. Lay out the tongue-and-groove 18mm boards to determine orientation; the tongue should point into the direction of the next board for easy assembly.
- If you plan to retain or upgrade insulation, install loft legs across the joists where you will place boards so the decking sits above insulation and prevents compression.
- Place the first board on the joists, ensuring it sits square. Fix through the face into the joists with structural screws at the recommended spacing, then insert the next board engaging the tongue into the groove.
- Continue across the run, staggering joints where possible. When you reach a cut at the hatch or eaves, measure carefully and trim the board to fit, ensuring a small expansion gap of about 3mm where boards meet fixed elements.
- Finish by checking all fixings are flush and that there is a clear, continuous access path to tanks or services. Where you have used loft legs, confirm the boards do not compress underlying insulation.
Project 2 — Upgrading loft access and insulation with insulated decking boards
Improving loft access while upgrading insulation can significantly boost a home’s energy performance and usability.
Insulated decking boards are an excellent choice for this job because they combine a structural OSB surface with a rigid PIR insulation core, delivering a stable walkway and high thermal value in a single product.
This type of project is ideal when you want safe, everyday access to the loft while preventing insulation compression and maintaining U-values.
By planning the layout and preparing the right materials in advance, you can achieve a professional finish that will last for years.
Materials you may need:
- Insulated loft decking boards (OSB bonded to PIR core) — available in a range of thicknesses to meet your target R-value.
- Vapour control layer — to prevent moisture movement into insulation where required.
- Structural screws (e.g. Spax) — for secure fixing without damaging the insulation core.
- Handsaw or circular saw — for clean, accurate cuts around tanks or obstacles.
- Measuring tape and pencil — for precise measurement and marking.
- Drill/driver — for quick, consistent fixing.
Step-by-step guide:
- Inspect the loft layout and calculate required coverage in square metres. Work out the number of bales or boards needed, remembering the composite boards give a ready thermal value because they contain PIR insulation bonded to an OSB surface.
- Before installation, ensure the loft is dry and free of debris. Lay a vapour control layer on timber joists if the existing construction calls for it, following product guidance.
- Lay the insulated decking boards across joists so the OSB face becomes the walkway. Butt boards tightly together, following manufacturer guidance for jointing and any sealing required at perimeter walls.
- Fix boards using the recommended fasteners and spacing, taking care not to compress the PIR core and maintaining ventilation where required by building regs.
- Ensure continuity of insulation around pipes and services; where the boards abut tanks or protrusions cut accurately to maintain a neat fit.
- Verify the finished deck provides safe access to loft services and that the installed R-value meets your project target; the boards’ composite nature prevents insulation compression and gives instant, walkable access.
Project 3 — Building an internal partition wall with 18mm OSB
An internal partition wall is a practical way to divide space, create storage areas, or provide a sturdy backdrop for shelving and workshop tools.
Using 18mm OSB gives the structure excellent strength, impact resistance, and a clean, industrial finish that can be left exposed or decorated.
This type of wall is particularly suited to garages, workshops, or utility spaces where durability matters as much as appearance.
Planning the layout carefully and choosing the right materials will ensure the finished wall is safe, stable, and fit for purpose.
Materials you may need:
- 18mm OSB 3 boards — strong, rigid, and easy to finish or leave natural.
- Timber studs and sole plates — for framing the wall.
- Structural screws — for securing boards and frame.
- Treated timber sole plates — if fixing to floors prone to damp.
- Saw, drill/driver, and measuring tape— for accurate cutting and fixing.
- Sealant or primer — for treating exposed edges where required.
Step-by-step guide:
- Mark the intended partition line on floor and ceiling and set out stud positions to suit the load and desired fixings. Ensure you avoid services or mark them clearly if present.
- Assemble the timber frame on the floor using treated sole plates if the floor is exposed to damp. Stand the uprights at the planned centres and temporarily brace to hold them plumb.
- Position the 18mm OSB sheets vertically against the studs and fix with structural screws through the face into each stud at regular centres. Stagger vertical joints between adjacent sheets to improve stiffness.
- For door openings, frame a properly sized header and pack studs to carry loads, then fix OSB around the opening so it ties into the frame securely.
- Treat exposed edges or external faces with the appropriate sealant or primer before finishing; internal partitions used as workshop backs or storage walls can be left as an attractive textured industrial finish or finished with products like Frenchic Tuff Top Coat or Frenchic Trim Paint for extra protection or colour.
Project 4 — Forming a subfloor or temporary site hoarding with 11mm and 18mm OSB
OSB is a versatile material for both permanent and temporary construction tasks.
Whether you’re forming a subfloor for a renovation or erecting a site hoarding, it offers good strength, ease of handling, and cost efficiency.
Thicker 18mm boards provide the load-bearing capacity needed for floors, while lighter 11mm boards are ideal for short-term or low-load applications.
Selecting the correct thickness and preparing a stable framework will ensure the structure is safe and durable.
Materials you may need:
- 11mm or 18mm OSB 3 boards — thickness chosen to suit load requirements.
- Timber joists or framework — to support floors or hoardings.
- Structural screws or ring shank nails — for secure fixing.
- Measuring tape, saw, and drill/driver — for accurate measuring and assembly.
- Exterior paint or weather sealant — for hoardings exposed to the elements.
Step-by-step guide:
- For a subfloor, prepare the supporting joists and ensure they are level. Use 18mm panels where you expect higher loads; 11mm can be appropriate for protected areas or temporary surfaces.
- Lay the OSB with ends supported on joists and stagger the sheet joints. Leave a small expansion gap around the perimeter and at joints to allow seasonal movement.
- Fix sheets with structural screws or ring shank nails to the specified centres; avoid using nails alone in high-traffic floors as screws reduce squeaks and movement.
- For temporary hoardings on site, erect a timber framework and fix 18mm OSB to the face, painting or treating the external face for additional weather resistance. For longer term use, seal edges and consider a protective topcoat.
Project 5 — Workshop shelving, workbench or freestanding storage from OSB
OSB is a cost-effective, robust option for building custom workshop furniture and storage solutions.
Its textured finish and high load capacity make it perfect for shelves, benches, and storage units that can withstand heavy, everyday use.
By designing your units to suit your space and needs, you can make full use of available storage while keeping a consistent, hardwearing workshop aesthetic.
Materials you may need:
- 18mm OSB boards — for strong, durable surfaces and shelves.
- Timber for framing — to support the OSB structure.
- Structural screws — for secure assembly.
- Measuring tape, saw, and drill/driver — for accurate cutting and fixing.
- Sandpaper and varnish or paint — for finishing work surfaces or edges.
- Edge banding — optional, for smoother edges on heavy-use areas.
Step-by-step guide:
- Decide on the dimensions and load capacity you need. Draw a simple plan and cut a timber frame to support shelving or bench tops.
- Cut OSB panels to size with a sharp blade or fine-tooth saw and support them while cutting to prevent splintering. For surfaces that will see heavy wear, consider edge banding or a secondary laminate.
- Fix the OSB to the frame with structural screws, pre-drilling pilot holes where appropriate to avoid splitting. Reinforce corners and joints with blocks or gussets for extra rigidity.
- Sand the face lightly and apply a finish appropriate to use. For a durable workshop top, use a clear hard-wearing varnish or paint; Frenchic Al Fresco offers a tough, attractive coating ideal for workshop furniture and storage units, especially if they might be near outdoor or damp areas. For storage boxes, a natural finish emphasises the board’s textured look.
- Assemble the final unit, check fixings, and load progressively to confirm the bench or shelving meets your needs.
Finishing, maintenance and safety
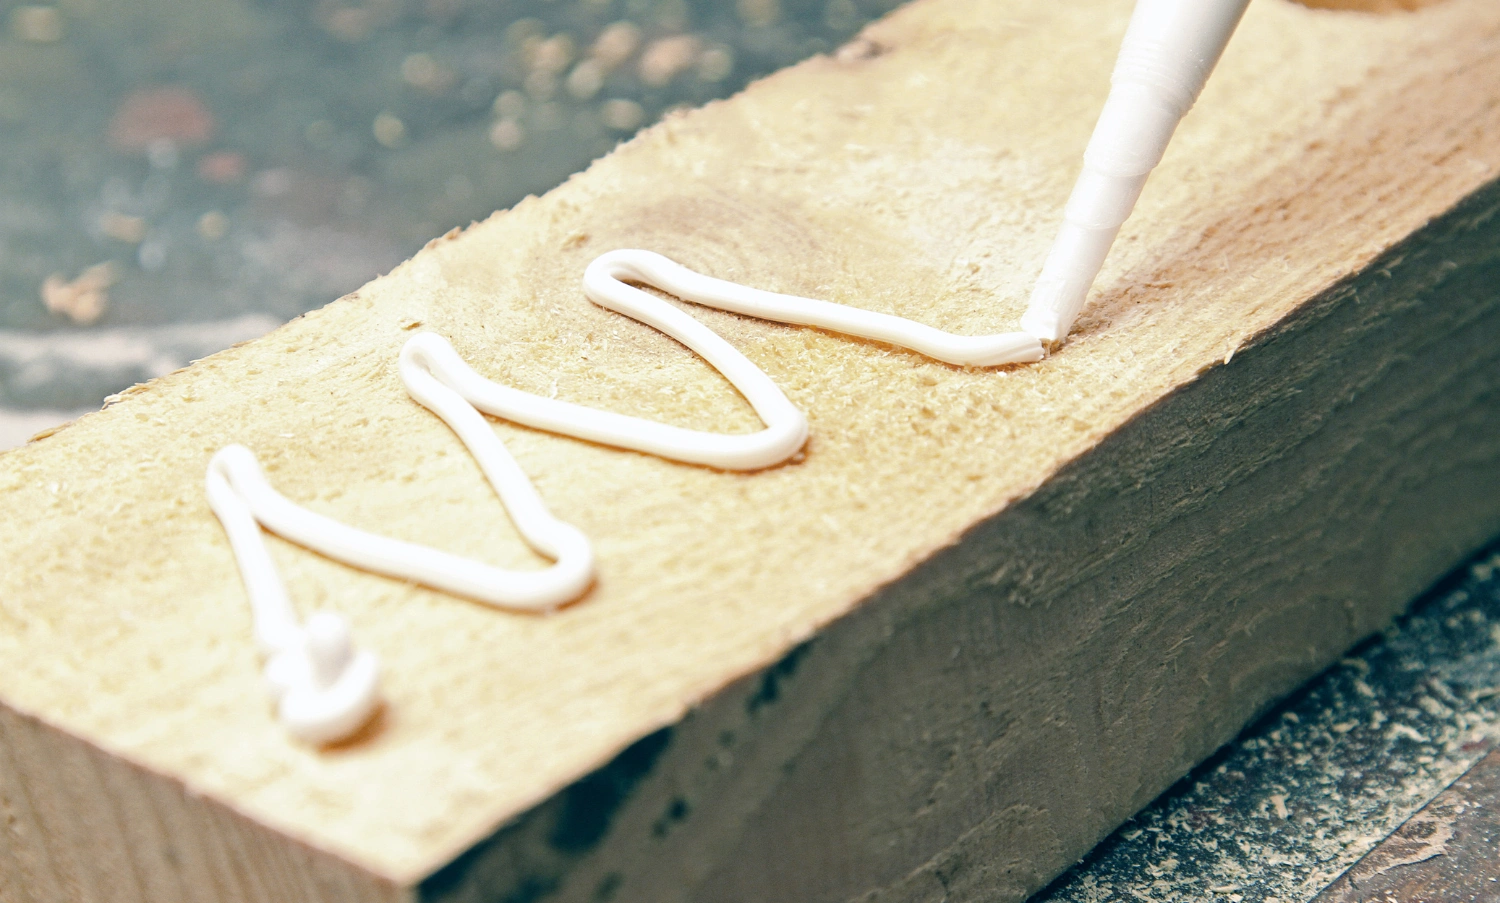
OSB performs best when it is kept protected from persistent water.
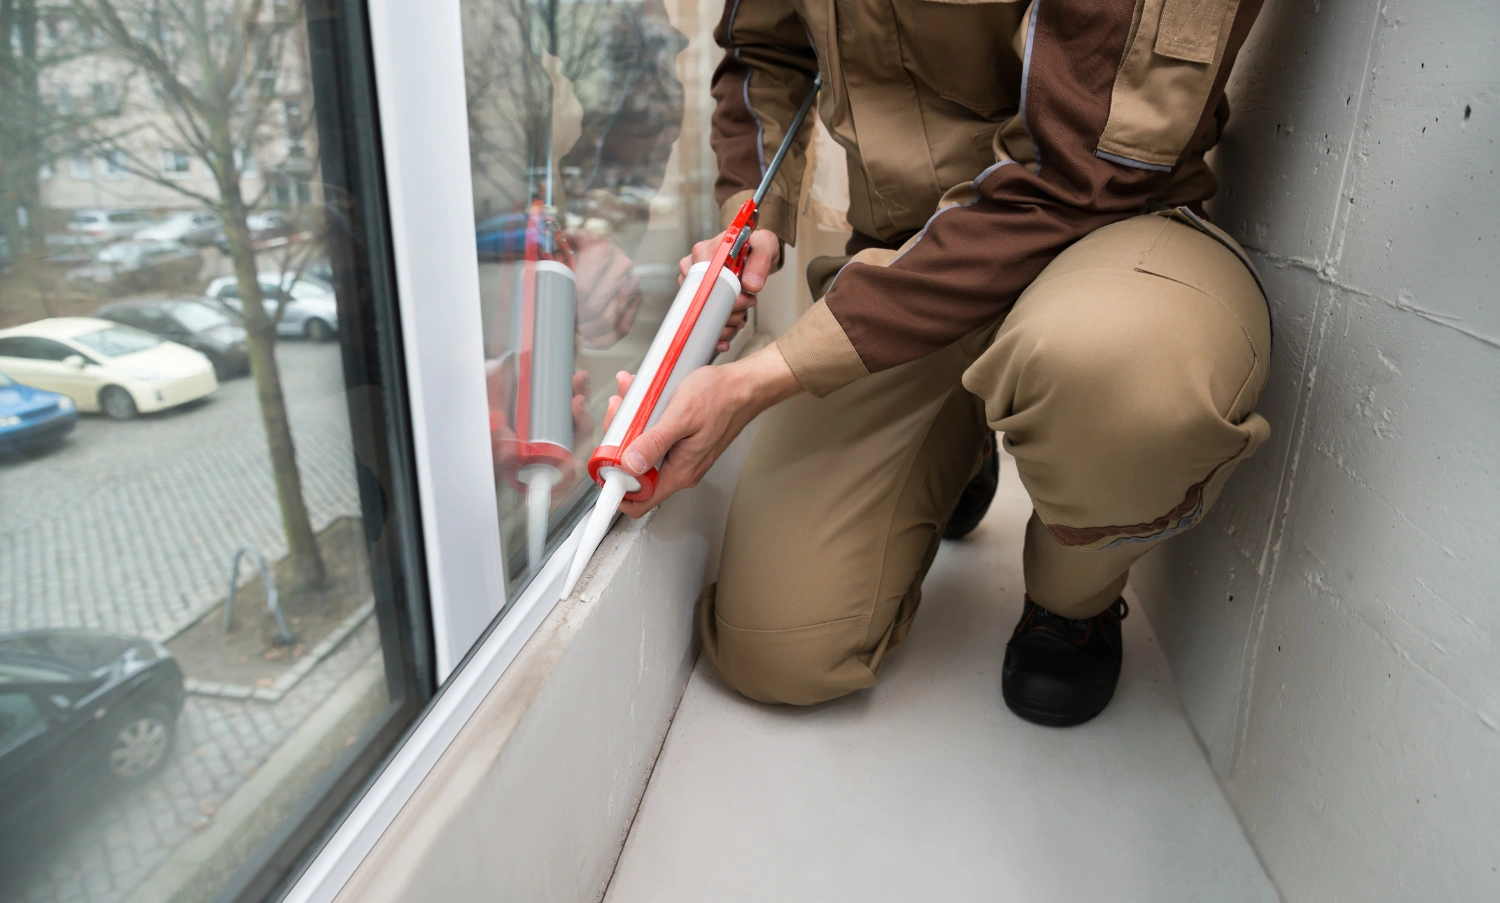
For external or humid installations seal edges and coat faces with an exterior-grade primer and paint or a compatible varnish.
Where the board is to remain visible indoors, a light sanding and a clear finish preserves the industrial grain while protecting the surface.
When cutting, always wear appropriate dust protection and work in a ventilated area.
For loft work, follow health and safety guidance: establish a permanent boarded walkway to reach tanks or services, and use loft legs to prevent insulation compression.
When in doubt about fire or electrical safety in a loft, include downlight covers and consult an electrician.
Final thoughts
OSB offers a practical balance of strength, sustainability, and value that works just as well for large-scale trade projects as it does for ambitious DIY.
By selecting the right thickness and profile, planning your work carefully, and pairing boards with the right accessories — loft legs for raised floors, structural screws for secure fixing, or insulated decking where thermal performance matters — you can achieve results that are durable, safe, and professional.
At MyBuildingSupplies.ie, we understand the satisfaction of creating something solid and long-lasting, whether you’re boarding a loft, building a partition, or crafting workshop storage.
That’s why we supply trusted materials, proven fixings, and expert advice to help you get the job done right the first time.
Whether you’re making practical improvements or tackling a bigger workshop or home project, our carefully chosen range and knowledgeable team are here to support you every step of the way.
Your project deserves materials that work as hard as you do — and with OSB, you can build with confidence.