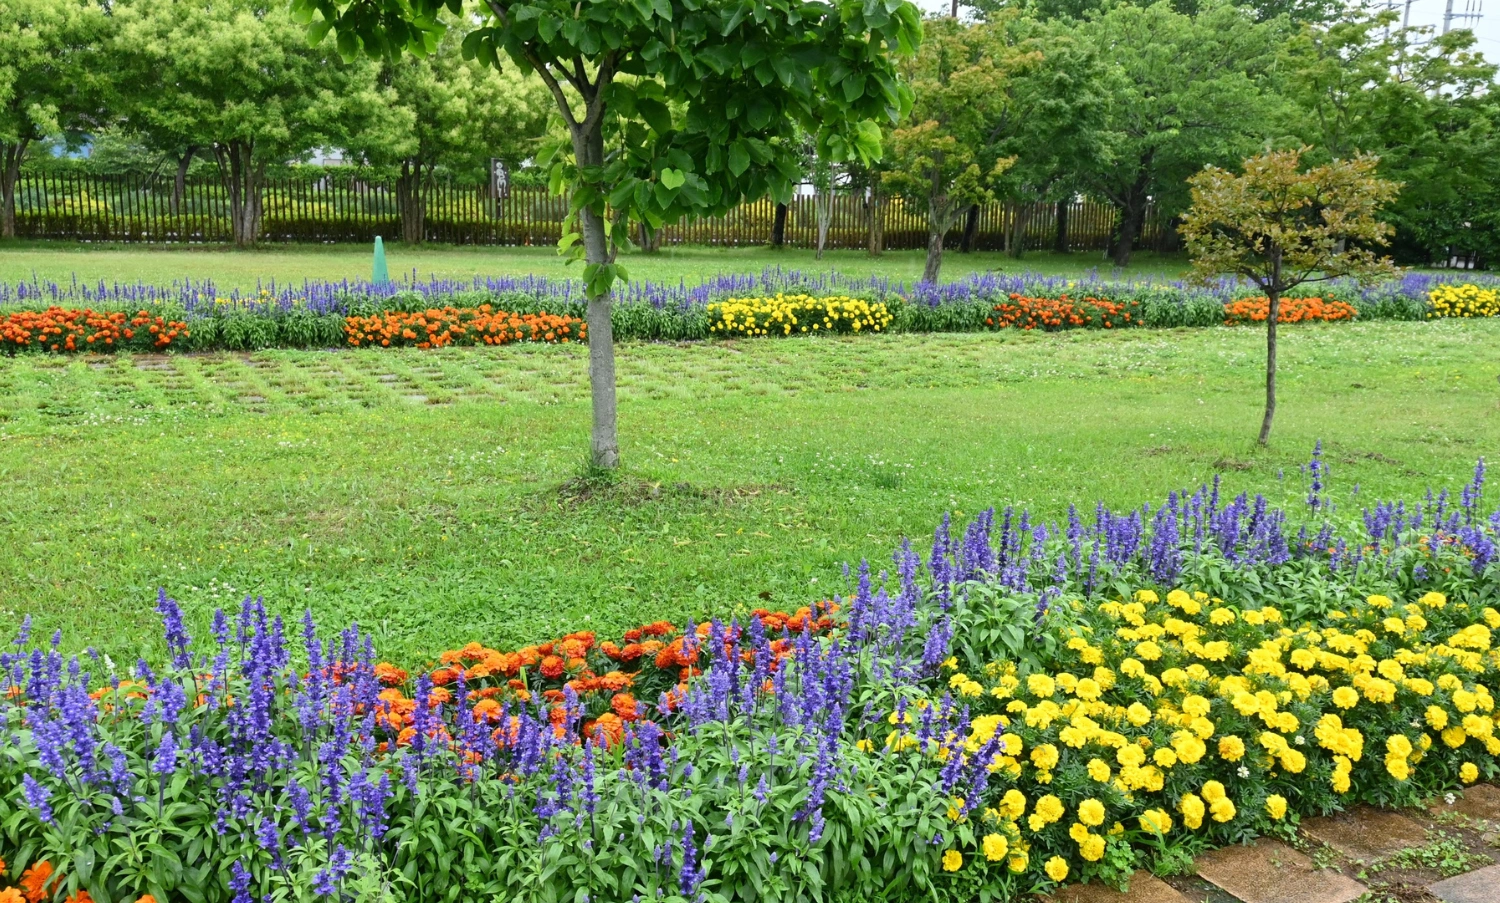
Garden projects made simple – Part 2: Beds, lawns & lounging
After reclaiming and redefining your garden in Part 1, it’s time to look a little closer — and make the most of the spaces you’ve already got.
Whether it's tidying raised beds, refreshing the lawn, or sprucing up your seating area, this weekend-sized set of tasks will help your garden look more inviting and feel more usable, all summer long.
In this edition, we’ll guide you through three more projects that bring instant improvements with a bit of effort and the right tools on hand.
What you’ll find in this post:
In this edition of Garden Projects Made Simple, we’re tackling three new satisfying projects that make a big visual impact without needing specialist skills or tools:
- Refresh Raised Beds or Borders – Clear out tired growth, improve the soil, and tidy the structure for healthier planting and a cleaner look.
- Revive the Lawn – Breathe new life into patchy, compacted grass with aeration, overseeding, and smart care.
- Clean and Prepare Garden Furniture – Wash, repair, and protect your outdoor seating to make it inviting and long-lasting.
Each section includes step-by-step instructions, common questions answered along the way, and optional ideas to build on your progress.
PROJECT IDEA 4 - Refresh Raised Beds or Borders
Raised beds and borders are the backbone of many gardens, but after a long winter, they can end up looking dull, overgrown, or neglected.
Giving them a fresh start not only lifts the appearance of your garden but also sets you up for better planting success throughout the growing season.
This project is manageable over a weekend and well worth the effort.
Whether you're growing flowers, herbs, or veg, rejuvenating the soil and structure will help plants thrive and keep maintenance down later on.
Here’s how to bring tired beds back to life:
Step 1: Clear out old growth and debris
Start by removing any dead or decaying plant material, spent annuals, and weeds that may have taken hold over winter.
Take care around perennials that are just starting to shoot again.
Use a hand fork or narrow-blade trowel to gently lift stubborn roots without disturbing healthy growth.
For thicker stems or woody material, a sharp pair of bypass secateurs gives cleaner cuts that help prevent disease.
Secateurs with both anvil and bypass blades offer flexibility for clearing out old and new growth alike.
Once large debris is gone, rake over the surface to remove leaves, moss, and leftover mulch.
A wire rake gives good control and helps level out the surface as you go, especially in narrower or awkward spaces.
Should I pull everything out?
If you're unsure whether a plant is dead or just dormant, err on the side of caution. Gently scratch the stem — green underneath means it’s still alive.
Many herbaceous perennials disappear completely in winter but re-emerge in spring.
Step 2: Revive the soil
With the surface cleared, it's time to get air and nutrients back into the soil.
Use a digging fork or draw hoe to break up compacted top layers.
This also gives a chance to mix in fresh organic matter — such as compost, leaf mould, or well-rotted manure — which improves structure and feeds the soil.
For larger beds or if the ground is particularly heavy, a lightweight petrol cultivator can help save your back and speed things up.
Just work carefully to avoid churning too deeply, especially in established planting areas.
Once the soil is turned and topped up, finish by adding a mulch layer.
Bark, composted straw, or leaf mould all help to retain moisture, suppress weeds, and give the bed a tidy finish.
Do I need to replace all the soil?
Not usually. Most raised beds just need refreshing with added compost and a gentle turn-over.
Full replacement is only necessary if the soil has become compacted, poorly drained, or depleted over several years.
Step 3: Check the structure
Borders and raised beds often rely on sturdy materials like treated railway sleepers, timber, or brick edging to hold their shape.
Over time, even these durable materials can warp, rot, or shift—especially after exposure to frost and heavy rain.
Inspect for any loose sleepers or sagging corners. In many cases, sound sleepers can be reused by flipping or repositioning them to extend their lifespan.
Secure any unstable sections with galvanised brackets or heavy-duty corner braces to restore strength and stability.
To sharpen the appearance, tidy up overgrown grass and spilled soil around the edges.
A lawn edger gives crisp definition between beds and lawn, while a Square Shovel with Short Handle or Square Mouth Shovel works well for trimming and reshaping gravel or bark paths alongside the beds.
Can I reuse old materials?
Yes — as long as they’re structurally sound and free from rot or pests.
Reclaimed timber often has character and can blend beautifully into natural garden settings.
Step 4: Plan what’s next
With clean beds and revitalised soil, you can plant straight away or mulch and leave them to settle until the weather warms up further.
If you’re not planting immediately, covering the surface helps keep weeds down and holds in moisture.
Think about how you'll use the space: is it for cutting flowers, growing veg, or creating pollinator-friendly borders?
Planning now helps avoid overcrowding and saves money by reducing impulse planting later.
Can I plant straight after composting?
Yes — provided the compost or manure is well-rotted and free from active heat.
Avoid planting into fresh manure, which can scorch roots or introduce unwanted seeds.
Optional enhancement: Create a cut flower bed
For a cheerful, low-maintenance project, dedicate one raised bed to growing cut flowers.
Opt for fast-growing annuals that thrive in Irish conditions, such as cosmos, calendula, cornflowers, and zinnias (in warmer, sunnier spots).
Add height and texture with sunflowers or ammi majus, and fill gaps with fragrant, pollinator-friendly herbs like basil, dill, or feverfew.
Cutting flowers regularly encourages fresh blooms, and the variety of colours, shapes, and scents will bring energy and charm to your garden all summer long.
PROJECT IDEA 5 - Revive the Lawn
After a wet winter or a dry spell, it’s common for lawns to look patchy, compacted, or overtaken by moss.
But the good news is that grass is remarkably resilient — with just a bit of care and the right timing, you can bring your lawn back to life without starting from scratch.
This seasonal tidy-up is best done in early spring or early autumn, when conditions are mild and there’s enough moisture for regrowth.
Whether you're working with a small garden patch or a large open space, these practical steps will help restore health and vibrancy to your lawn.
Step 1: Clear moss and debris
The first step is to remove any built-up thatch (dead grass), moss, and leaves.
Left unchecked, these form a dense mat that suffocates healthy grass and blocks water and nutrients from reaching the roots.
Use a wire rake or a bow rake to comb through the grass and lift out debris.
This can be a satisfying (if slightly tiring) task, and the results are often immediate — you’ll see the grass start to breathe again.
For lighter leaf fall or general tidying, a cordless leaf blower is handy for quickly shifting surface debris without raking everything up by hand.
Is moss bad?
A small amount is harmless and often disappears on its own in summer.
However, if moss dominates, it usually signals poor drainage, excessive shade, or compacted soil — all things that should be addressed for long-term lawn health.
Step 2: Aerate the soil
Compaction is one of the most common problems in tired lawns — especially in areas that see regular foot traffic or standing water.
Aeration relieves this by allowing air, water, and nutrients to penetrate the root zone.
For smaller areas, simply use a garden fork to spike the ground at regular intervals, wiggling slightly to open up the soil.
In larger gardens, a petrol-powered cultivator or dedicated lawn aerator makes this process much faster and more uniform.
When should I aerate?
The best times are spring and early autumn when the soil is moist but not soggy.
Avoid trying to aerate in dry summer heat or during frosts — both can damage the soil structure.
Step 3: Overseed and feed
Once the lawn is cleared and aerated, it’s the perfect time to overseed — especially in areas where grass is thinning or bare.
Use a quality seed like Leisure Lawn Grass Seed No.2, available in handy pack sizes to suit your needs.
Choose a mix that matches your garden’s conditions — whether it’s shady, sunny, or heavily used.
Scatter the seed evenly, then lightly rake it in to help it settle into the surface.
Follow up with a high-nitrogen lawn feed to boost early root and shoot development, helping new grass establish quickly.
To maintain growth and keep your lawn looking thick and healthy, mow regularly throughout the growing season.
A Petrol Lawn Mower with a steel deck is ideal for larger or uneven lawns, while cordless models like the Worx 36V Cordless Lawn Mower offer a quiet, hassle-free option for smaller spaces.
For maximum convenience, a Worx Landroid Robot Lawnmower can handle ongoing maintenance for you — ideal if you want consistently tidy results with minimal effort.
How often should I overseed?
Most lawns benefit from overseeding once a year, ideally in spring or early autumn.
If your garden sees a lot of activity from children, pets, or foot traffic, topping up with patch seeding every few months helps maintain a lush, even finish.
Step 4: Water and mow
Once seeded, keep the area consistently moist — not waterlogged — for the first few weeks.
Grass seed typically germinates in 7 to 21 days, depending on the variety and weather.
When the new grass reaches around 7–8cm, give it a light mow.
Raise the mower blade to avoid cutting too low, which can damage tender shoots and set growth back.
How soon will I see results?
You’ll usually notice fresh green shoots within two to three weeks, and thicker coverage by the one-month mark if conditions are right.
Continued mowing, feeding, and watering will build a stronger, denser lawn over time.
Optional enhancement: Add a path or feature
If you’re tackling a larger lawn, consider adding a visual break — it could be a winding stepping stone path, a flower island, or a small seating area.
Not only does this add interest, but it can also reduce mowing and create practical walkways in high-traffic zones.
Use a half-moon lawn edger to define crisp curves or straight lines.
Clean edges instantly make a lawn look neater, even before any new grass starts to grow.
PROJECT IDEA 6 - Clean and prepare garden furniture
As the seasons change, garden furniture often takes a beating from weather, dirt, and general wear.
Bringing your outdoor seating back to life not only makes your garden more inviting, it also extends the life of your investment.
Follow these simple steps to clean, inspect, and protect your furniture — turning it into a cosy retreat ready for relaxed afternoons and evening chats.
Step 1: Clear away dirt
Start by brushing off loose debris like leaves, cobwebs, and dust.
Avoid pressure washers on wooden or painted surfaces — they can damage the finish. Instead, hose gently using a spray nozzle to loosen dirt without causing harm.
For more stubborn stains or biological growth like algae, use a specialist cleaner such as Actiwash Domestic Biocide or Mosgo Green Remover, both formulated to remove green and red algae from outdoor surfaces.
Can I clean all materials the same way?
No — wood needs a gentler touch, metal can rust if over-scrubbed, and plastic can usually handle a bit more. Always check the manufacturer’s care advice if you can.
Step 2: Wash thoroughly
Mix warm water with mild soap for most materials.
Rinse thoroughly and dry with a soft cloth. If you need a stronger treatment, try Actiwash Domestic Biocide for persistent mould or fungal growth on outdoor furniture.
Step 3: Dry & inspect
Let your furniture air-dry in a shaded, well-ventilated spot — direct sun can sometimes cause wood to split or warp.
Once dry, tighten any loose screws or fixings.
Use fine sandpaper to smooth splinters or flaky paint.
For rust spots on metal furniture, sand them back gently and consider applying a rust-inhibiting treatment.
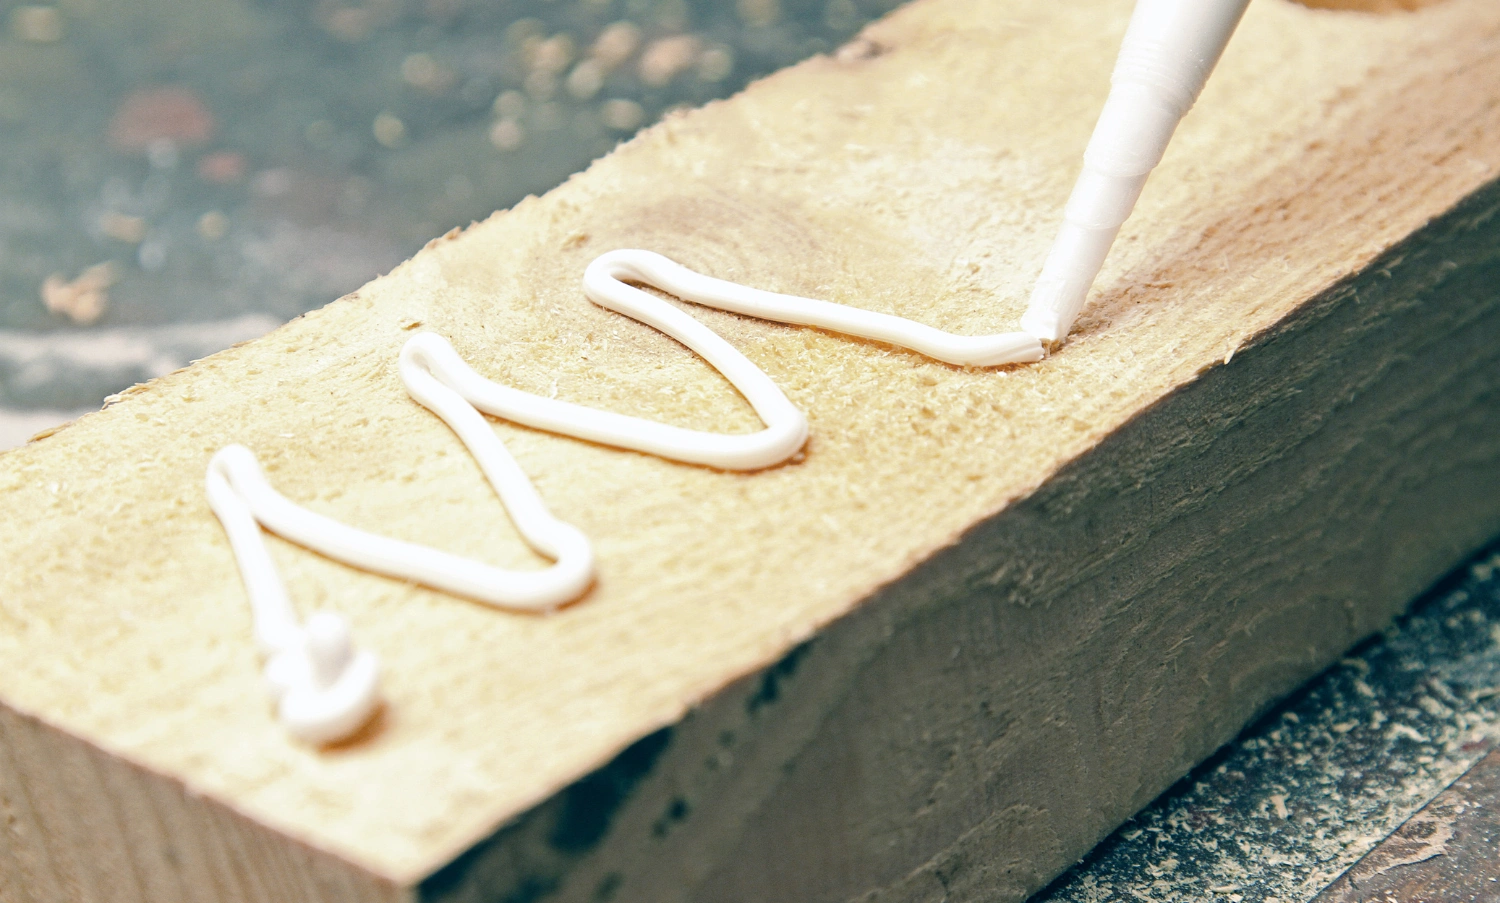
For wooden furniture, applying a protective product like Wood Preserver for Construction Timber (5L) helps prevent moisture damage and slows future weathering.
Is treatment necessary?
Yes — especially for wood.
Annual treatment keeps timber resilient against sun, rain, and frost.
Step 4: Protect & style
Depending on the material, apply a suitable finishing product to extend its life:
- For timber, use a nourishing oil or protector — or for a splash of colour Frenchic Al Fresco Paint offers excellent outdoor durability and a lovely chalky finish. It’s water-based, UV-resistant, and doesn’t need a primer.
- For hardwoods like teak, a dedicated wood oil brings out the natural grain and adds water resistance.
- On metal frames, use a rust inhibitor or a fresh coat of outdoor paint if needed.
If you're working with wood or painted surfaces that need extra shine and protection, Frenchic Furniture Wax is a great way to seal and finish detail work — ideal for armrests, tabletops, or painted wooden slats.
Stay tuned for more garden inspiration
We hope Parts 1 and 2 of our Garden Projects Made Simple series have inspired you to start transforming your outdoor space — even if it’s just one patch at a time. Small changes can make a big difference, and your garden will truly thank you for the care.
Be sure to watch out for the final instalment, Part 3, where we’ll share easy weekend projects to keep your garden thriving and enjoyable throughout the summer.
It’s the last in the series — so don’t miss it!
Suggested further reading:
Can’t wait for more inspiration?
While you’re counting down to the final instalment of our Garden Projects Made Simple series, why not explore these handpicked blog posts packed with practical tips and creative ideas?
From prepping your garden for sunny days to mastering outdoor furniture care, there’s plenty here to keep your green space thriving and looking its best.
- Garden projects made simple Part 1
Great foundational ideas for easy garden improvements and seasonal tasks. - Best garden tools for spring clean-up
Essential tools to make cleaning and prepping your garden furniture and beds easier. - Outdoor surface cleaning & protection guide
Advice on caring for various outdoor materials and surfaces beyond furniture. - Get your garden ready for sunny days
How to prepare your garden, furniture, and outdoor spaces for summer enjoyment. - The key to a beautiful and functional garden
How to prepare your garden to be an extension of your home, a place to relax, entertain, and enjoy the fresh air.