Garden projects made simple - Part 1: Reclaim, redefine & refresh
As summer settles in and the garden begins to flourish, it’s a great time to take on a few simple projects — whether you’re reclaiming neglected corners, adding structure, or just giving things a tidy-up.
With the right tools and a few spare hours, even small changes can make a big difference.
This is Part 1 of our Garden Projects Made Simple series, where we’ll walk you through three achievable ideas to help refresh your space — one manageable weekend at a time.
What you’ll find in this post:
In this edition of Garden Projects Made Simple, we’re tackling three satisfying projects that make a big visual impact without needing specialist skills or tools:
- Reclaim overgrown areas – Clear unused corners and unlock hidden potential.
- Redefine lawn edges and borders – Shape up your garden with clean, crisp lines.
- Prune and tidy shrubs – Refresh tired plants and let in light for new ideas.
Each section includes step-by-step instructions, common questions answered along the way, and optional ideas to build on your progress.
PROJECT IDEA 1 - Reclaim overgrown areas
Overgrown parts of the garden can feel daunting at first.
But clearing them opens up valuable space for new planting, seating, or simply tidying things up.
Here’s a practical, manageable approach to take control — even if you're not sure where to start.
Step 1: Walk the area and make a plan
Begin by walking around the overgrown section and noting what you're dealing with — long grass, brambles, saplings, or debris.
Use a stick or rake to gently part thick growth and check what’s underneath.
Wear sturdy gloves, boots, and long sleeves; overgrowth often hides thorns, stinging nettles, or sharp objects.
If you’re unsure what’s beneath, don’t feel pressured to tackle it all at once — clear a little at a time to see what’s there.
Is it better to wait for a certain time of year?
Late spring to early summer is ideal — plants are easier to identify, but haven’t fully hardened.
Just take care to check for nesting birds before cutting into hedgerows or dense shrubs.
Step 2: Cut back the bulk
Once you’ve had a look around, start cutting back the taller or thicker vegetation.
A strimmer or brush cutter is ideal for coarse grass and weeds.
For woody stems and brambles, a pair of strong secateurs or loppers will give you better control.
Work in small, manageable patches — a square metre at a time is plenty.
This helps you stay focused and avoid exhaustion, especially in hot weather.
Use a garden rake or tarpaulin to gather cuttings as you go — much easier than clearing it all in one go at the end.
Can I compost the stuff I’m cutting back?
Absolutely — most grass, soft weeds and small branches can go straight into your compost bin or heap.
Avoid composting seed heads, thick stems or anything invasive like bindweed unless you're hot composting.
Before adding twigs or branches to your compost, a leaf blower and mulcher like the Worx WG505E Trivac Leaf Blower Mulcher Vacuum can shred material, speeding up decomposition and making composting more efficient.
Step 3: Rake and clear the ground surface
Once the bulk of the vegetation is cut down, rake through to remove dead leaves, twigs, and remaining debris.
A wire rake is useful for this, especially if the ground is uneven.
You’ll likely uncover stones, roots, or even buried rubbish.
Take time to remove these by hand or with a shovel.
For larger patches, a cultivator or petrol tiller can help break up compacted soil more efficiently.
Do I need to dig over the whole area?
Not necessarily.
If you're planning to reseed with grass or wildflowers, lightly disturbing the top layer may be enough.
But if you want to plant shrubs, veg or perennials, digging properly will give better drainage and root structure.
Step 4: Decide how you’ll use the space
Now you’ve got a blank canvas — what next?
Here are a few ideas:
- Reseed it as lawn: A levelled, cleared space is ideal for sowing grass seed or laying turf.
- Plant a low-maintenance border: Add bark mulch and plant shrubs, grasses or hardy perennials.
- Create a wildlife patch: Sow native wildflowers and leave a log pile for insects.
- Set up a raised bed: Perfect for herbs or vegetables and easy to maintain.
- Lay gravel or bark for a seating area: Ideal if you’d like a quiet corner or fire pit spot.
How do I stop it getting overgrown again?
The key is to cover the ground quickly — whether with mulch, planting, or seed.
Bare soil invites weeds.
A little effort up front will save hours later on.
With a few hours of effort (and the right tools for the job), even the roughest corner can be brought back into use.
Don’t feel like it all needs doing in one go — tackle a little each weekend and enjoy watching it take shape.
PROJECT IDEA 2 - Redefine lawn edges and borders
Crisp lawn edges and well-defined borders are one of the easiest ways to make a garden look smart, tidy and well cared for — even if you haven’t planted much yet.
This project doesn’t require major tools or experience, just a bit of care and the right approach.
Step 1: Tidy up existing edges
Start by walking the perimeter of your lawn or flower beds.
If you already have edges, they may just need a good clean-up.
- Use a lawn edger to re-cut along the edge of the grass, especially where it's started to creep into borders or pathways.
- A draw hoe can also be helpful for scraping back overgrown soil or defining the line more cleanly.
- Sweep or rake away any loose grass, soil or leaf litter using a wire rake.
Should I edge before or after mowing?
It’s usually best to mow first, so you can clearly see the edge and avoid scalping the lawn too low when trimming.
Step 2: Reshape or create new beds
If you’re planning to reshape a border or cut in a new one entirely, sketch your idea first.
Curves tend to look more natural, especially in smaller gardens, but straight lines can work well along fences or patios.
- Lay out your shape using string, a hose, or sand to visualise the line before you dig.
- Use a square shovel or grain shovel to cut along the line and lift the turf, removing the top layer of grass and roots.
- Shake off excess soil and stack the turf to break down into compost if you're not reusing it.
Do I need to dig deeply?
Not usually.
For a simple edge or flower bed, removing the top 5–10 cm of turf is enough to get started.
Deeper digging is only needed if you’re planting larger shrubs or improving poor soil.
Step 3: Improve and protect the border area
With your edges neat and the turf lifted, you can now prepare the soil for whatever you’re planning to grow.
- Break up compacted ground with a fork and remove any remaining roots or weeds.
- If the bed will be planted later in the season, or not at all, lay down compost or bark mulch to suppress weeds and retain moisture.
- For added weed control while deciding how to best use your newly cleared space, a woven weed block ground cover is a smart choice.
- It lets water through but prevents unwanted growth, helping keep borders neat.
- Use edging stones, timber, or simply maintain a clean line with regular trimming.
How do I stop grass creeping back in?
Keeping edges sharp with a quick trim every few weeks in the growing season is key.
Installing physical edging — such as steel or plastic strips — can also help prevent lawn creep over time.
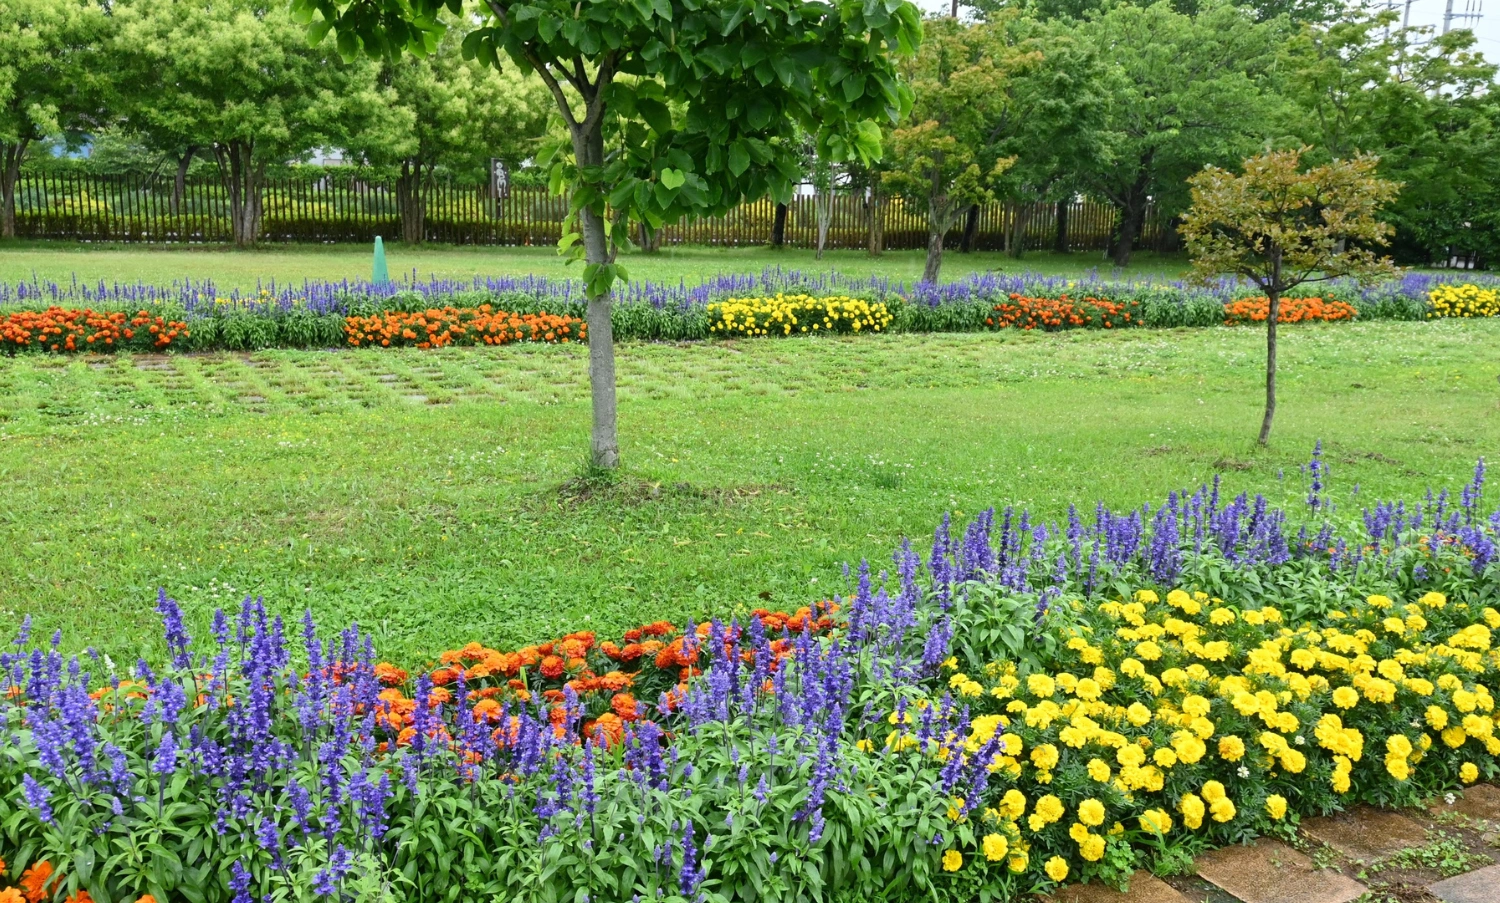
Optional enhancement: Build a mixed herbaceous border
Now that you’ve created a fresh edge or border, you’ve got the perfect canvas for planting.
Try combining:
- Tall perennials at the back (like foxgloves or delphiniums)
- Mid-height shrubs or grasses in the centre
- Compact herbs or groundcover plants at the front
Add a layer of bark or gravel to keep things neat and reduce weeding.
Decorative bark mulch not only looks great but helps conserve moisture and suppress weeds effectively.
Consider using our Decorative Mini Bark for a natural finish that complements your planting scheme.
Even a few well-placed plants can transform a space when the edges are clean.
A few hours spent sharpening your lawn lines or reshaping your borders can completely lift the appearance of your garden — with no need for major renovation or planting.
And once done, it’s easy to keep on top of throughout the season.
PROJECT IDEA 3 - Prune and tidy shrubs
Tidying up shrubs can give your garden an instant facelift.
Whether they’re blocking light, encroaching on paths, or just looking untidy, a light prune can do wonders.
Many people are unsure about when or how much to cut back — but with a few tips, it’s easier than it looks.
Step 1: Know what you're pruning
Different shrubs require different approaches.
Flowering shrubs, evergreens, and hedging plants all have their own preferences.
As a general rule:
- Spring-flowering shrubs (like forsythia or flowering currant) should be pruned after they flower, usually late spring to early summer.
- Summer-flowering shrubs (like buddleia or hydrangeas) are best pruned in early spring before new growth starts.
- Evergreens can be lightly trimmed in spring or early summer, avoiding heavy cuts in autumn.
What if I don’t know the type of shrub?
If you're unsure, wait until after it flowers, then prune lightly.
Avoid pruning in late autumn or winter, as this can stress the plant or encourage frost damage.
Step 2: Remove dead or damaged wood
Start with the basics — remove anything that’s clearly dead, damaged or diseased.
Use bypass secateurs for smaller branches and loppers for thicker growth.
- Cut back to just above a healthy bud or side shoot.
- For large shrubs, stand back occasionally to check the overall shape.
- Dispose of diseased cuttings — don’t compost them.
How do I know if a branch is dead?
Scrape the bark lightly with your nail — green underneath means it’s still alive.
If it’s brown and dry, it’s likely dead.
Step 3: Shape and thin
Once the unhealthy wood is gone, thin out congested areas to let in more light and air.
- Remove a few of the oldest stems at ground level to encourage new growth.
- Avoid harsh shaping unless the shrub is very overgrown — gentle reshaping is often enough.
- For formal shrubs like box or laurel, use shears to trim the outline neatly.
Can pruning encourage more flowers?
Yes — done correctly, pruning encourages healthy growth and more flowering wood.
Just be sure to time it right for the type of shrub.
Step 4: Clear and mulch the Base
Rake away any fallen leaves or old mulch from beneath the shrub.
This reduces the risk of pests and diseases.
- Add a fresh layer of compost or bark mulch around the base to retain moisture and suppress weeds.
- Keep mulch a few inches away from the stem to avoid rot.
Do I need to feed after pruning?
Not always — but a balanced, slow-release fertiliser or layer of compost can help support new growth, especially if the shrub was heavily pruned.
Optional enhancement: Refresh a tired corner with light and shape
Overgrown shrubs often shade out smaller plants or block paths.
Once pruned, you may find enough space and light to:
- Add underplanting with spring bulbs or groundcover.
- Create a mini seating area where sunlight now reaches.
- Introduce some seasonal colour with pots or perennials.
Even a single afternoon spent pruning can make the garden feel brighter, more open, and better cared for — all without major changes.
Stay tuned for more garden inspiration
We hope you’ve enjoyed Part 1 of our Garden Projects Made Simple series and feel inspired to start putting these ideas into practice — even if it’s just one patch at a time.
Simple changes can make a big difference, and your garden will thank you for it.
Keep an eye out for Part 2, where we’ll explore more easy weekend projects to keep your outdoor space thriving and enjoyable all summer long.