SR82 grade Roofing Battons now in stock
We have high quality SR82 roofing battons in stock and these are the most common battons used on roofing projects here in Ireland.
These lengths are all 50mm x 35mm x 4.8m and we offer delivery of these right throughout Ireland.
Roofing battens are an essential component in constructing a strong and durable roof.
These parallel strips of material create a framework that supports the final roofing material, such as tiles, shingles, or metal sheets.
Properly installing roofing battens is crucial for the longevity and performance of your roof.
Here is a step-by-step guide on how to use roofing battens effectively for a successful roofing project.

Gather the Necessary Materials and Tools
Before you start, make sure you have all the required materials and tools ready.
For using roofing battens, you will need:
- Roofing battens (choose the appropriate type and size based on your roofing material and regional building codes)
- Measuring tape
- Chalk line or string
- Spirit level
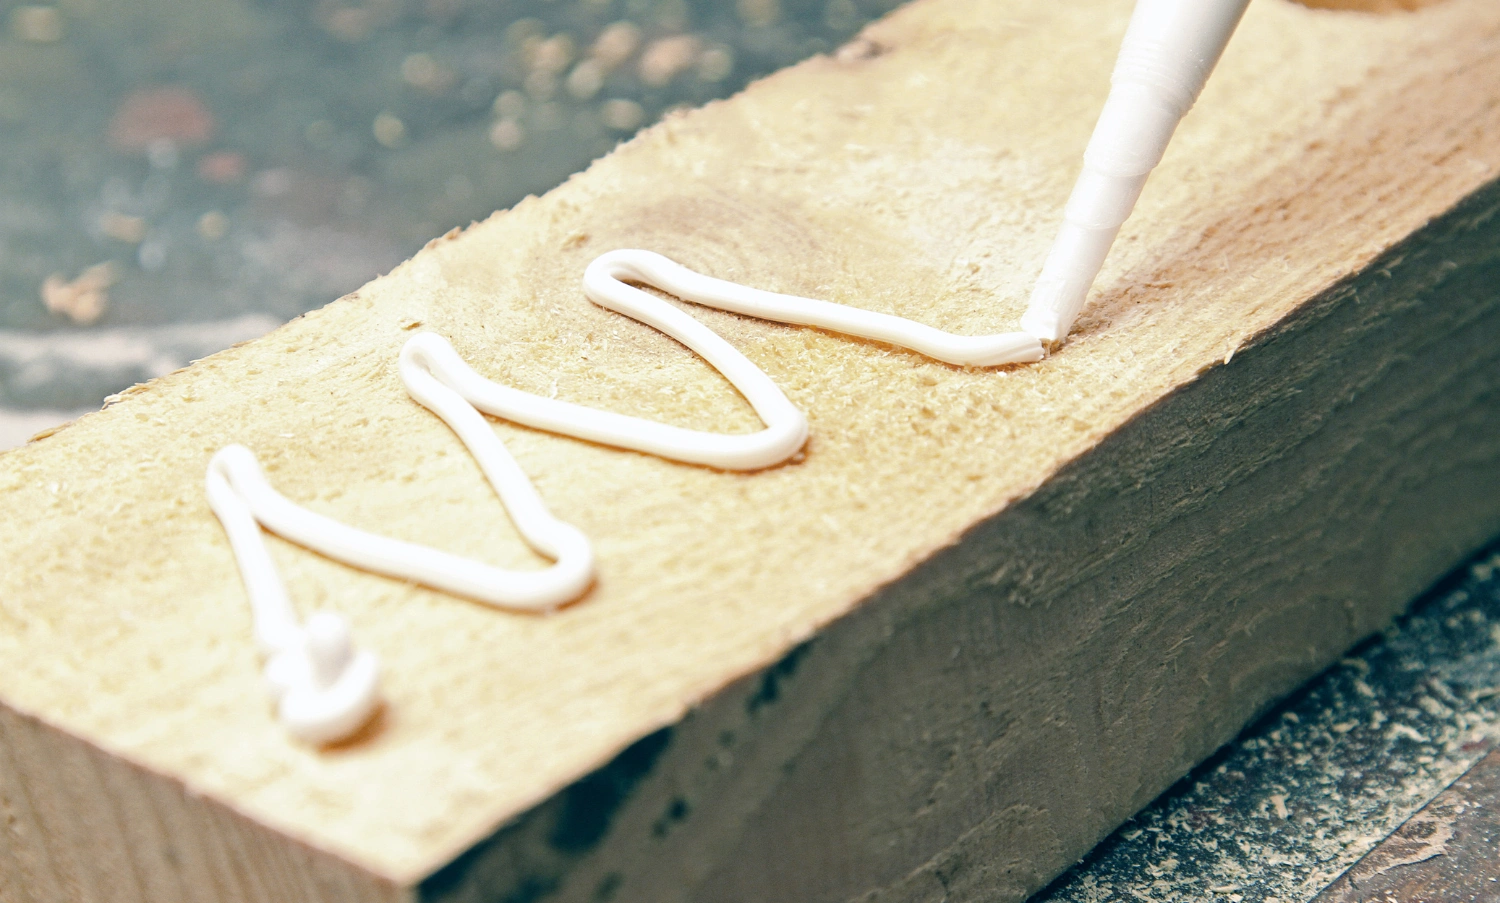
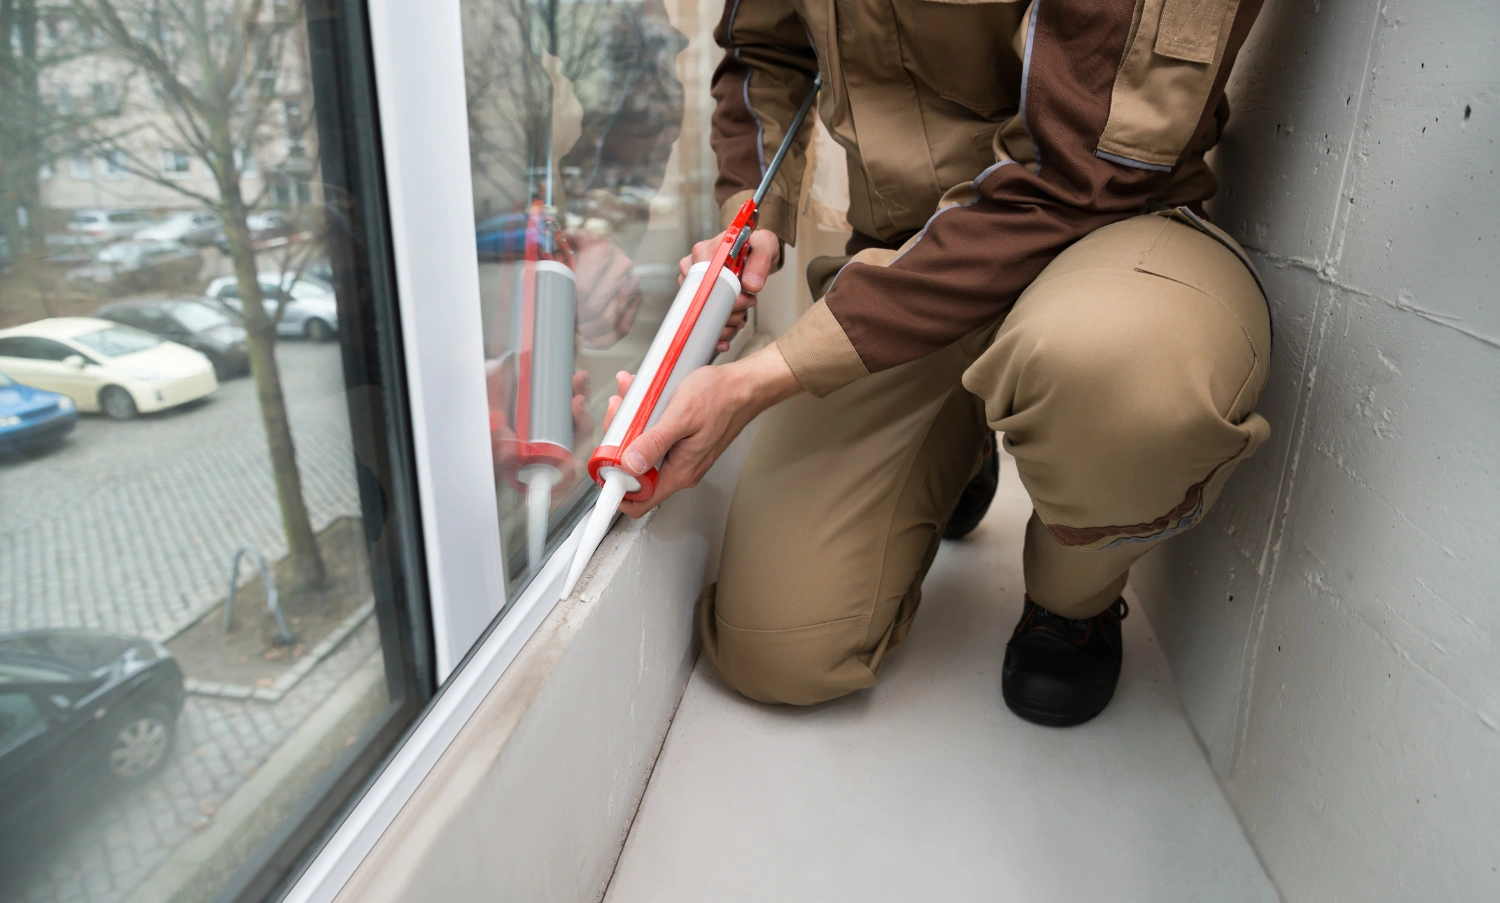
- Nails or screws compatible with your roofing material and battens
- Hammer or nail gun (or a drill if using screws)
- Safety equipment, including gloves and safety goggles
Prepare the Roof Surface
Ensure that the roof surface is clean, dry, and free from any debris.
If there are any damaged or rotten sections, repair or replace them before proceeding with the battens installation.
A solid and even roof surface is essential for the proper alignment and stability of the battens.
Establish Batten Spacing and Placement
The spacing between battens depends on the type of roofing material and local building regulations.
Typically, the distance between battens ranges from 16 inches to 24 inches (40 cm to 60 cm) apart.
Check the manufacturer's recommendations for your chosen roofing material, or consult with a roofing professional to determine the appropriate spacing.
Using a measuring tape, mark the positions of the battens on the roof surface.
It's essential to maintain consistent spacing to ensure even support for the roofing material and prevent any potential sagging.
Install the First Batten
Start by fixing the first batten along the eaves of the roof.
The eaves are the edges that overhang beyond the walls.
Ensure that the batten is parallel to the roof's edge and use a spirit level to confirm it is horizontal.
Secure the batten in place using nails or screws.
For a more secure and efficient installation, use a nail gun or drill to attach the battens quickly and accurately.
Align and Attach Subsequent Battens
Using the chalk line or string, align the subsequent battens with the first one, ensuring they are spaced correctly.
This will help you maintain a straight and uniform row of battens across the roof.
Continue installing the battens, one row at a time, moving upwards towards the roof's ridge.
Remember to check each batten's levelness before securing it in place.
Cut Battens to Fit
In some cases, you might need to cut battens to fit along the roof edges or around obstacles such as chimneys or vents.
Use a saw or appropriate cutting tool to trim the battens to the required size accurately.
Reach the Roof Ridge
As you approach the roof ridge, you may need to install ridge battens to provide a stable support structure for the roofing material at the roof's peak.
These ridge battens often run perpendicular to the standard battens.
Double-Check Alignment and Stability
Once all the battens are installed, double-check their alignment, levelness, and stability.
A strong and well-aligned batten structure will ensure a solid foundation for your roofing material and contribute to the overall longevity of your roof.
Using roofing battens correctly is a fundamental aspect of any roofing project.
These simple steps will guide you in installing battens effectively, providing a robust framework for your chosen roofing material.
Whether you are a seasoned DIY enthusiast or a professional roofer, ensuring proper batten installation will help you achieve a durable and reliable roof that can withstand the test of time and various weather conditions.
If you're uncertain about any aspect of the installation process, don't hesitate to consult with a roofing expert for guidance and support.