How to replace a Shower Tray
So you want to replace a shower tray?
Ok so a job like this can be a daunting task, but it doesn't have to be.
With the right tools and a little know-how, you can replace your shower tray quickly and easily.
Our handy guide here will take you through the main steps and we have everything you need too.
We have a wide range of shower trays always in stock along with the bits and bobs needed to get this done.
As always, our friendly and helpful team are on hand to help if needed too!
Step 1: Preparation
Before you begin, it's important to make sure you have all the necessary tools and materials.
You'll need a new shower tray, a utility knife, a drill, a hammer, a crow bar or pry bar, a level, silicone sealant, and screws.
It's also a good idea to have a helper on hand to assist with lifting the old tray out and putting the new one in.
Step 2: Remove the old tray
The first step in replacing your shower tray is to remove the old one.
Start by cutting away any caulking or silicone sealant around the edges of the tray using a utility knife.
Then, use your crow bar or pry bar and hammer to carefully remove the old tray.
Be sure to wear gloves and eye protection during this step.
Step 3: Prepare the area
Once the old tray is removed, it's time to prepare the area for the new one.
Start by cleaning the shower base and removing any debris.
Then, use a level to make sure the base is even and adjust as needed.
If the base is not level, you may need to use shims to level it out.
Step 4: Install the new tray
With the area prepared, it's time to install the new tray.
Start by placing the tray in the center of the shower base and checking for level.
Once the tray is level, use screws to secure it in place.
Be sure to follow the manufacturer's instructions for screw placement and spacing.
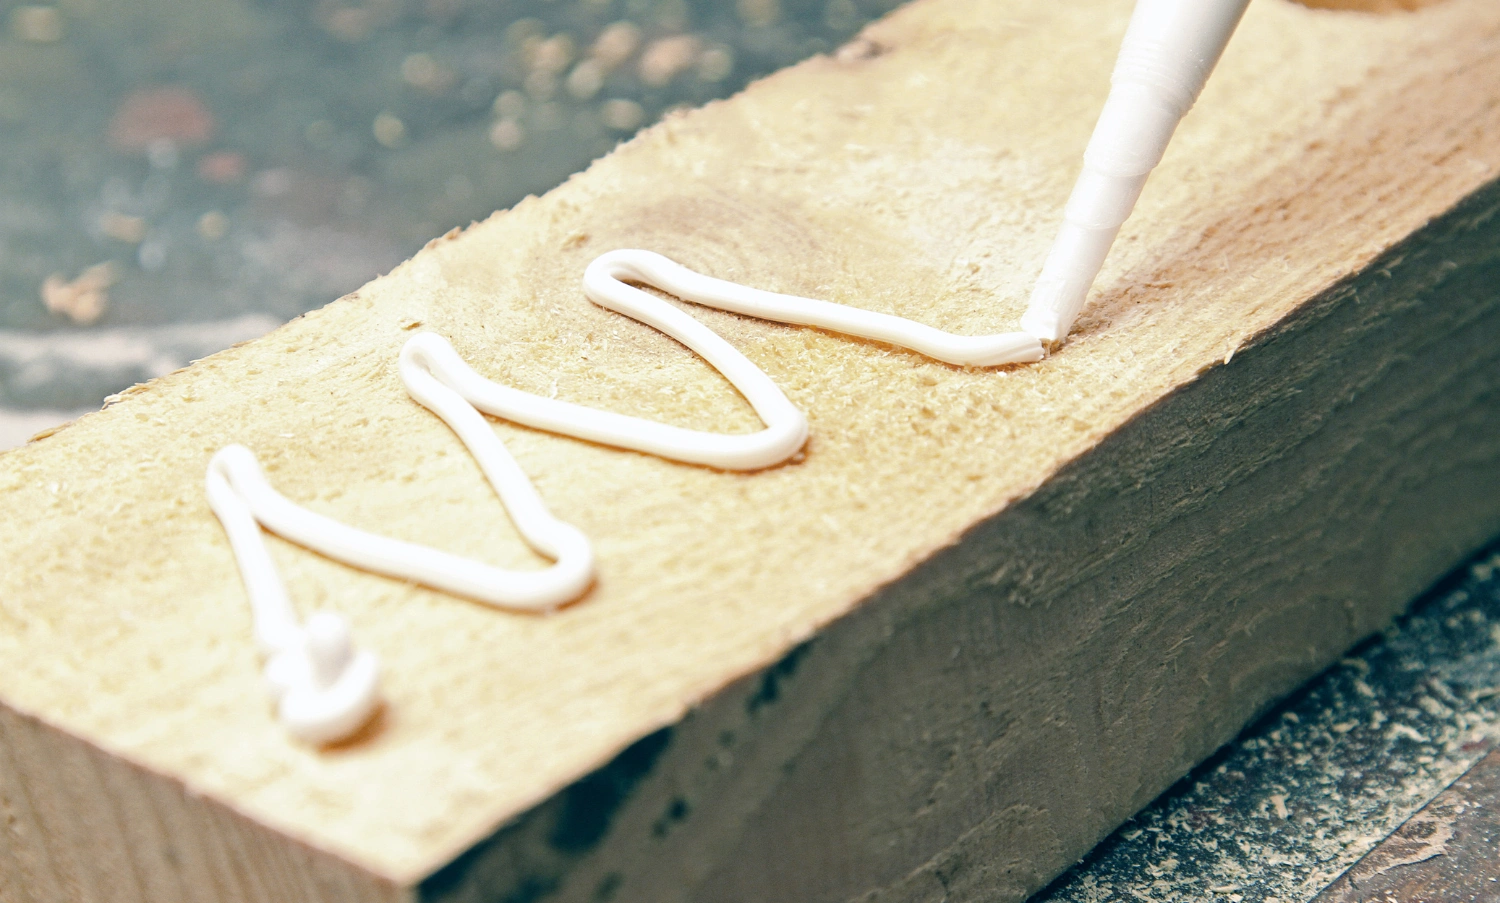
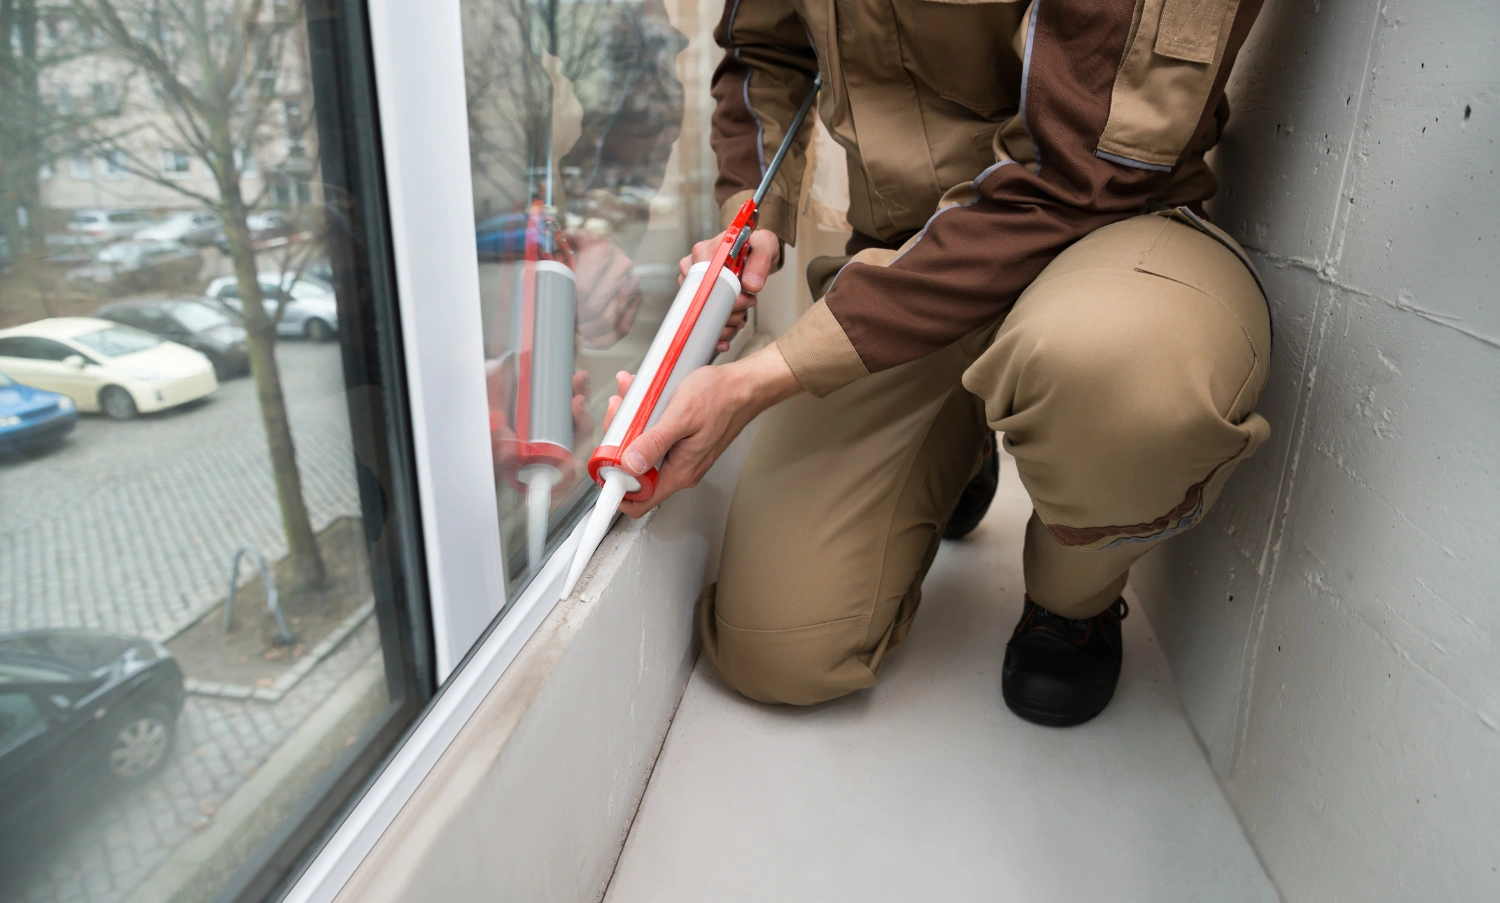
Step 5: Seal the edges
Once the tray is secured in place, it's important to seal the edges with silicone sealant.
Apply a generous amount of sealant around the edges of the tray, making sure to fill any gaps.
Use a wet finger or tool to smooth the sealant and ensure a tight seal.
Step 6: Let it dry
Finally, allow the sealant to dry completely before using the shower.
This can take anywhere from 24 to 48 hours, depending on the manufacturer's instructions.
Once the sealant is dry, you can enjoy your new shower tray!