How to choose the right timber for your projects
Timber is one of the most versatile materials in construction or DIY, and choosing the right type is essential for the success of your project.
Whether you’re a tradesperson, DIY enthusiast, or builder, understanding the different types of timber and their benefits will help you achieve the best results.
In this post, we’ll break down the benefits of each timber product we offer, with examples of how to use them effectively.
Plus, we’ll finish off with a simple DIY project to get you started.
Planed Timber – White Deal
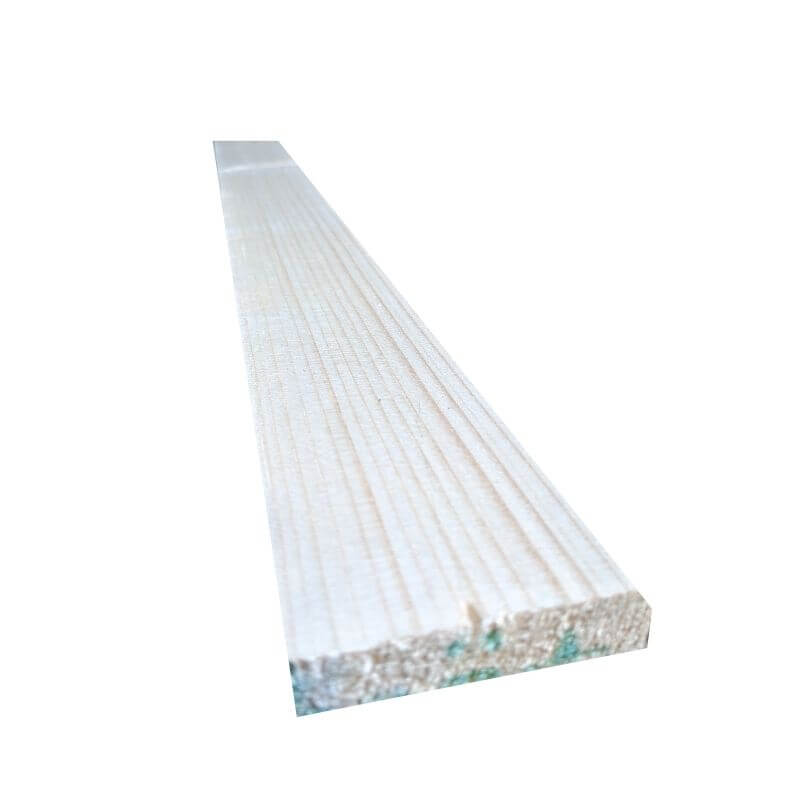
Planed timber is smooth, consistent, and ready to use, making it the perfect choice for interior projects where a polished finish is required.
White Deal timber is of superior quality, ensuring a fine texture and uniformity that makes it ideal for decorative applications.
It’s excellent for creating shelving, furniture, or window sills.
It’s also easy to work with and can be painted or stained to match any décor.
Rough Timber and Rough Sawn Timber
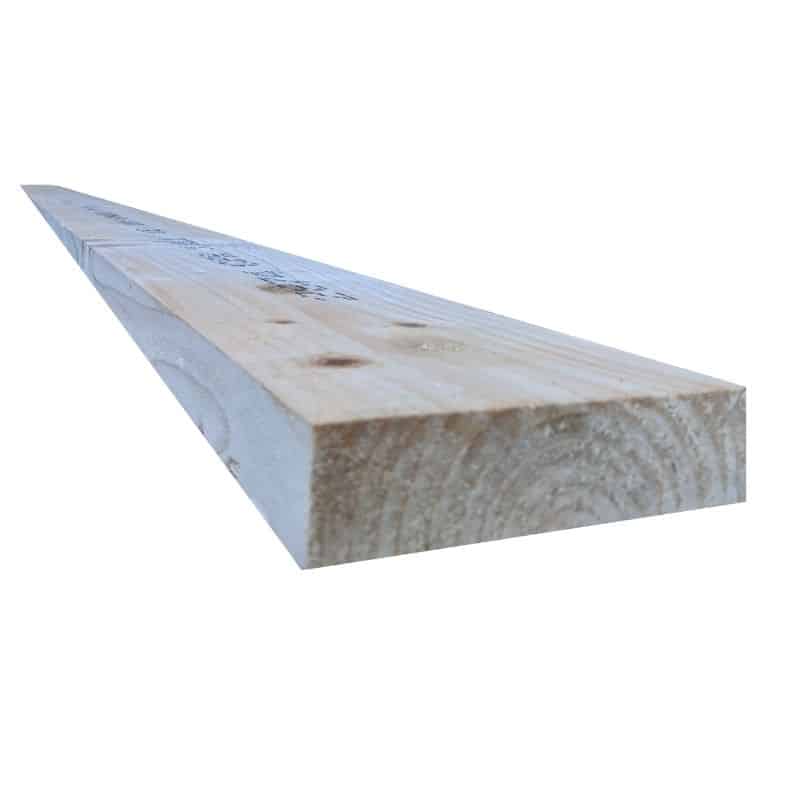
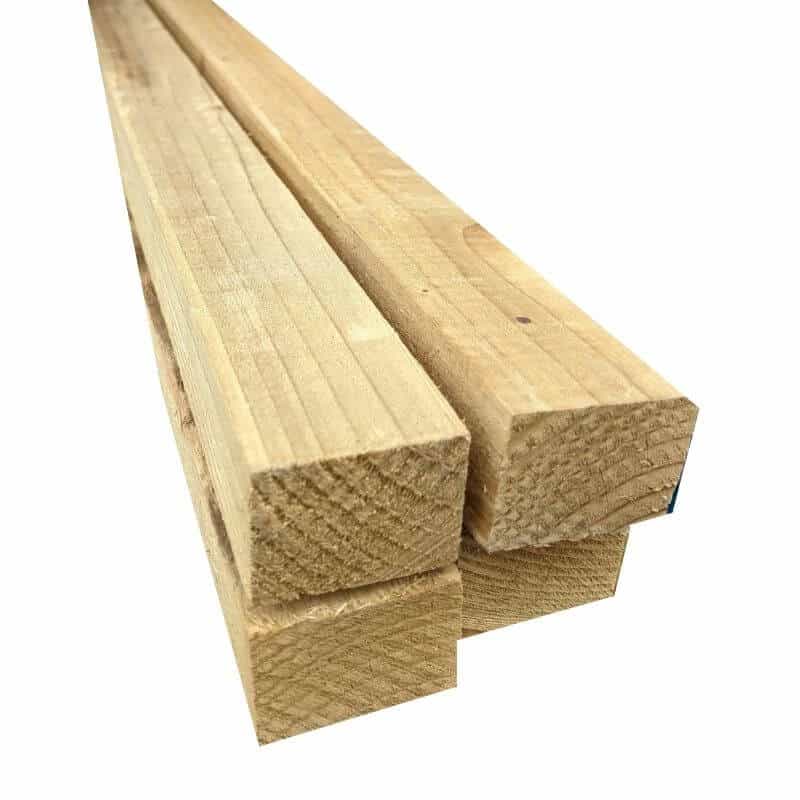
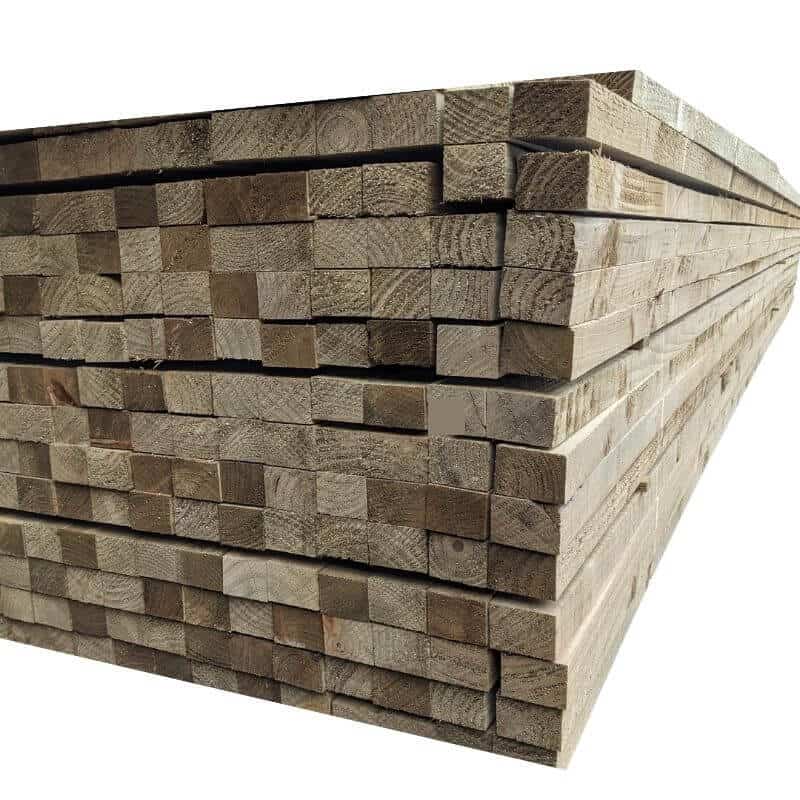
Rough timber is untreated and unplaned, making it a cost-effective option for structural work.
Rough sawn timber (Grade C16) has a slightly smoother finish and is great for outdoor projects, where the rough texture adds character and durability.
You can use rough timber for framing walls, building foundations, or constructing sheds and garden structures.
Rough sawn timber is also perfect for creating rustic-style fencing or decking where appearance is secondary to strength.
Skirting, Architrave, and Doorframes
These finishing pieces help to protect walls and provide a polished, professional look to any room.
Skirting and architrave come in various styles, and have a premium finish, making it easy to find a design that complements your space.
You can install skirting boards in a living room to protect walls from furniture wear, or architraves around doorframes for a sleek finish, or opt for pre-made doorframes that ensure doors fit securely and function well.
-
Shop options This product has multiple variants. The options may be chosen on the product page
Planed Timber
€1.65 – €28.56 (Inc. VAT)
-
Shop options This product has multiple variants. The options may be chosen on the product page
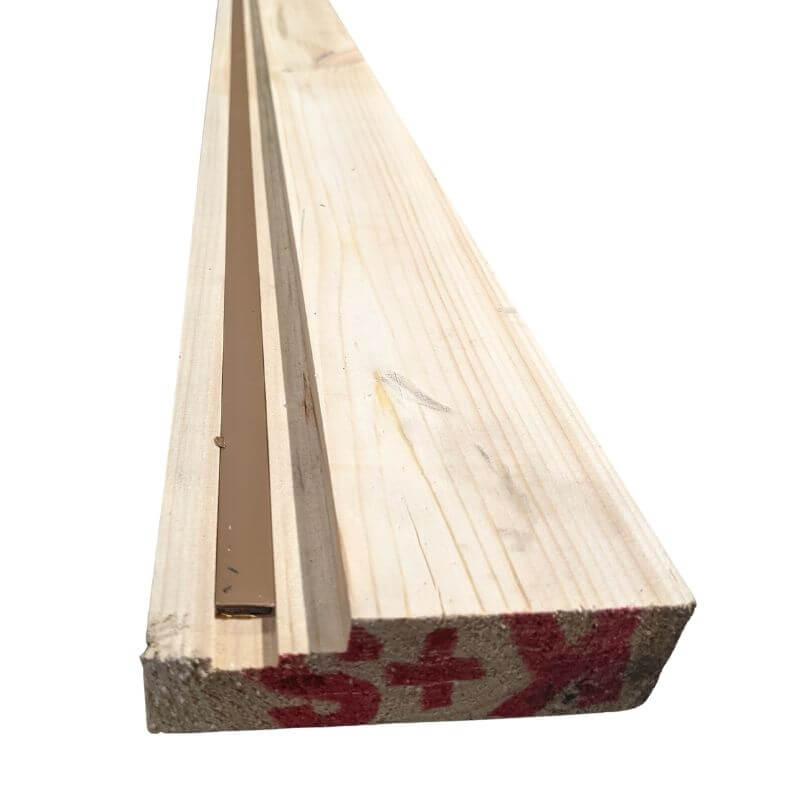
Rough Sawn Timber (C16 grade)
€1.58 – €63.22 (Inc. VAT)
-
Shop options This product has multiple variants. The options may be chosen on the product page
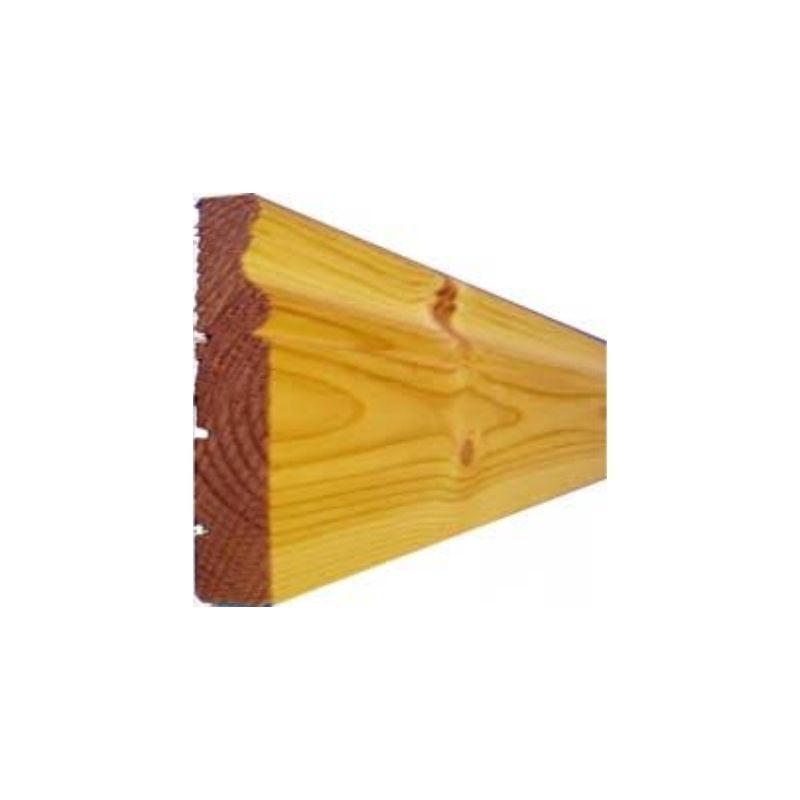
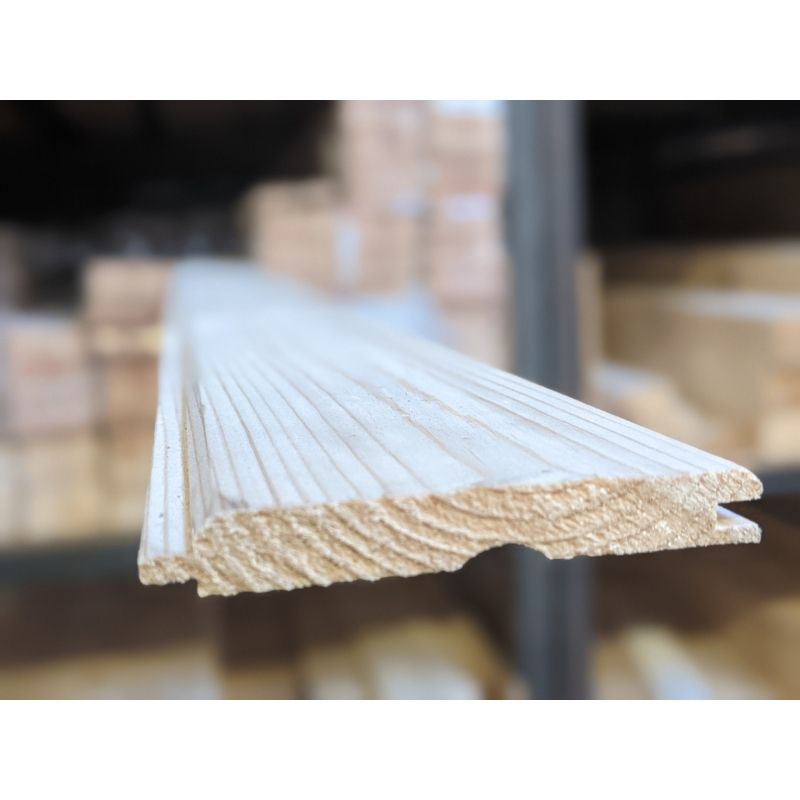
Ogee Skirting Board Unfinished Moulded Red Deal
€9.03 – €19.32 (Inc. VAT)
Timber Boards
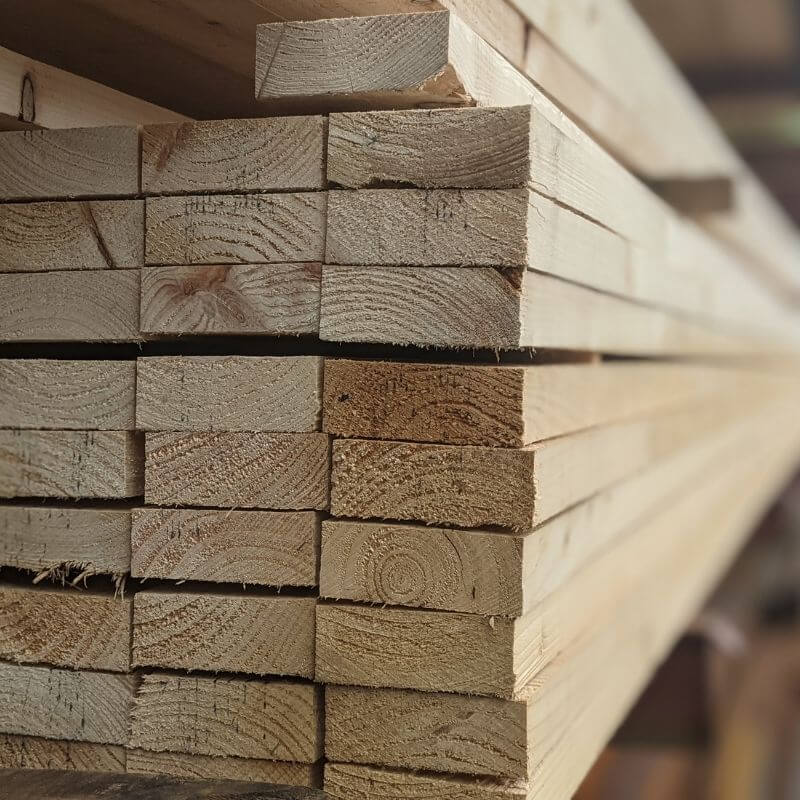
Timber boards are incredibly versatile, offering strength and flexibility for a wide range of applications.
You can use timber boards for DIY shelving units, custom furniture, or even creating feature walls.
With a simple sanding, you can transform them into stylish, rustic interiors or modern designs.
Timber Decking and Fencing
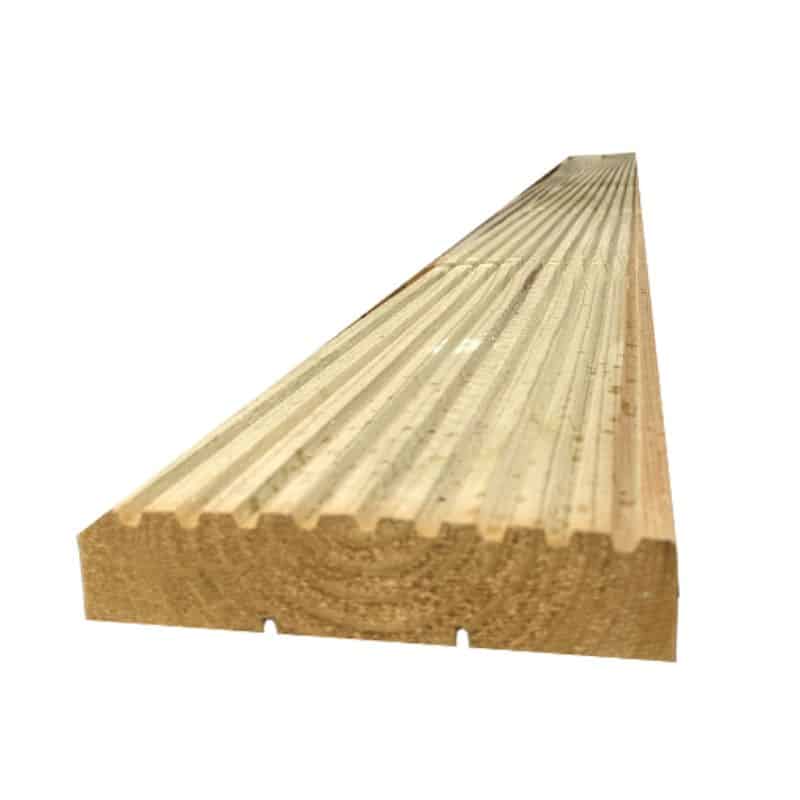
Timber decking and fencing are treated to withstand the elements, offering durability and longevity.
These products are ideal for outdoor spaces, ensuring that your garden or patio remains in top condition year-round.
Consider installing timber decking to create a welcoming outdoor living area.
You can also use treated timber for fencing to ensure privacy and security, while also giving your garden a classic, stylish look.
Timber Moulding
Timber moulding adds detail and elegance to your interiors, as it offers a smooth, fine finish that elevates the look of your room.
Consider installing timber moulding around a doorway to create a traditional, classic look.
You can also use mouldings on the edges of cabinets or walls to add character and style.
Treated Timber (Grade C16)
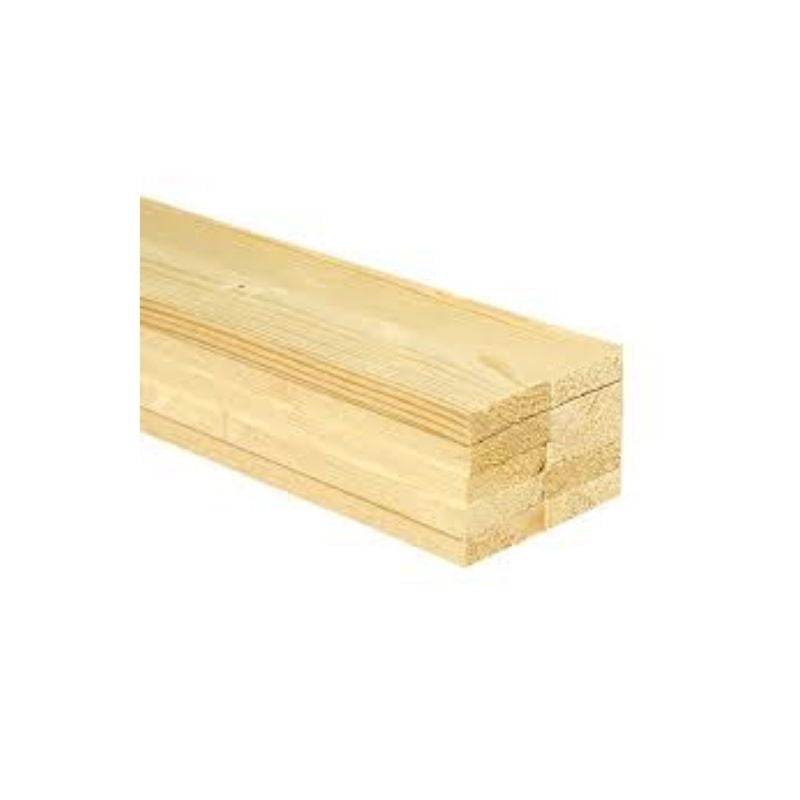
Treated timber is specially designed for outdoor use, with treatments that make it resistant to rot, insects, and moisture.
Grade C16 treated timber is an affordable option for garden projects and anything exposed to the elements, such as creating raised garden beds, outdoor furniture, or fences that can withstand weather and pests for years.
-
Shop options This product has multiple variants. The options may be chosen on the product page
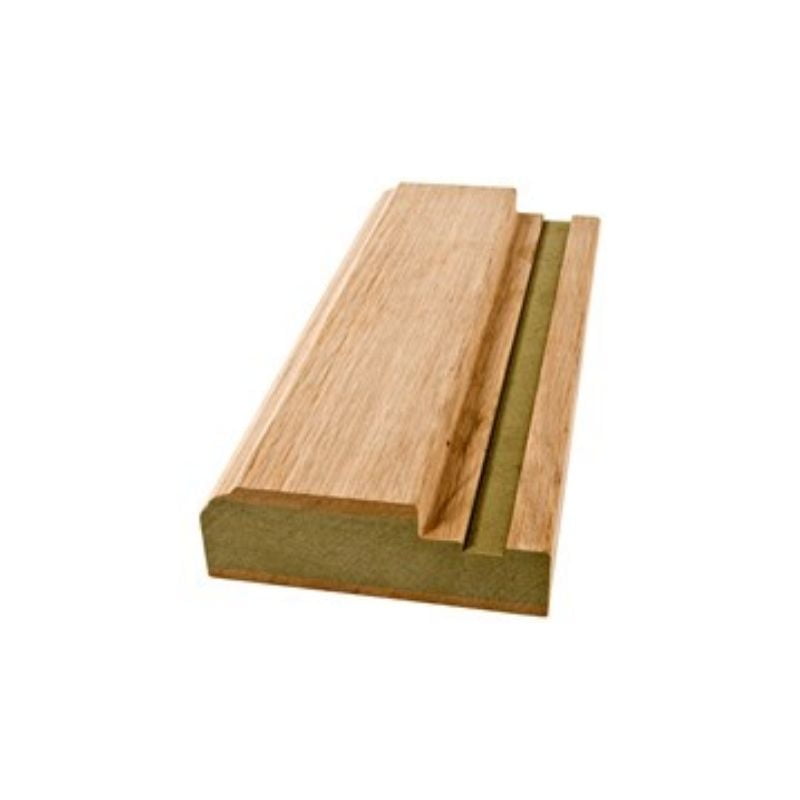
Ceiling Board Red Deal
€6.95 – €36.50 (Inc. VAT)
-
Shop options This product has multiple variants. The options may be chosen on the product page
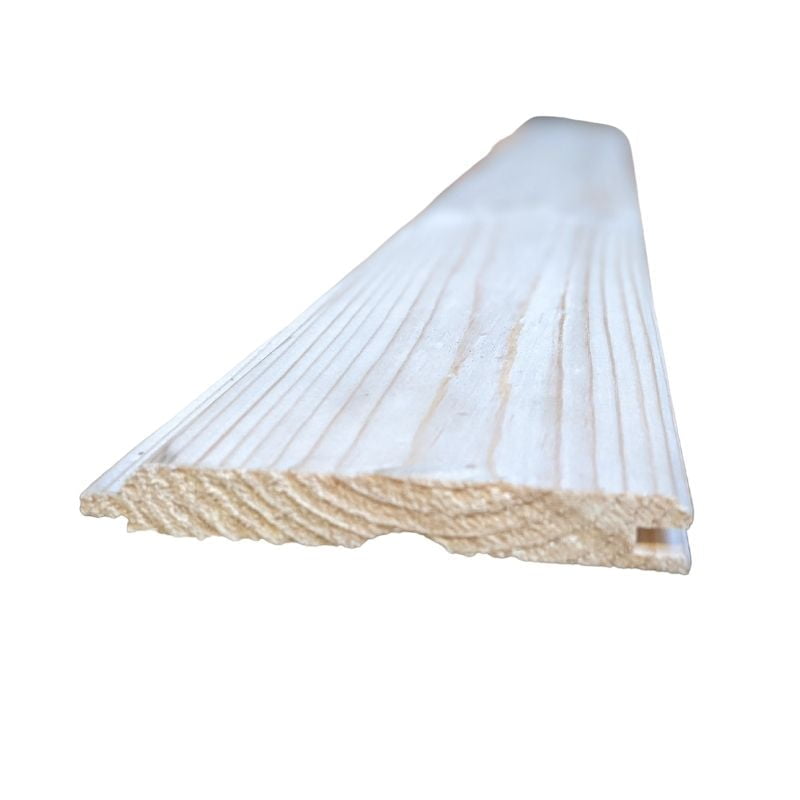
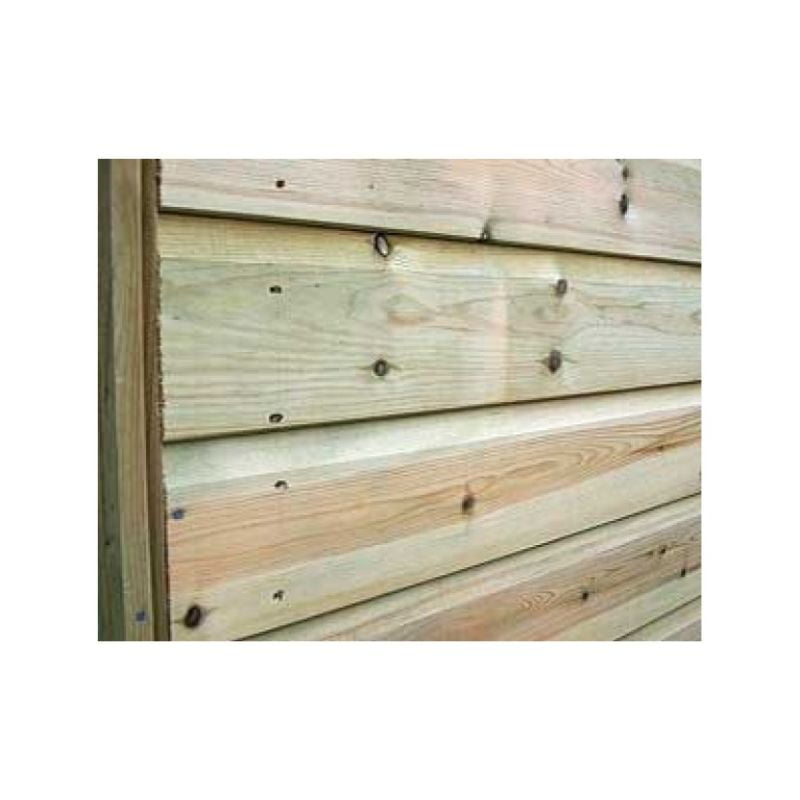
Shiplap Fencing Panel Boards
€10.26 – €14.72 (Inc. VAT)
-
Shop options This product has multiple variants. The options may be chosen on the product page
Treated Timber
€2.09 – €67.72 (Inc. VAT)
Now that you’re familiar with the different types of timber, let’s put them into action.
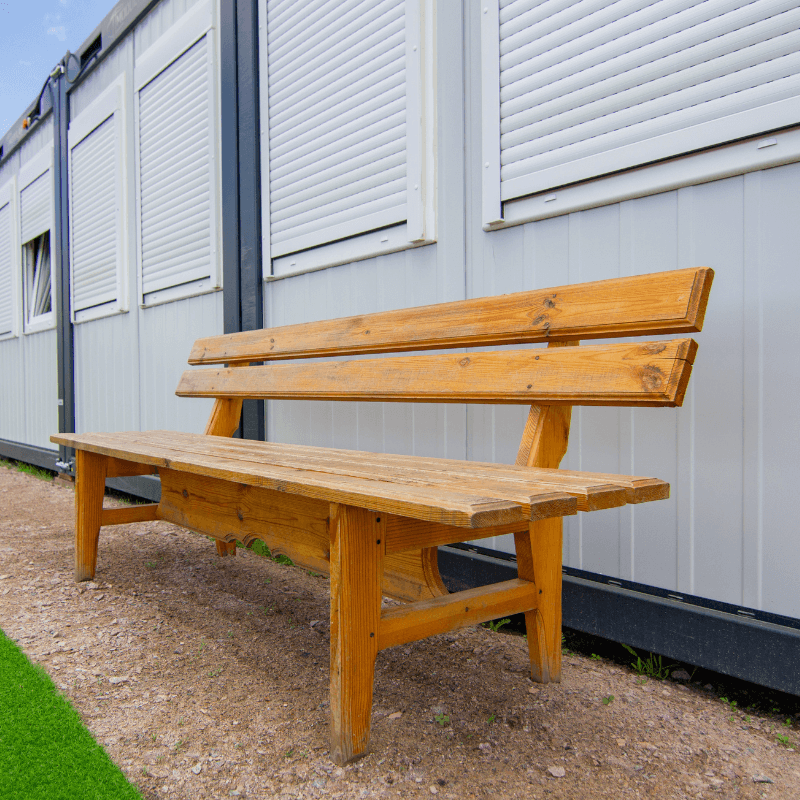
Here’s a quick step-by-step guide to building a simple, durable timber garden bench, using planed timber – White Deal and treated timber (Grade C16).
Step-by-step DIY project: Build a simple timber garden bench
Materials Needed:
- 4 x Planed Timber – White Deal (for the seat and backrest)
- 4 x Treated Timber (Grade C16) (for the legs and frame)
- Measuring Tape
- Saw (a mitre saw or handsaw can work well).
- Screwdriver or Drill
- Clamps (optional): To hold pieces together while the glue dries.
- Screws
- Wood glue
- Sandpaper
- Outdoor wood varnish (optional)

Instructions:
- Prepare the timber: Sand down the planed timber to ensure a smooth, comfortable finish for sitting. Smooth out any rough or uneven surfaces, especially on the edges, to prevent splinters. Also, sand the treated timber for a smoother look, though it will not be as smooth as the planed timber.
- Cut the timber to size:
- For the seat and backrest: Measure and cut the planed timber to your desired length. A typical seat length is around 1200mm, and the backrest can be approximately 800mm. You can adjust these measurements to suit your preferences or space.
- For the legs and frame: Measure and cut the treated timber to the desired dimensions. The legs are usually around 400mm in height, but this can vary based on your desired seat height. For the frame, you will need four pieces of treated timber for the sides (usually about 400mm each) and two pieces for the cross supports (also about 400mm, depending on the overall design).
- Assemble the frame: Start by connecting the four side pieces of treated timber to form a rectangle, using wood glue and screws. Ensure the pieces are square, with equal spacing for the legs. Attach the two cross-support pieces to reinforce the structure. These should be positioned between the legs to provide stability.
- Attach the seat and backrest: Secure the planed timber seat and backrest to the frame using screws. Make sure to evenly space the seat and backrest for a comfortable sitting position. You may want to angle the backrest slightly for added comfort. Ensure everything is aligned and securely fastened.
- Finish the bench: Sand the entire bench to ensure a smooth, splinter-free finish. Pay special attention to the edges and corners for added comfort. If desired, apply a coat of outdoor wood varnish to enhance the timber’s appearance and provide extra weatherproofing. Be sure to let the varnish dry fully between coats if you choose to apply more than one.
- Place in your garden: Once your bench is complete, carefully position it in your garden, patio, or any other outdoor space. Your new timber bench is ready for use, providing both comfort and durability in your outdoor environment.
How to protect and beautify your bench
As you know, Ireland’s unpredictable weather, with frequent rain and high humidity, can cause outdoor timber to deteriorate if not properly treated.
Protecting your bench ensures that it retains its beauty and durability through the seasons.
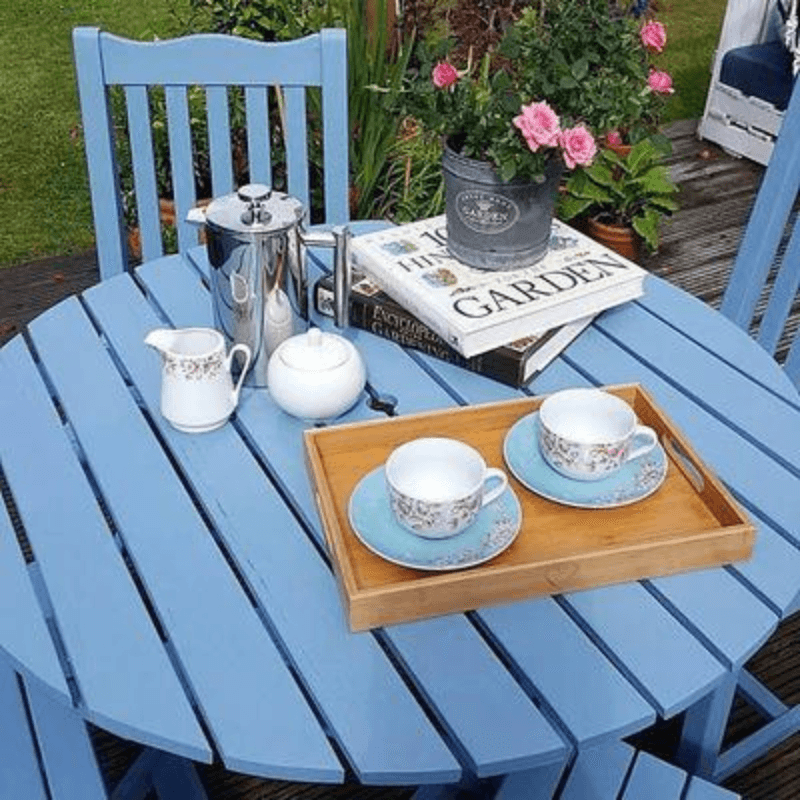
Frenchic Al Fresco Furniture Paint adds a weatherproof finish, preventing deterioration caused by constant exposure to rain and humidity and enhancing its appearance.
Why choose Frenchic Al Fresco Furniture paint?
This versatile paint is suitable for both indoor and outdoor use, and it’s perfect for furniture, decking, and garden structures.
Benefits:
- Weatherproof: Protects timber from rain and moisture, ensuring its longevity.
- Low VOC: Eco-friendly and safe to use both indoors and outdoors.
- Mould and Algae Resistant: Ideal for Ireland’s damp climate, preventing growth on untreated surfaces.
- Self-Levelling and Low Maintenance: No top coat required, minimising maintenance efforts.
- Wide Range of Colours: Choose from 20 vibrant colours to match your garden’s aesthetic.
To achieve the best results with Frenchic Al Fresco Furniture Paint, follow these steps:
Painting your outdoor bench with Frenchic Al Fresco
Materials Needed:
- Frenchic Al Fresco Furniture Paint (colour of your choice)
- Sandpaper or sanding block
- Frenchic Sugar Soap (for cleaning)
- Paintbrush
- Clean cloth or sponge
Instructions:
- Prepare the Surface: Ensure your bench is completely dry before painting, especially after rain. Clean it with Frenchic Sugar Soap to remove dirt and grease. Sand the surface lightly to create a key for the paint.
- First Coat: Stir the paint well, then apply the first coat using a high-quality brush or roller. Avoid overworking the paint to allow it to self-level, reducing brush marks. Allow the first coat to dry for 2 hours.
- Second Coat: Apply a second coat after the first has dried. For a smoother finish, you can apply a third coat. Let the paint dry for 2 hours between coats.
- Curing: After applying the final coat, allow the paint to cure for up to 3 weeks before handling the bench. This ensures the paint hardens and becomes fully weather-resistant.
- Enjoy: Once cured, your bench is ready to withstand Ireland’s weather and add a lasting beauty to your outdoor spaces.
With the right materials and finishes, you can transform your garden or outdoor areas into beautiful, durable spaces that thrive through all seasons.
Start your project today and enjoy the lasting results!
Need expert advice?
Choosing the right timber for your DIY projects can seem daunting, but with the right guidance, tools, and preparation, it’s a rewarding experience. Whether you’re selecting planed timber for a polished interior finish or treated timber for durable outdoor use, making informed choices ensures your project’s success.
For expert advice, premium-quality timber, and all the tools you need, visit our store in Ballymote, Co. Sligo, email us at info@mybuildingsupplies.ie, or call 0818 888 000.
From White Deal to treated timber, we’re here to help you bring your DIY vision to life.
My Build Club
Calling all Trades Professionals, Self Builders, Renovators and DIY lovers!
We have created an entirely unique section of our website that has been designed to make your life easier.
Enjoy discounts, get an even more enhanced level of customer service, find all your paperwork easily and get unique offers and deals regularly.
My Build Club is a brand new innovative service for all Self Builders, Renovators, Trade Professionals and DIY lovers in Ireland.
We have revolutionised how you can source the right products at the very best prices along with putting you in touch with real life experts to help you every step of the way.
Why join today?
- Save money and time when sourcing the supplies you need
- Get Trade discounts just like you would at our Trade Counter
- On demand support from our experts – video calls, live chat and phone support
- All of your paperwork and invoices in the one place
- Arrange fast delivery – including to work sites


