
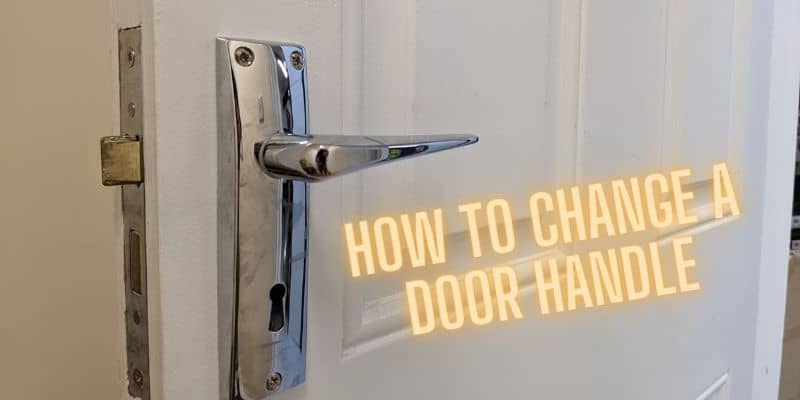
How to change a door handle
Wondering how to change a door handle might fill you with worry and it may seem like a daunting task, but it’s actually a simple process that can be accomplished in just a few steps.
Whether you’re replacing a broken handle or updating the look of your door, this guide will walk you through the process of changing a door handle step-by-step.
Not only will you save money by doing it yourself, but you’ll also feel a sense of accomplishment once the job is done. So, let’s get stuck in.
Step 1: Gather Your Tools and Materials
Before you begin, it’s important to have all the necessary tools and materials on hand. Here’s what you’ll need:
Make sure you have the right size and type of door handle for your door.
For example you will need a privacy type door handle for a bathroom. Do you need a lock also? You can see all of the options here.
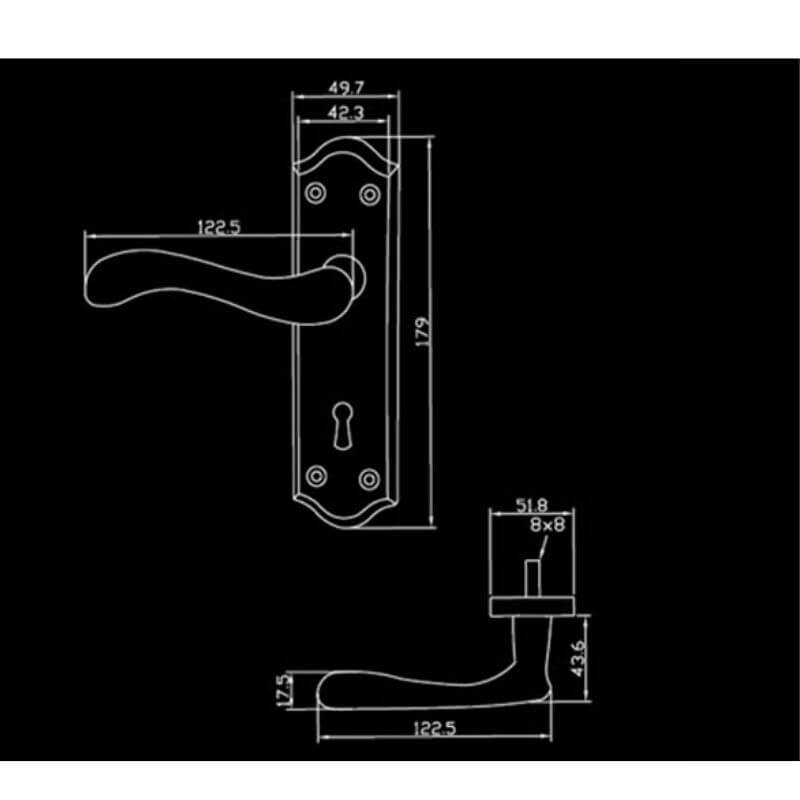
Measure the distance between the center of the handle and the center of the lock to ensure that the new handle will fit properly.
Step 2: Remove the Old Door Handle
The first step in changing a door handle is to remove the old one. This is usually done by unscrewing the screws that hold the handle in place. There may be screws on the inside and outside of the door, so make sure to check both sides.
Once you’ve removed the screws, you should be able to pull the handle off the door. If the handle is stuck, try wiggling it back and forth or using a flathead screwdriver to gently pry it off.
Step 3: Remove the Old Latch and Strike Plate
Now that the handle is off, you’ll need to remove the old latch and strike plate. The latch is the part of the door handle that slides into the door frame to keep the door closed. The strike plate is the metal plate that the latch clicks into.
To remove the latch, unscrew the screws that hold it in place on the edge of the door. Then, pull the latch out of the hole in the edge of the door.
To remove the strike plate, unscrew the screws that hold it in place on the door frame. Then, pull the strike plate off the door frame.
Step 4: Install the New Latch and Strike Plate
Now that you’ve removed the old latch and strike plate, it’s time to install the new ones. Start by inserting the new latch into the hole in the edge of the door. Make sure the latch is facing the right direction – the angled side should face the direction the door closes.
Once the latch is in place, screw it into the door using the screws that came with the new handle.
Next, install the new strike plate on the door frame. Make sure it’s in the right position – the latch should click into it easily. Screw the strike plate into place using the screws that came with the new handle.
Step 5: Install the New Door Handle
With the latch and strike plate in place, it’s time to install the new door handle. Start by inserting the spindle – the metal bar that connects the two handles – into the latch on the edge of the door. Make sure the spindle is the right length for your door – you may need to cut it to size using a hacksaw.
Once the spindle is in place, slide one handle onto each end of the spindle. Make sure the handles are facing the right direction – the lever should be on the inside of the door and the knob should be on the outside.
Once the handles are in place, screw them onto the door using the screws that came with the new handle. Tighten the screws until the handles are firmly attached to the door.
Step 6: Test the Door Handle
With the new handle installed, it’s time to test it out. Make sure the door opens and closes smoothly, and clicks into place correctly.
All that is left to do is to make a cup of tea and stand and admire your handiwork. Feel free to inform family, neighbours and friends of your gargantuan achievement and invite them round to marvel at what you have done.
-
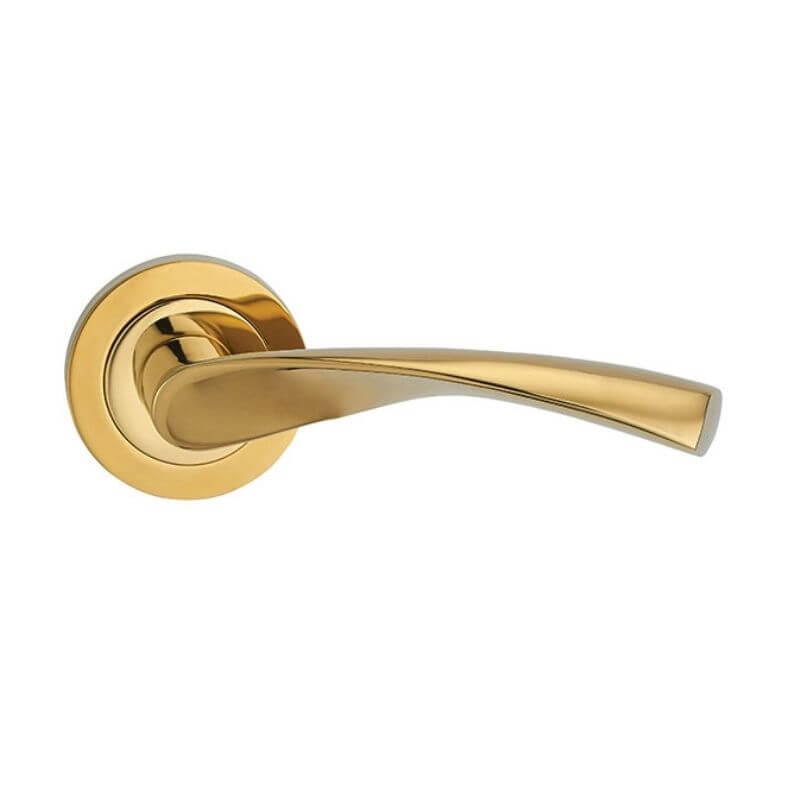
Fortessa Verto PVD Brass WC Privacy Door Handles Box Set
Verto PVD Brass Door Handles Privacy Box Set
Key features:
- A distinctive and stylish door handle
- Finish : PVD Brass
- Box Set. Includes Handle, Hinges, Escutcheons And Lock
- Ideal for Trades people and for DIY
€50.55 (Inc. VAT) -
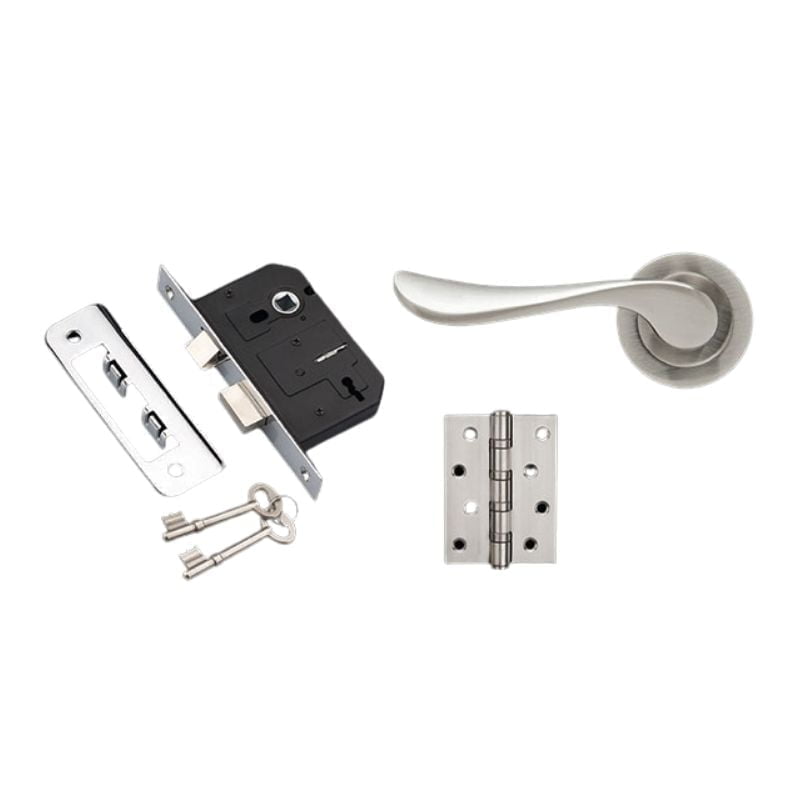
Fortessa Contempo Wave Door Handles Privacy Box Set from Laydex
Fortessa Contempo Wave WC Door Handles Box Set
Key features:
- High quality and looks great
- Box Set Includes Pair of Door Handles, Stainless Steel Hinges and Matching Lock
- Finish: Satin Nickel
- Ideal for Trades people and for DIY
€50.57 (Inc. VAT) -
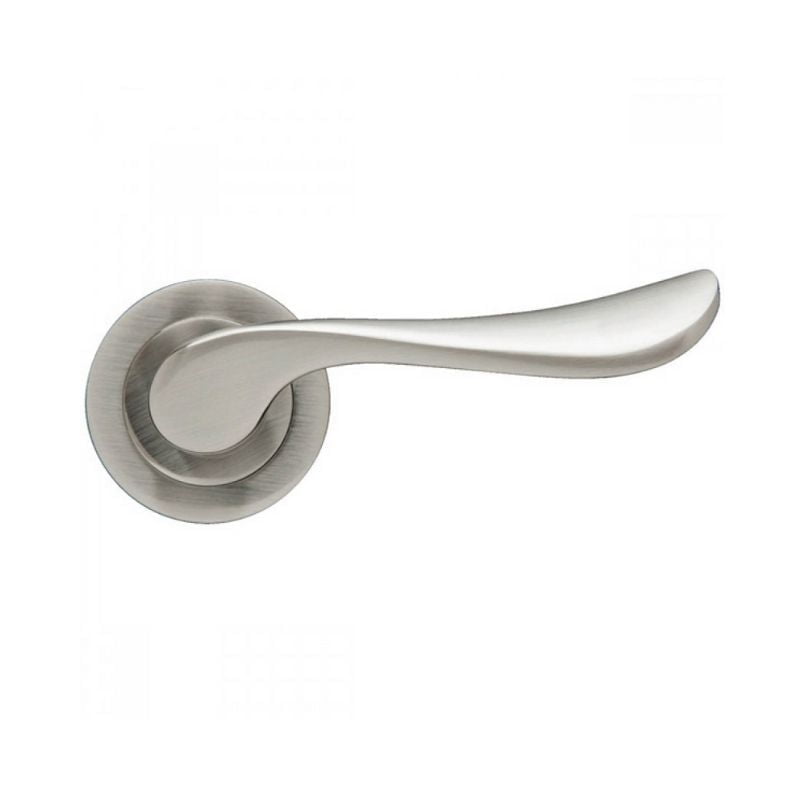
Fortessa Contempo Wave Satin Nickle Door Handles Box Set
Satin Nickle Wave Door Handles Box Set
Key features:
- High quality Door Handle Box Set
- Finish: Satin Nickel
- Includes Pair of Door Handles, Stainless Steel Hinges and Matching Lock
- Ideal for Trades people and for DIY
€43.26 (Inc. VAT) -
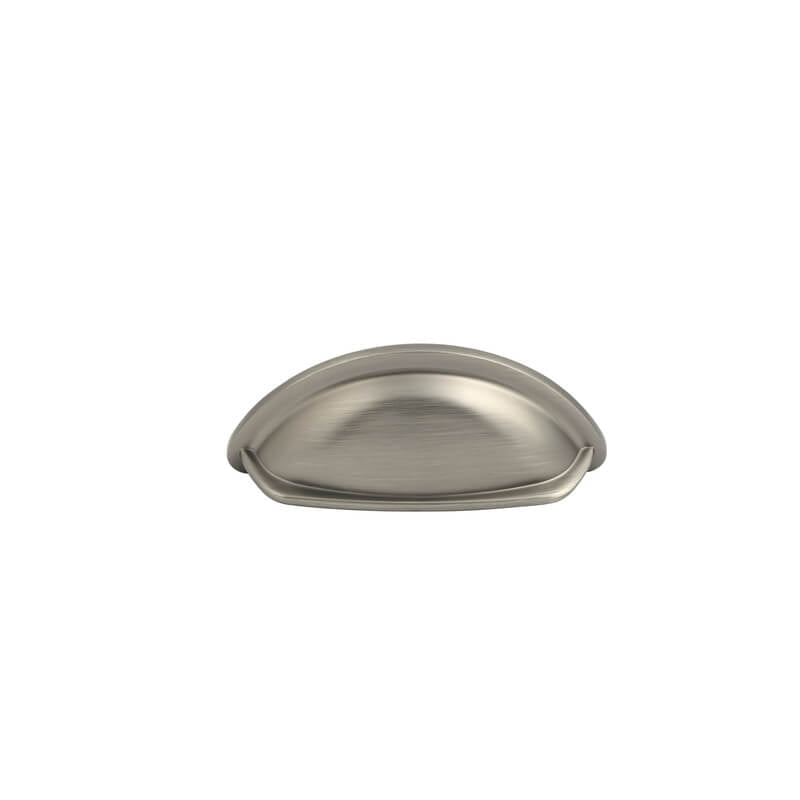
Oxford Cup kitchen Door Handles
Cup Kitchen Handles
Key features:
- Soft curved Kitchen handles
- Adds personality to your cabinetry
- Ideal as kitchen cupboard or Drawer Handles
€5.50 – €9.95 (Inc. VAT) -
Fortessa Milan Privacy Door Handles Box Set
WC Privacy Door Handle Box Set
Key features:
- Elegantly curved lever door handle
- Sits on Round Rose
- Box Set Includes Pair of door Handles, Hinges, Escutcheons And Lock
- Ideal for Trades people and for DIY
€45.02 (Inc. VAT) -
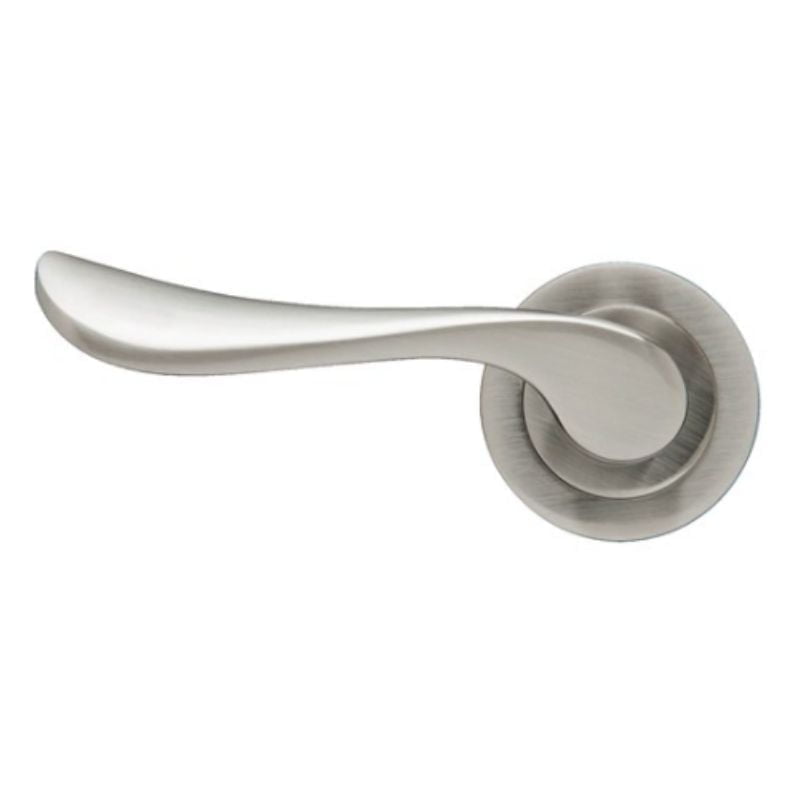
Fortessa Milan Curved Door Handles Box Set
Satin Nickel Curved Door Handles
Key features:
- Elegantly curved lever door handle
- Satin Nickel finish
- Box Set Includes Pair of door Handles, Hinges, Escutcheons And Lock
- Ideal for Trades people and for DIY
€45.00 (Inc. VAT) -
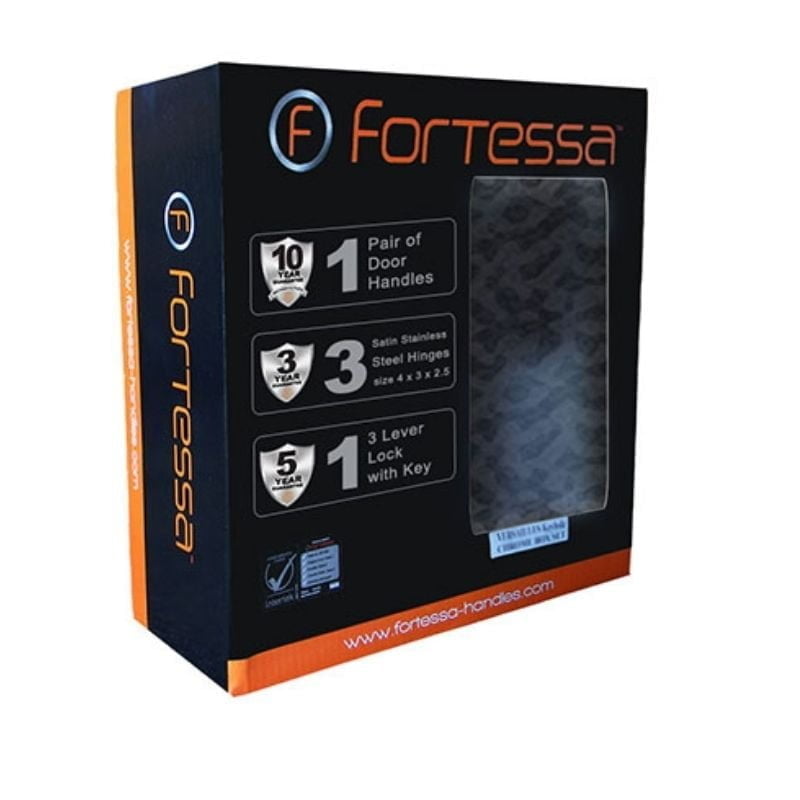
Fortessa Versailles Polished Brass Privacy Door Handles Box Set
Polished Brass WC Privacy Door Handle Box Set
Key features:
- A high quality lever door handle on a traditional rounded backplate.
- Finish: Polished Brass
- Box set includes: handle, hinges and 3 lever lock
- Ideal for Trades people and for DIY
€47.43 (Inc. VAT) -
Fortessa Amalfi Door Handle Box Set
Fortessa Amalfi Door Handle Set
Key features:
- High quality and looks great
- Trusted brand
- Boxed set
- Ideal for Trades people and for DIY
€44.75 (Inc. VAT) -
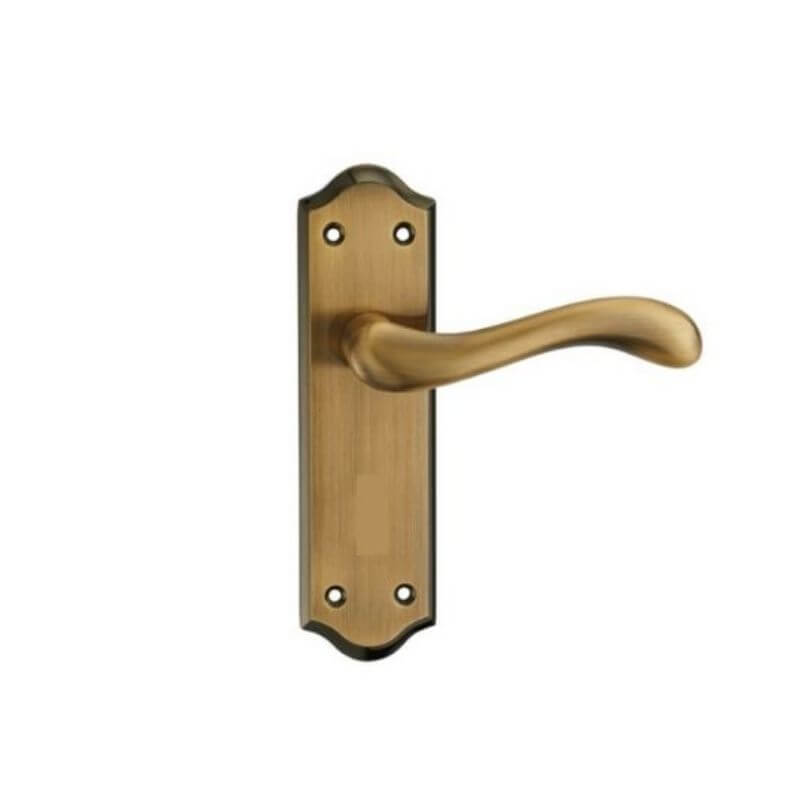
Fortessa Versailles Antique Bronze Privacy Door Handles
Antique Bronze WC Privacy Door Handles
Key features:
- A high quality lever door handle on a traditional rounded backplate
- Finish: Antique Bronze
- Box set includes: handle, hinges and 3 lever lock
- Ideal for Trades people and for DIY
€56.40 (Inc. VAT) -
Chunky D Door Handles Bronze 128mm
Chunky Bronze D Door Handle
Key features:
- Smooth polished finish
- Great look and feel
- 128mm
- Easy to clean
€5.41 (Inc. VAT) -
Fortessa Versailles Satin Brass Privacy Door Handles Box Set
Versailles Brass WC Privacy Door Handles Box Set
Key features:
- Privacy WC Door Handles Box Set
- Satin Brass finish
- Box set includes: handle, hinges and 3 lever lock
- Ideal for Trades people and for DIY
€47.43 (Inc. VAT) -
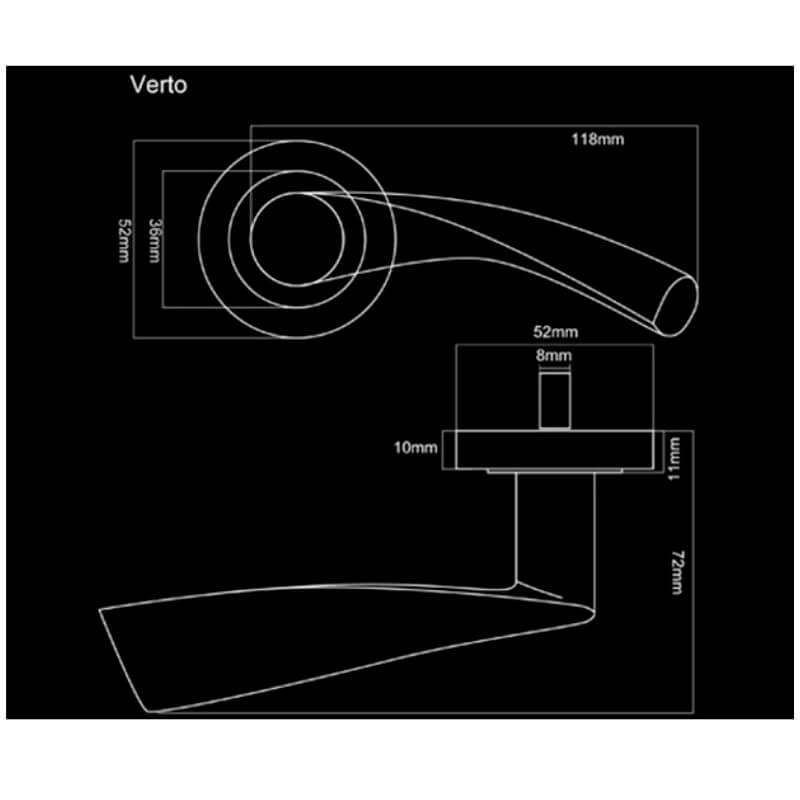
Fortessa Verto Satin Nickel WC Privacy Door Handles Box Set
Fortessa Verto Door Handles Satin Nickel WC Box Set
Key features:
- A distinctive and stylish privacy door handle box set
- Finish Satin Nickel
- Box Set Includes Handle, Hinges, Escutcheons And Lock
- Ideal for Trades people and for DIY
€50.55 (Inc. VAT)

My Build Club
Calling all Trades Professionals, Self Builders, Renovators and DIY lovers!
We have created an entirely unique section of our website that has been designed to make your life easier.
Enjoy discounts, get an even more enhanced level of customer service, find all your paperwork easily and get unique offers and deals regularly.
My Build Club is a brand new innovative service for all Self Builders, Renovators, Trade Professionals and DIY lovers in Ireland.
We have revolutionised how you can source the right products at the very best prices along with putting you in touch with real life experts to help you every step of the way.
Why join today?
- Save money and time when sourcing the supplies you need
- Get Trade discounts just like you would at our Trade Counter
- On demand support from our experts – video calls, live chat and phone support
- All of your paperwork and invoices in the one place
- Arrange fast delivery – including to work sites

This Post Has 0 Comments