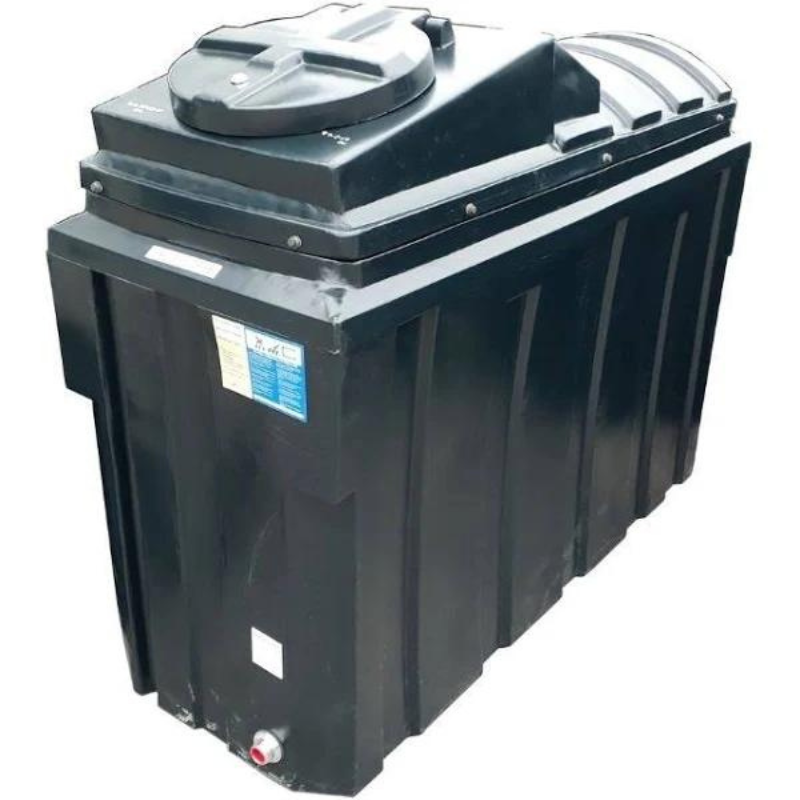
How to replace an oil tank – a step by step guide
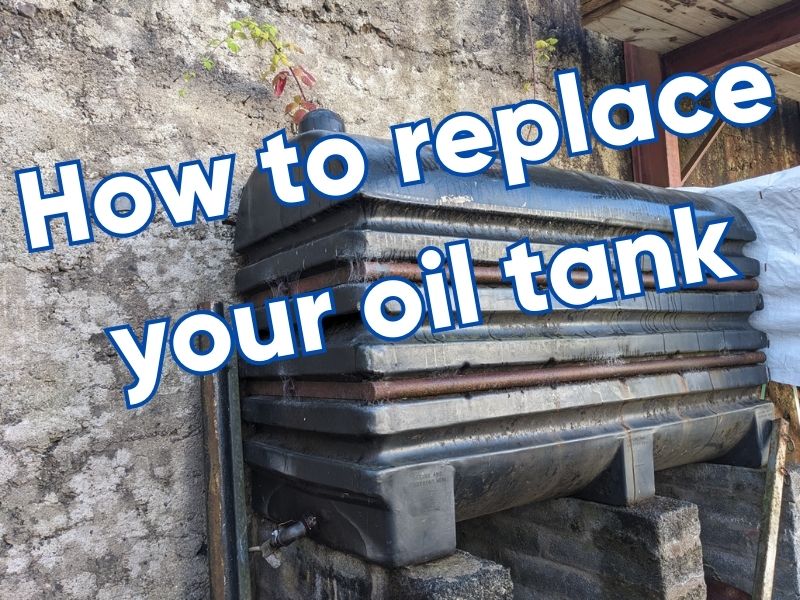
Replacing an old or faulty oil tank is a crucial task for homeowners who rely on oil-based heating systems. Whether your tank has reached the end of its lifespan, is damaged, or you’re simply upgrading to a newer, more efficient model, knowing how to replace an oil tank is essential.
We supply oil tanks quickly throughout Ireland and many people take this job on themselves so we have put together this guide to walk you through the process step by step, ensuring a safe and efficient transition to your new oil tank.
Step 1: Safety First
Before you begin, prioritise safety. Oil tanks can contain residual oil and fumes that are flammable and harmful if inhaled. Ensure you have:
- Protective Gear: Wear appropriate safety gear, including gloves, safety goggles, and clothing that covers your skin.
- Ventilation: Work in a well-ventilated area or use a fan to disperse fumes.
- Extinguishers: Have fire extinguishers nearby and know how to use them.
- Power Off: Shut off the power supply to your heating system to prevent any accidental ignition.
Step 2: Assess the Situation
Determine the condition of your existing oil tank. Look for signs of rust, leaks, or structural damage. If the tank is leaking, contact a professional immediately to address the issue.
Step 3: Obtain Necessary Permits
Check with your local council to see if you need any permits to replace your oil tank. Compliance with local regulations is crucial to ensure safety and avoid legal issues.
Select a replacement oil tank that meets your needs and is compatible with your heating system. Consider factors such as size and how big you need your new oil to be. You can see the available range here.
Step 5: Drain the Old Tank
Before removing the old tank, it’s essential to drain any remaining oil. You can do this by:
- Shutting Off Valves: Close all valves connected to the tank, including the oil supply and return lines.
- Use a Pump: Use an oil transfer pump to remove the oil from the tank into suitable containers.
- Proper Disposal: Ensure you dispose of the old oil properly according to local regulations or by contacting a waste oil disposal service.
Step 6: Remove the Old Tank
Removing the old tank can be challenging, as it can be heavy and unwieldy. It may be the case that you have to hire professionals for this part of the process but if you can get some help from friends or family this is achievable. However, if you choose to do it yourself, use appropriate lifting equipment and follow these general steps:
- Disconnect Lines: Carefully disconnect all lines (fill, vent, supply, return) from the tank.
- Secure It: Secure the tank using straps or other suitable equipment to prevent it from falling or tipping during removal.
- Lift and Transport: Lift the tank using appropriate lifting equipment and transport it to a safe location for disposal.
Step 7: Install the New Tank
Once the old tank is removed, it’s time to install the new one:
- Positioning: Place the new tank in the desired location, ensuring it meets local regulations for clearance and safety.
- Connect Lines: Reconnect the fill, vent, supply, and return lines to the new tank. Make sure all connections are secure.
- Test for Leaks: Conduct a thorough check for leaks by pressurizing the tank with air (not oil) and using soapy water to detect any escaping air bubbles.
Many people take this opportunity to replace the fittings and lever valve etc. We have put together the most common parts needed into this handy Oil Tank Pack Kit. This is inexpensive and includes;
- Oil Filter
- Compression Lever Valve
- Reducing Nipples
- 90 degree Elbow
- Compression fittings
Step 8: Fill the Tank
Fill the new tank with the appropriate amount of oil, following manufacturer guidelines and local regulations.
Step 9: Restart Your Heating System
Turn the power back on and restart your heating system, ensuring it operates correctly and efficiently with the new oil tank.
Replacing an oil tank is a complex but manageable process. Safety, compliance with regulations, and proper installation are crucial to ensure a successful tank replacement. If you’re uncertain or uncomfortable with any step of the process, it’s always best to consult a professional to ensure your heating system runs smoothly and safely.
-
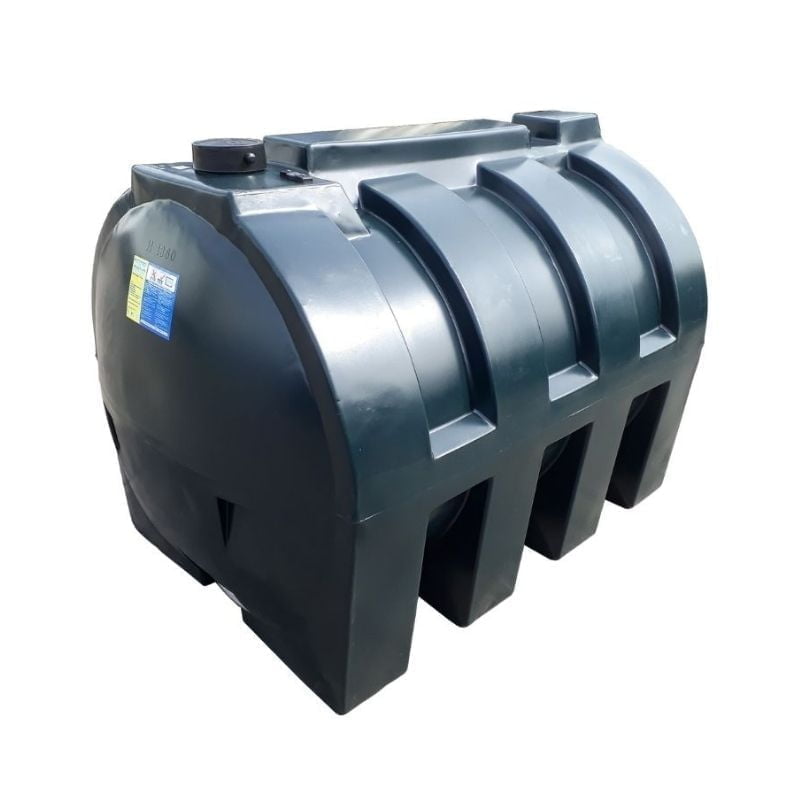
Oil Tank Horizonal 1360 Litres
1360 Litre Oil Tank – Horizontal
Key features:
- High quality Oil Tank
- Horizontal orientation
- 1360 Litre capacity
- Ideal for new install or as replacement
€470.00 (Inc. VAT) -
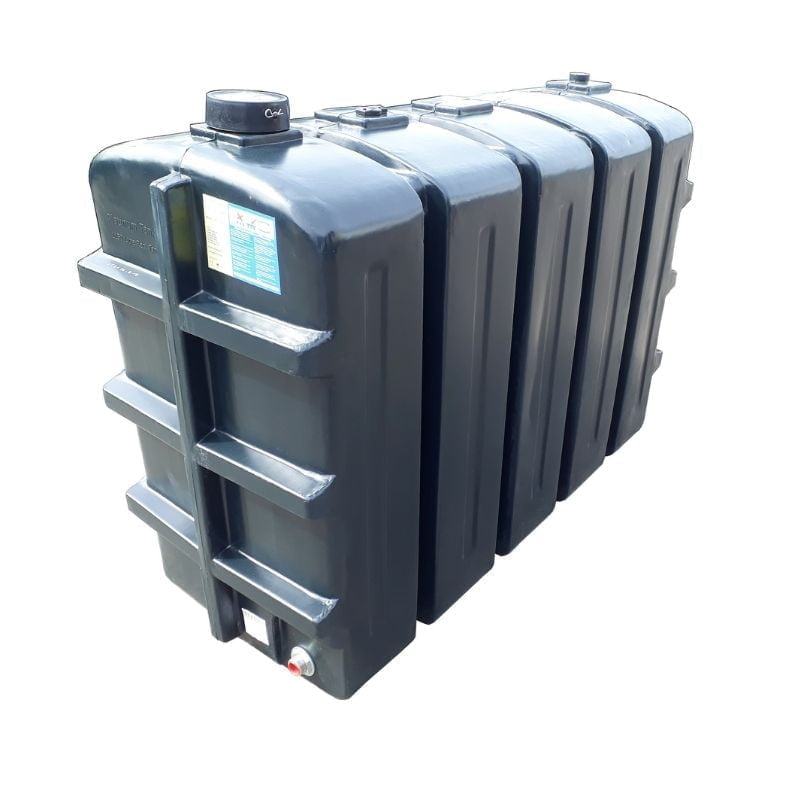
Slim Oil Tank 950 Litres
Narrow Oil Tank with 950 Litre capacity
Key features:
- High quality Oil Tank
- Trusted brand
- 950 Litre capacity
- Slim / Narrow profile
€440.00 (Inc. VAT) -
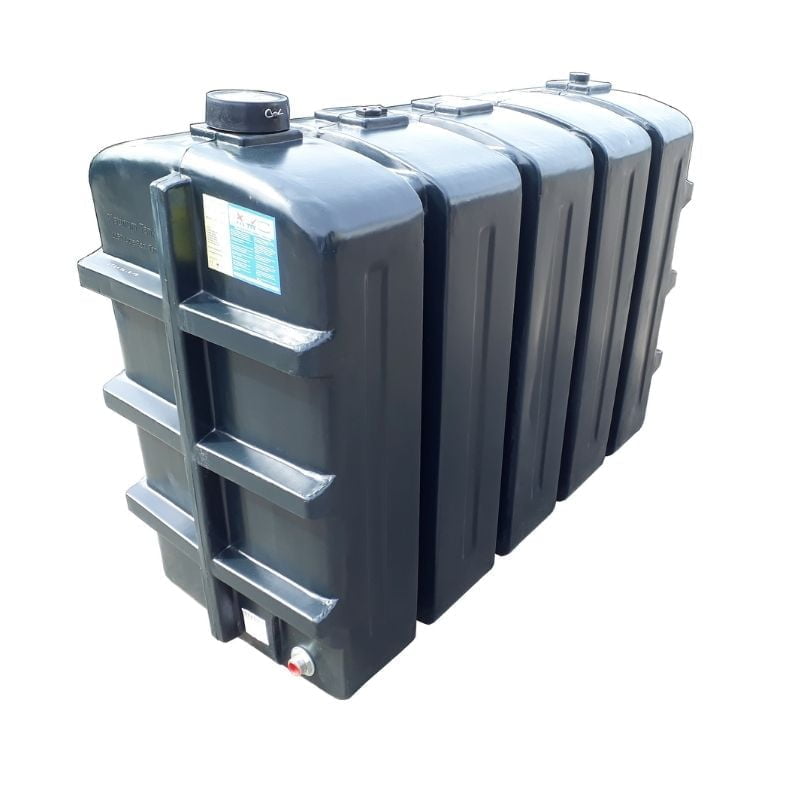
Oil Tank Rectangular 1150 Litres
1150 Litre Rectangular Oil Tank
Key features:
- High quality Oil Tank
- Trusted brand
- 1150 Litre capacity
- Ideal for new installation or replacement
€435.00 (Inc. VAT) -
Bunded 650 Litre Rectangular Oil Tank
- Length: 1,550mm (65″)
- Width: 680mm (26.7″)
- Height: 1,600mm (63″)
- Capacity: 650 Litres (171 Gallons)
€875.00 (Inc. VAT)
My Build Club
Calling all Trades Professionals, Self Builders, Renovators and DIY lovers!
We have created an entirely unique section of our website that has been designed to make your life easier.
Enjoy discounts, get an even more enhanced level of customer service, find all your paperwork easily and get unique offers and deals regularly.
My Build Club is a brand new innovative service for all Self Builders, Renovators, Trade Professionals and DIY lovers in Ireland.
We have revolutionised how you can source the right products at the very best prices along with putting you in touch with real life experts to help you every step of the way.
Why join today?
- Save money and time when sourcing the supplies you need
- Get Trade discounts just like you would at our Trade Counter
- On demand support from our experts – video calls, live chat and phone support
- All of your paperwork and invoices in the one place
- Arrange fast delivery – including to work sites


