Power hose your decking without doing damage
A Comprehensive Guide to Power Hosing Decking: Revive Your Outdoor Space
A well-maintained deck can be a centerpiece of your outdoor living space, providing a place for relaxation, entertainment, and family gatherings. Over time, however, decks can accumulate dirt, grime, mold, and stains that dull their appearance.
Power hosing, or pressure washing, is an effective method for restoring the beauty of your decking- but you need to be careful with it. So lets take a look at the process of power hosing your decking, ensuring a successful and satisfying outcome.
Assessing the Condition of Your Deck
Before you begin power hosing, it’s important to assess the condition of your deck. Check for any loose or damaged boards, protruding nails, or other structural issues that need to be addressed. Taking care of these problems before power hosing will prevent further damage to your deck and ensure a longer lifespan.
Gathering the Necessary Equipment
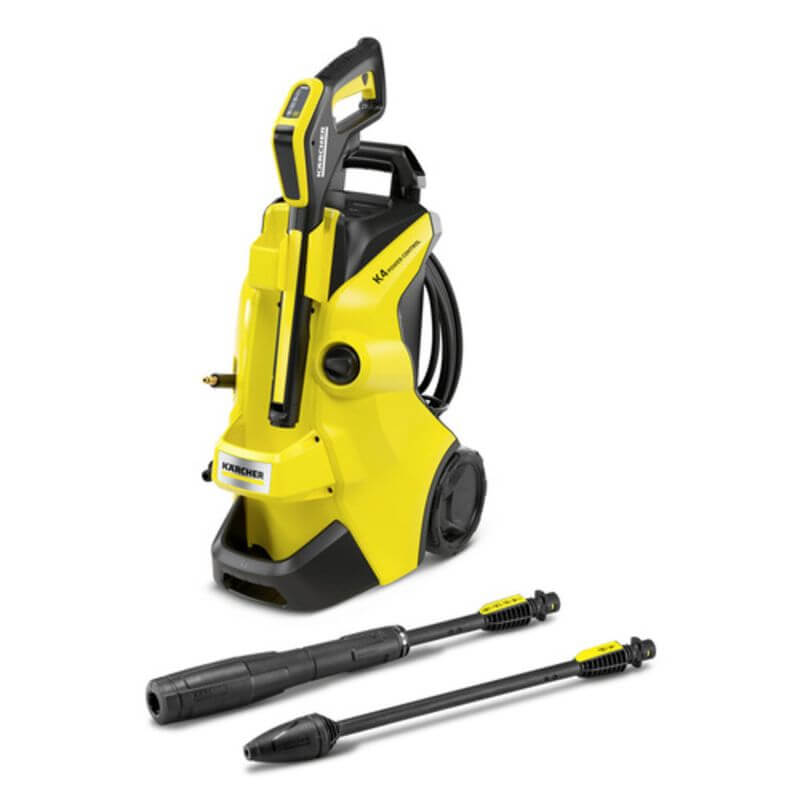
To power hose your decking, you will need specific equipment. First and foremost, you’ll need a pressure washer with a suitable PSI (pounds per square inch) rating for your deck. Choosing a medium-duty pressure washer with a range of 1,500 to 2,000 PSI is generally sufficient for most residential decking.
Additionally, you’ll require appropriate nozzle tips based on the type of wood or material used for your deck. A fan tip with a 40 to 60-degree spray pattern is recommended for most decks to provide even coverage without damaging the wood.
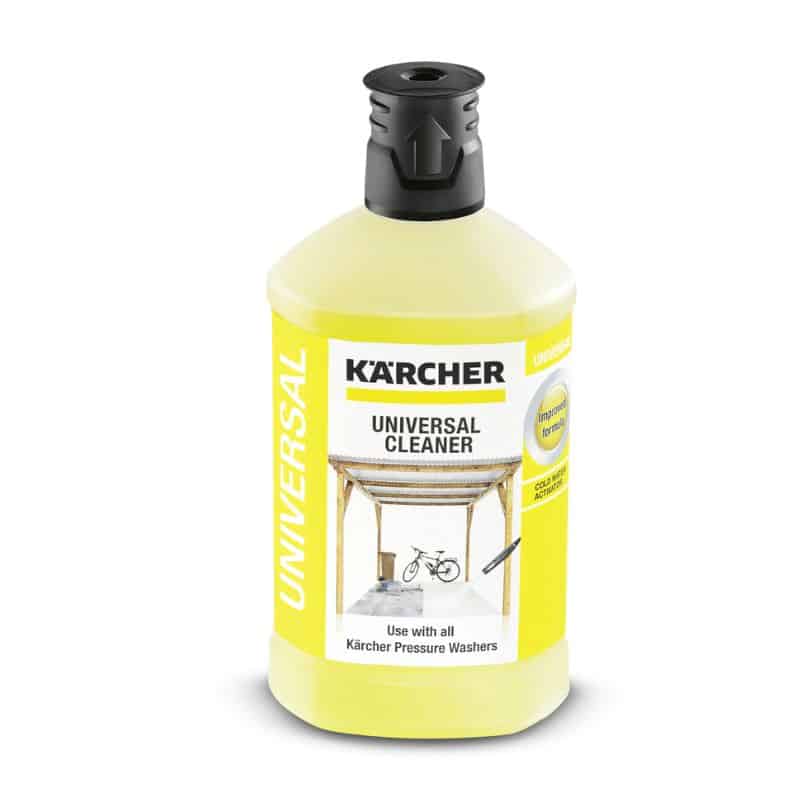
Don’t forget to gather safety gear, such as safety goggles, gloves, and suitable footwear, to protect yourself from potential debris and high-pressure water. You’ll also need a cleaning solution specifically designed for decks, preferably an environmentally friendly option that won’t harm plants, animals, or the surrounding environment. Lastly, have a stiff-bristle broom or brush handy for scrubbing stubborn stains or mildew.
Preparing the Decking Area
Before you begin power hosing, clear the deck of any furniture, potted plants, or other objects. This will allow you to have unrestricted access to the entire deck surface. Cover nearby plants or delicate surfaces with plastic sheeting or drop cloths to protect them from potential damage caused by the cleaning solution or high-pressure water.
Pre-Cleaning the Deck
Sweep the deck thoroughly to remove loose debris, leaves, and dirt. This initial cleaning step is crucial as it prevents clogging the pressure washer and helps the cleaning solution to penetrate deeply into the wood.
Applying the Cleaning Solution
If your deck has stains or mildew, apply the deck cleaning solution according to the manufacturer’s instructions. Use a pump sprayer or a handheld brush to evenly distribute the solution over the deck surface. Allow the cleaner to sit for the recommended amount of time, typically 10 to 15 minutes, to break down dirt and grime.
Power Hosing Technique
Proper technique is key when power hosing your decking to achieve optimal results without causing damage. Here’s a step-by-step guide:
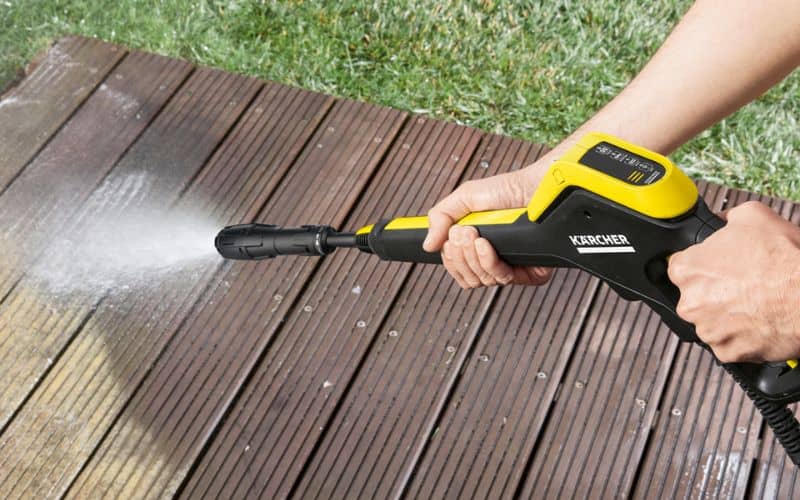
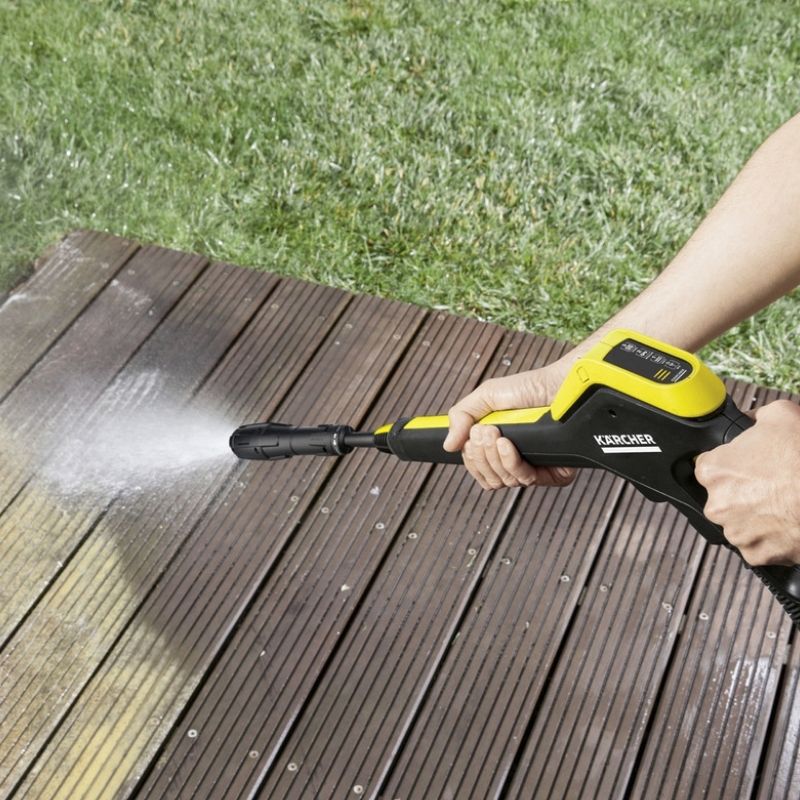
- Attach the appropriate nozzle tip to your pressure washer, ensuring it is securely in place. Begin power hosing your deck by standing a comfortable distance away, typically around two feet, to avoid damaging the wood.
- Start with a low-pressure setting and gradually increase it as needed. Test the pressure on a small inconspicuous area to ensure it doesn’t cause any harm. Adjust the pressure according to the type of wood and the level of dirt or stains on your deck.
- Use smooth, sweeping motions and maintain a consistent distance from the deck surface to achieve even cleaning. Avoid holding the nozzle too close to the wood, as this can cause gouging or splintering.
- Pay extra attention to heavily soiled or stained areas. In such cases, you may need to use the stiff-bristle broom or brush to assist in scrubbing and loosening stubborn dirt or grime.
- Work systematically, starting from one end of the deck and moving towards the other. Ensure all areas are thoroughly cleaned, including the spaces between the deck boards.
- Be cautious around delicate areas such as painted surfaces or fragile wood. Adjust the pressure and technique accordingly to avoid causing damage.
- Rinse the deck periodically during the power hosing process to remove loosened dirt and debris. This will also help you gauge your progress and identify any missed spots.
Rinse and Drying
Once you have thoroughly power hosed the entire deck, it’s time to rinse away the cleaning solution and loosened debris. Start from one end of the deck and work your way systematically, ensuring all areas are rinsed evenly. Avoid lingering in one spot for too long, as excessive pressure or concentrated water streams can damage the wood.
After rinsing, allow sufficient drying time before moving furniture or using the space. Depending on weather conditions, it may take anywhere from 24 to 48 hours for the deck to dry completely. Ensure the deck is completely dry before applying any stains, sealants, or finishes.
Power hosing your decking can be a highly rewarding process that breathes new life into your outdoor space. By following the steps outlined in this comprehensive guide, you’ll be able to effectively clean and revitalize your deck, restoring its beauty and prolonging its lifespan. Remember to assess the condition of your deck, gather the necessary equipment, and employ proper power hosing techniques for the best results. With a little effort and care, your deck will be ready to enjoy for years to come.
-
Out of StockAdd to cart
Karcher K7 Premium Smart Control Power Washer (1.317-232.0)
€559.95 (Inc. VAT)


