How to install Tile Backer Board
Tiling a wall can be an exciting and transformative project that adds both functionality and aesthetic appeal to any space. To ensure a durable and long-lasting installation, it’s essential to properly prepare the surface before tiling. One crucial element in this preparation is the use of a tile backer board. So let’s take a look at the process of using a tile backer board for wall tiling, so you have the knowledge and steps necessary to achieve professional-looking results.
What is a Tile Backer Board?
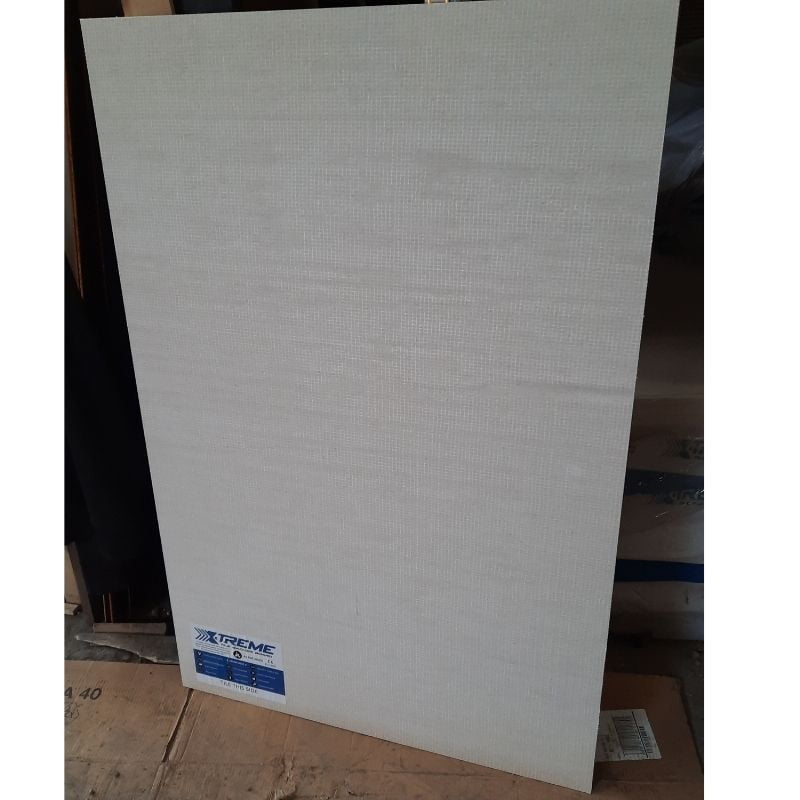
A tile backer board, also known as cement board or cementitious backer unit (CBU), is a rigid panel made from a mixture of cement and reinforcing fibers. It is specifically designed to provide a stable and waterproof surface for tiling walls, floors, and other areas prone to moisture. Tile backer boards are available in various thicknesses and sizes, offering flexibility to suit different project requirements.
-
Shop options This product has multiple variants. The options may be chosen on the product page
Tile Backer Board
€16.00 – €17.50 (Inc. VAT)
Why Use a Tile Backer Board?
Using a tile backer board offers several benefits when tiling a wall:
- Moisture resistance: Tile backer boards are impervious to water, preventing moisture from seeping into the wall and causing damage. This feature is particularly crucial in areas like bathrooms, kitchens, and laundry rooms.
- Stability: Backer boards create a stable and even surface for tile installation, minimizing the risk of cracks or movement that can compromise the integrity of your tiled wall.
- Durability: The reinforced construction of tile backer boards ensures long-lasting strength and resistance to impacts, preventing tiles from becoming loose or breaking over time.
- Easy installation: Tile backer boards are relatively simple to install, making them accessible to both DIY enthusiasts and professional tilers. The boards can be easily cut and shaped to fit any wall size or layout.
Step-by-Step Guide to Using a Tile Backer Board for Wall Tiling:
- Prepare the surface: Start by removing any existing wall coverings, such as wallpaper or loose paint. Ensure the wall is clean, dry, and free from any debris. Repair any cracks or holes in the wall surface using an appropriate filler.
- Measure and cut the backer board: Measure the dimensions of the wall and transfer these measurements to the backer board. Use a straightedge and a utility knife to score the board along the marked lines. Apply pressure along the scoreline to snap the board and obtain the desired size. Smooth the cut edges with a rasp or sandpaper.
- Position and fasten the backer board: Apply a high-quality construction adhesive to the backer board studs or wall surface. Carefully position the board on the wall, ensuring it is level and plumb. Secure the board in place using backer board screws or galvanised roofing nails, ensuring the fasteners penetrate the studs or solid backing.
- Seam reinforcement: If multiple backer board panels are used, reinforce the seams to prevent movement and ensure a seamless surface. Apply a layer of mesh tape over the joints, followed by a coat of thin-set mortar. Smooth out any excess mortar and allow it to dry.
- Waterproofing: To enhance moisture resistance, consider applying a waterproofing membrane over the backer board surface. This step is particularly important in wet areas such as showers or tub surrounds. Follow the manufacturer’s instructions for proper application.
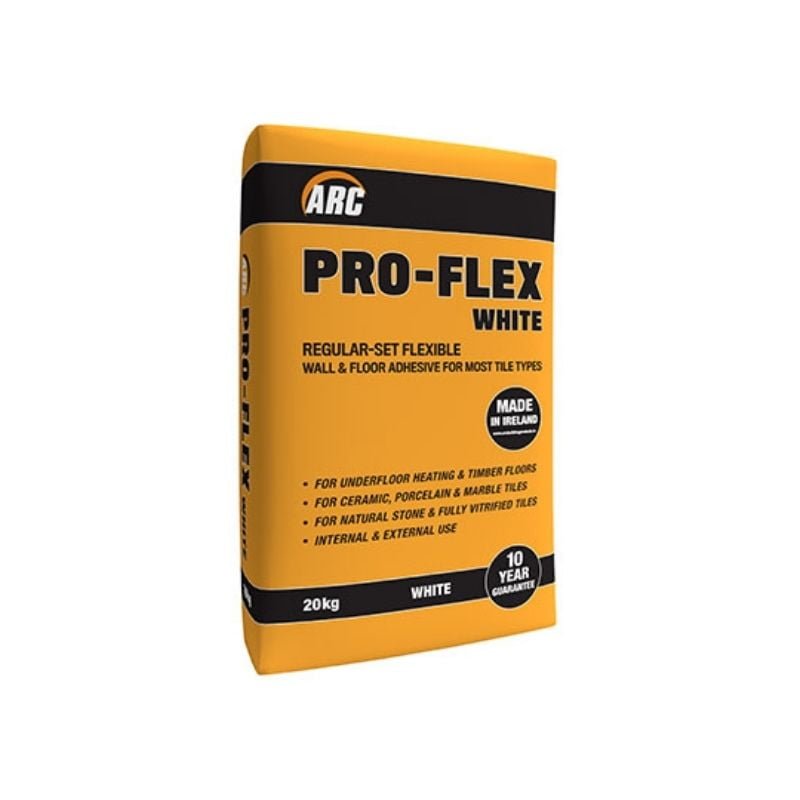
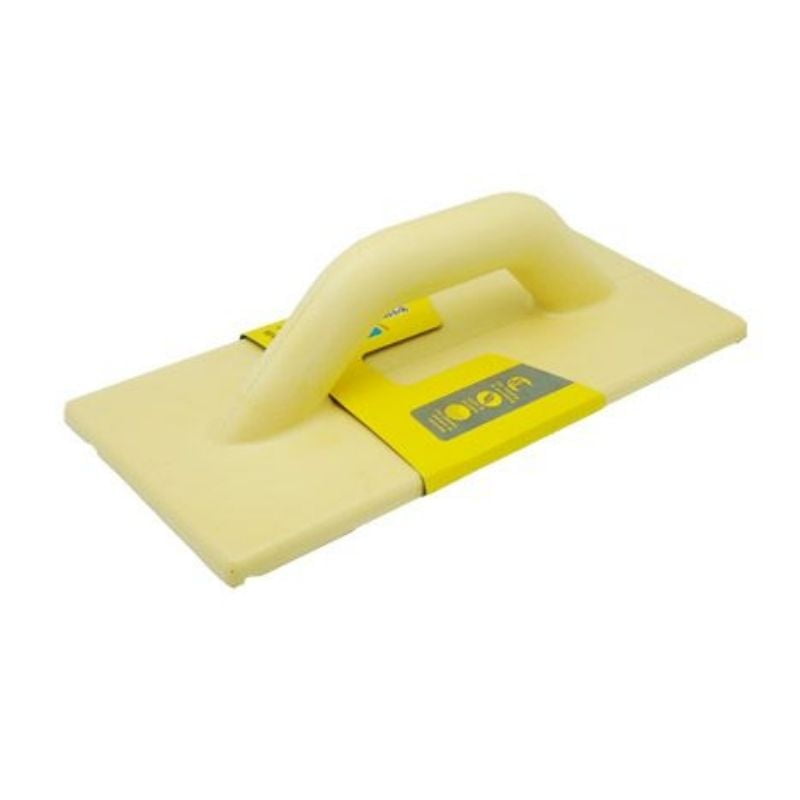
- Tile installation: Once the backer board is securely in place, you can proceed with tiling. Apply a layer of thin-set mortar or adhesive to the backer board using a notched trowel. Press the tiles firmly into place, leaving appropriate spacing between them. After the mortar dries, grout the tiles using a rubber float and then wipe away the excess.
This is the sort of job that is doable by most people with some forward planning and the right tools. As always, our friendly team are on hand to help and you can call us anytime on 0818 888 000 or email us.
-
Shop options This product has multiple variants. The options may be chosen on the product page
Tile Backer Board
€16.00 – €17.50 (Inc. VAT)
My Build Club
Calling all Trades Professionals, Self Builders, Renovators and DIY lovers!
We have created an entirely unique section of our website that has been designed to make your life easier.
Enjoy discounts, get an even more enhanced level of customer service, find all your paperwork easily and get unique offers and deals regularly.
My Build Club is a brand new innovative service for all Self Builders, Renovators, Trade Professionals and DIY lovers in Ireland.
We have revolutionised how you can source the right products at the very best prices along with putting you in touch with real life experts to help you every step of the way.
Why join today?
- Save money and time when sourcing the supplies you need
- Get Trade discounts just like you would at our Trade Counter
- On demand support from our experts – video calls, live chat and phone support
- All of your paperwork and invoices in the one place
- Arrange fast delivery – including to work sites
