
How to paint interior walls like a PRO
Whether you’re breathing new life into a tired room or painting freshly plastered walls in a full renovation, a professional-looking paint job starts long before you open the tin.
In this guide, we’ll walk you through two common scenarios: a quick refresh, and a full interior renovation.
Both require care — just in different ways.
Scenario 1: Refreshing the look and feel
This is ideal when your walls are in decent shape but need a cosmetic lift — perhaps to update a colour scheme, brighten a room, or remove minor marks and scuffs.
Step 1: Choose your colour and finish
Selecting the right paint colour and finish is more than a design decision — it’s the foundation of how a room feels and functions.
A well-chosen shade can open up a space, add character, or create calm, while the right finish ensures it stands up to everyday life.

Light or Dark? Understanding the mood of colour
Lighter tones — think soft whites, creams, and subtle greys — reflect more light, making small or low-light rooms feel brighter and more open.
They’re ideal for living areas, hallways, or kitchens where a fresh, airy atmosphere is desired.
Darker shades, such as navy, charcoal, or deep greens, bring a sense of richness and intimacy.
These work beautifully in bedrooms, dining rooms, or on feature walls, where you want depth and mood.
When paired with layered lighting and natural textures, dark tones can feel both dramatic and cosy.
Inspiration:
- Try Dulux Jasmine White or Dulux Country White in north-facing rooms to counterbalance cool natural light.
- For bolder accents, Dulux Suspense or Dulux Tir Na Nog create a cocooning effect perfect for snug corners or home offices.
Tip: Always assess colours in real light. Use tester pots and apply in several spots across the room — near windows, in corners, and beside fixed elements like furniture or woodwork.
Finish matters more than you might think
A paint’s finish affects not only how it looks, but how it performs under daily use.
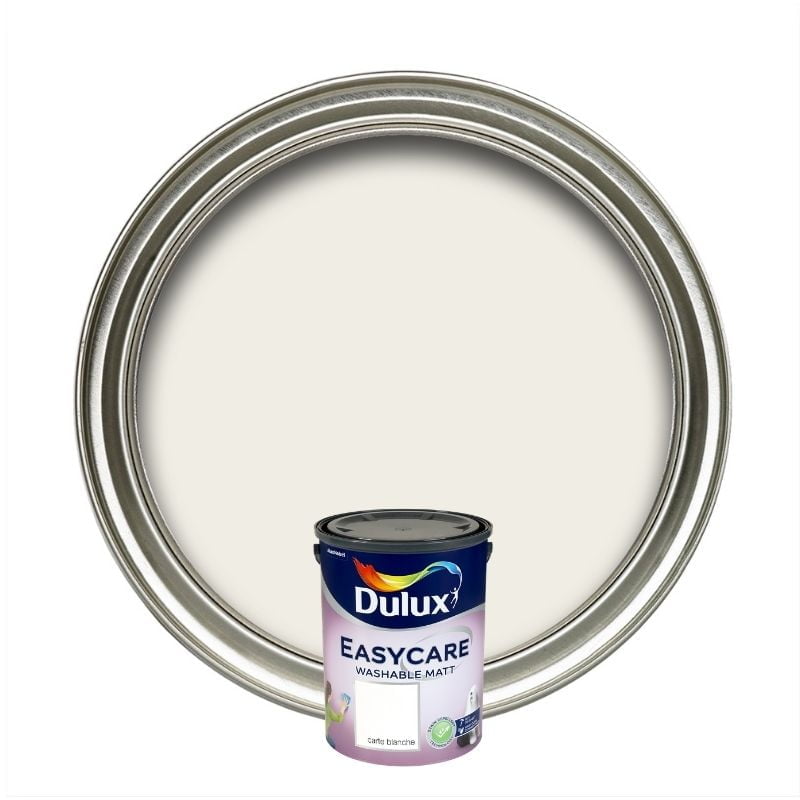
- Matt finishes offer a soft, contemporary feel and help hide surface imperfections — ideal for bedrooms, lounges, and ceilings. Choose Dulux Easycare Washable Matt for a classic matt appearance with added durability.
- Silk and satin finishes have a gentle sheen that reflects light, making rooms feel brighter and easier to maintain. These are excellent choices for high-traffic areas like hallways, kitchens, and children’s rooms.
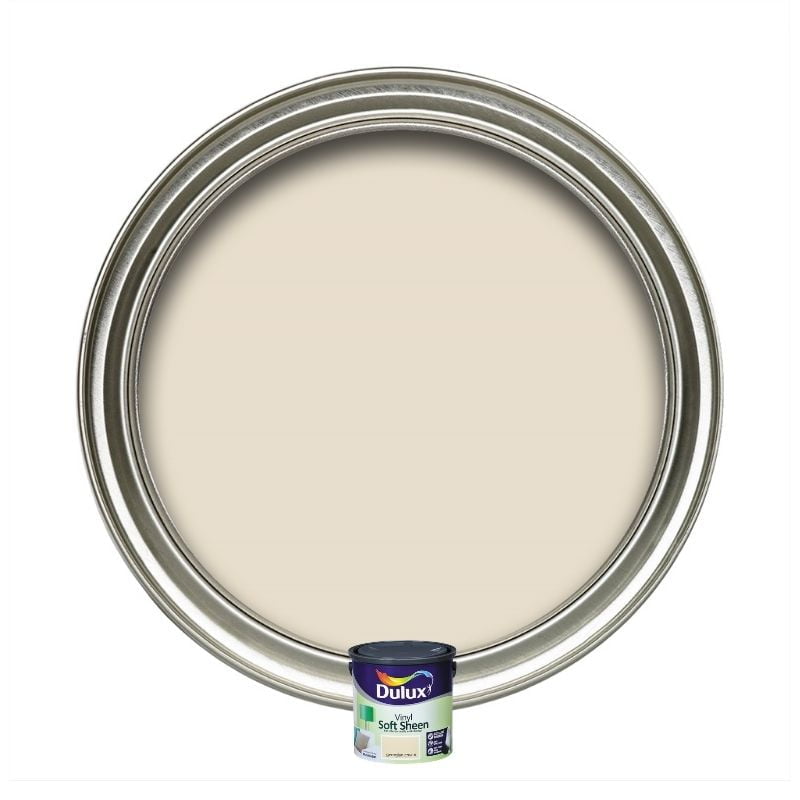
- Mid-sheen or soft sheen finishes strike a balance between subtle glow and washability — a practical option for busy family homes that need resilience without looking too glossy.
Common doubts:
- “What if the colour looks different on the wall?”
It often will. Colours can shift dramatically based on lighting and surroundings. That’s why testing on site is so important. - “Is matt a bad idea if I have children or pets?”
Not necessarily. Premium ranges like Dulux Easycare Washable Matt Interior Paint and Dulux Easycare Kids offer wipeable, tough matt finishes designed for modern family life.
-
 Shop options This product has multiple variants. The options may be chosen on the product page
Dulux Easycare Washable Matt Interior Paint
Price range: €40.16 through €77.35 (Inc. VAT)
-
 Shop options This product has multiple variants. The options may be chosen on the product page
Dulux Soft Sheen Emulsion Paint for Walls & Ceilings
Price range: €30.99 through €68.30 (Inc. VAT)
Step 2: Prepare the room
Before a brush ever touches the wall, a few careful steps can save hours of cleanup and frustration.
Skipping this stage often leads to splashes on furniture, paint bleeds on skirting boards, and unnecessary interruptions.
Start by clearing the space.
Where furniture can’t be removed, group it in the centre of the room and cover with dust sheets.
For delicate items or upholstered pieces, plastic sheeting offers added protection from spills.
Remove wall hangings, mirrors, curtain poles, and light switch covers.
This not only protects them but gives you full access to paint the wall surface properly.
Mask off any fixed fittings like skirting boards, sockets, switches, and ceiling edges using low tack masking tape — it gives clean lines without damaging surfaces when removed.
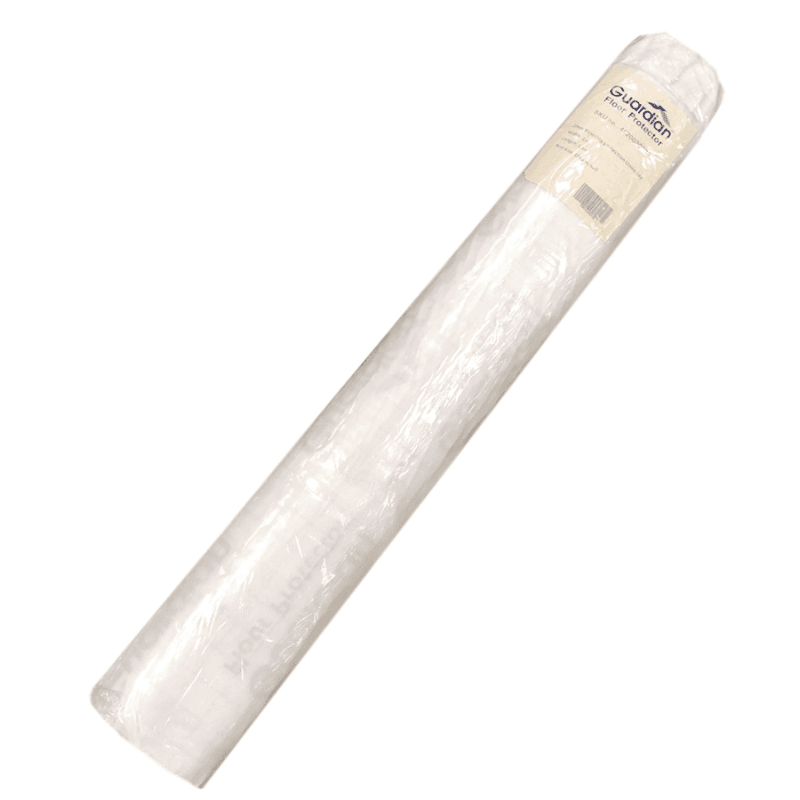
And don’t forget to protect your floors with a Floor Protector.
Common doubts:
- “Can I just paint around the furniture?” – You can, but you’ll risk a patchy finish and drips. Taking time now avoids regret later.
- “Is masking tape really necessary?” – Absolutely. It’s the difference between a sharp professional edge and a wobbly amateur one.
Step 3: Light cleaning and minor repairs
Even if your walls look “clean enough,” hidden grease, dust, and imperfections can sabotage a paint job — causing poor adhesion, flaking, or blotchy colour.
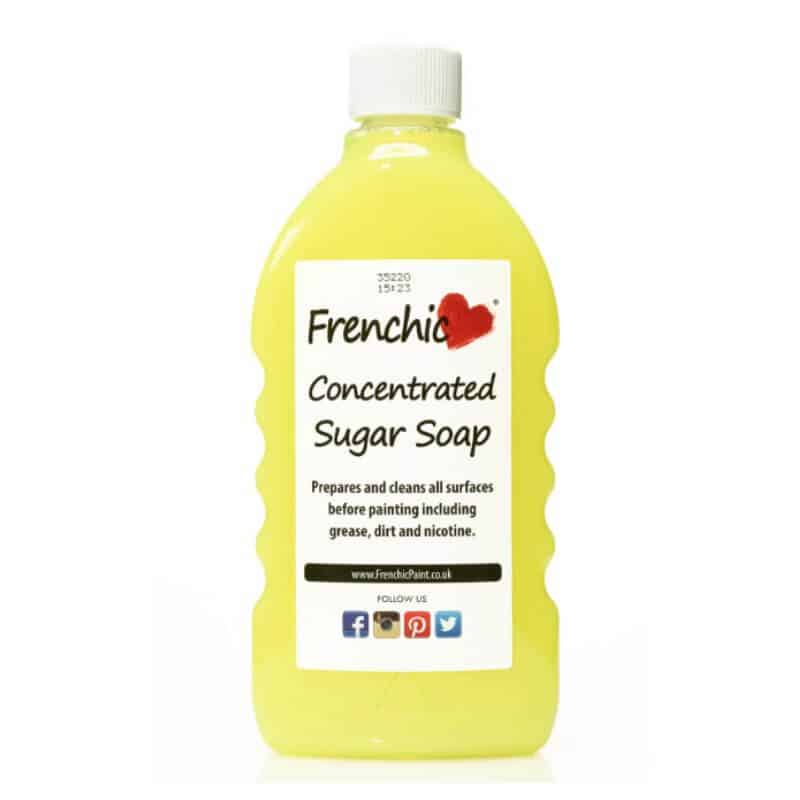
Begin with a wipe-down using Frenchic Sugar Soap, a gentle but effective cleaner that removes surface grime without harsh residues.
Pay special attention to kitchens, hallways, and around light switches — these areas often harbour invisible buildup.
Inspect the wall under good lighting.
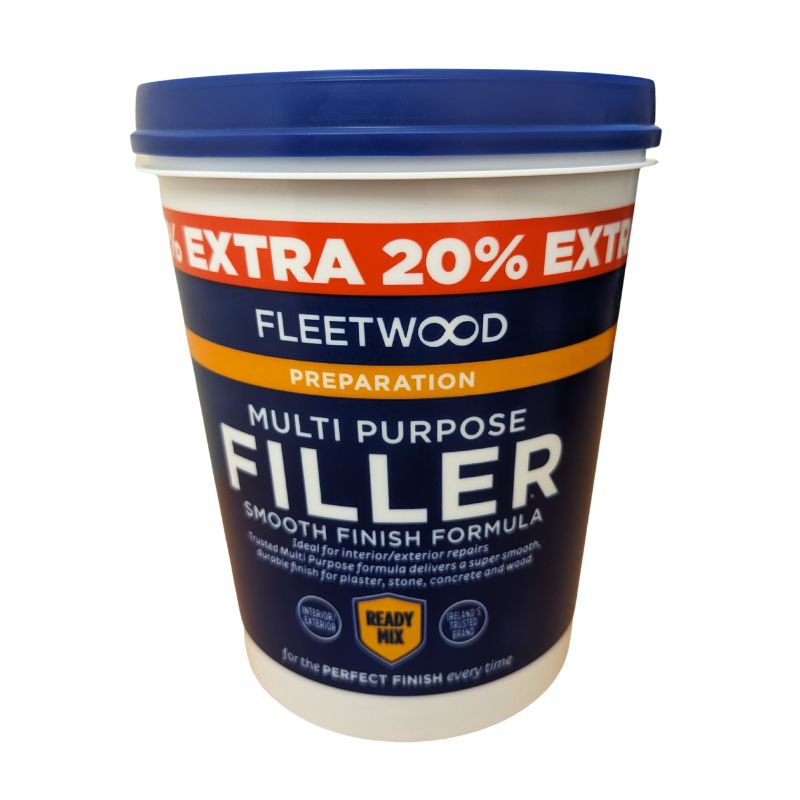
Use multi-purpose filler to repair nail holes, small cracks, or dents.
Once dry, sand flat with fine sandpaper or a sanding sponge, then remove all dust.
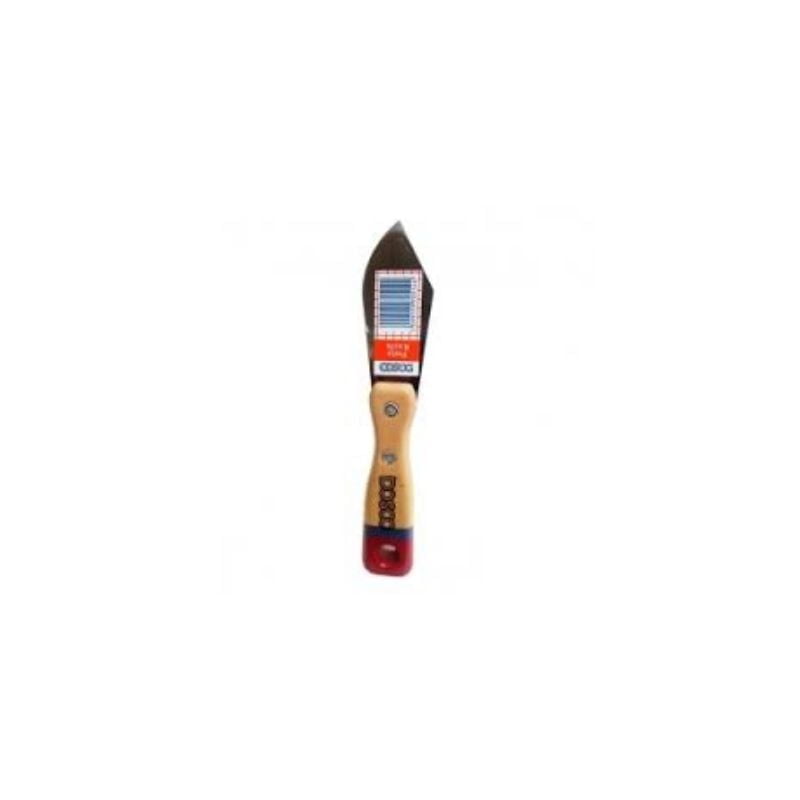
Don’t forget edges and corners. Use a TP9 filling knife for precision, especially around trims.
When to Prime:
- If you’re painting over a bold or dark colour with a pale shade.
- If the surface is glossy or has been previously stained (e.g., smoke, crayon, grease).
- If the wall feels powdery or chalky — in which case a stabilising solution or primer may be needed.
Common doubts:
- “Do I need to prime every wall?” – Not always. But skipping primer when it’s needed can result in patchy absorption and peeling later.
- “What if my walls are already painted?” – As long as the surface is sound, a good clean and light sanding will usually do.

-
 Shop options This product has multiple variants. The options may be chosen on the product page
Multi Purpose Filler – Fleetwood
Price range: €6.95 through €9.00 (Inc. VAT)
Step 4: Cutting in and rolling
This is where precision meets coverage. The secret to a flawless finish lies in mastering the rhythm between “cutting in” and rolling.
Start by cutting in – this means using an angled brush to paint around the edges of the wall: along skirting boards, around sockets, at the ceiling line, and into corners.
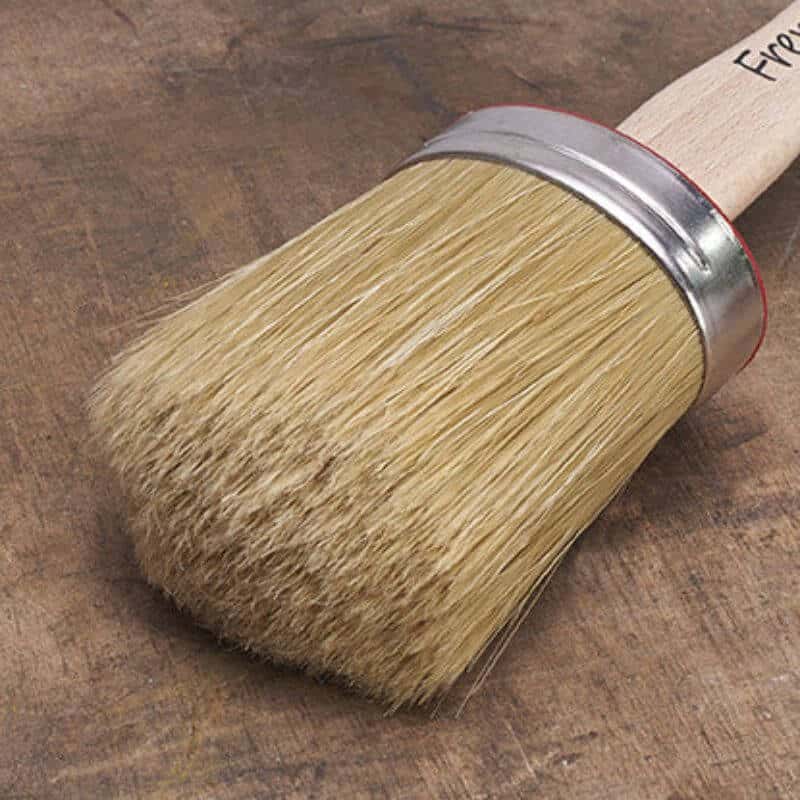
A quality Frenchic flat or oval brush offers the control you need here.
Immediately after cutting in, roll the adjoining area while the paint is still wet.
This helps blend the edges and prevents visible “cut-in lines.”
Work in sections of roughly one square metre at a time, overlapping slightly with each pass.
Keep a wet edge and roll in a W-shape to spread paint evenly.
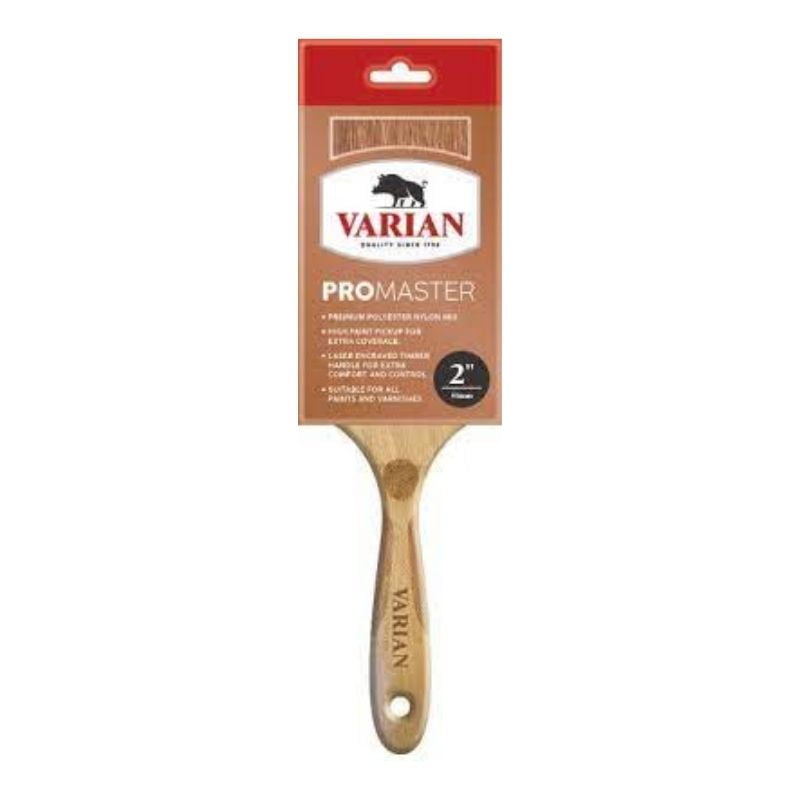
For detailed trimming or narrow areas, the 2 Inch Varian Decor Brush and Varian Promaster 2.5 Inch Paint Brush are practical tools that offer precision without sacrificing paint flow.
For painting medium and large areas, the Homestyle Plus from Varian or Paintwell brushes balance economy and performance.
For medium and small areas, a quality 4 inch plastic paint tray is an excellent companion to your brushes and rollers.
It’s lightweight, easy to clean, and perfect for holding small amounts of paint when working on trims, corners, or touch-ups.
When using larger rollers, refill your paint bucket regularly and avoid overloading the roller — it should be damp, not dripping.
Two coats are the sweet spot.
One may look good in the moment, but often reveals streaks or patchiness as it dries.
Common doubts:
- “Why does my paint look uneven when dry?” – It could be due to dry rolling over half-dried paint, poor prep, or cheap brushes. Stick with quality tools and don’t rush.
- “Can I skip the second coat?” – You can, but coverage and durability will suffer — especially with lighter shades.
-
 Shop options This product has multiple variants. The options may be chosen on the product page
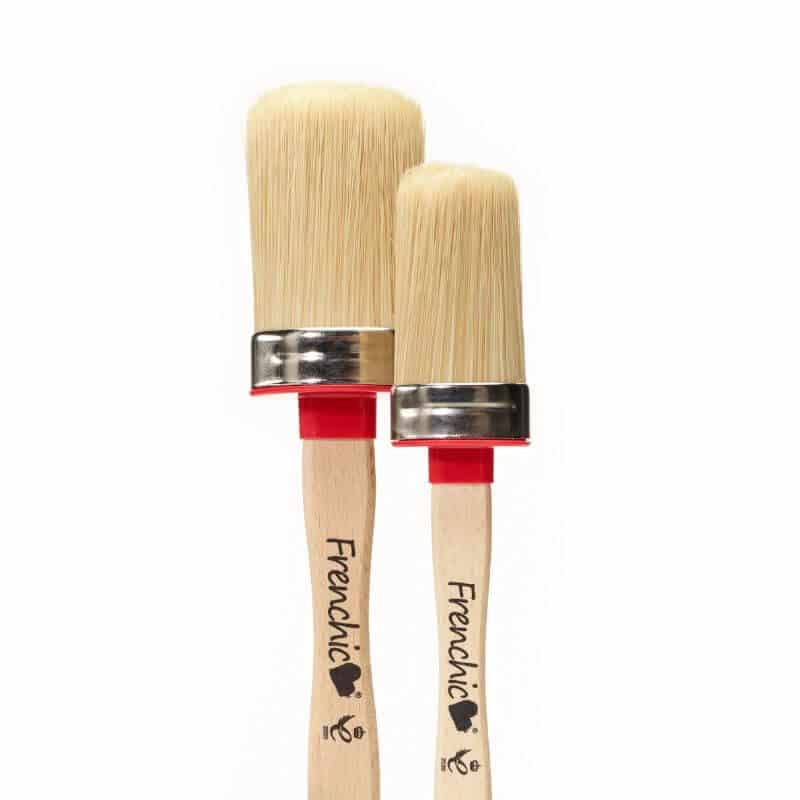
Frenchic Oval Brush
Price range: €11.44 through €22.92 (Inc. VAT)
-
 Shop options This product has multiple variants. The options may be chosen on the product page
Paint Brushes – Varian Promaster Range
Price range: €10.69 through €20.95 (Inc. VAT)
-
 Shop options This product has multiple variants. The options may be chosen on the product page
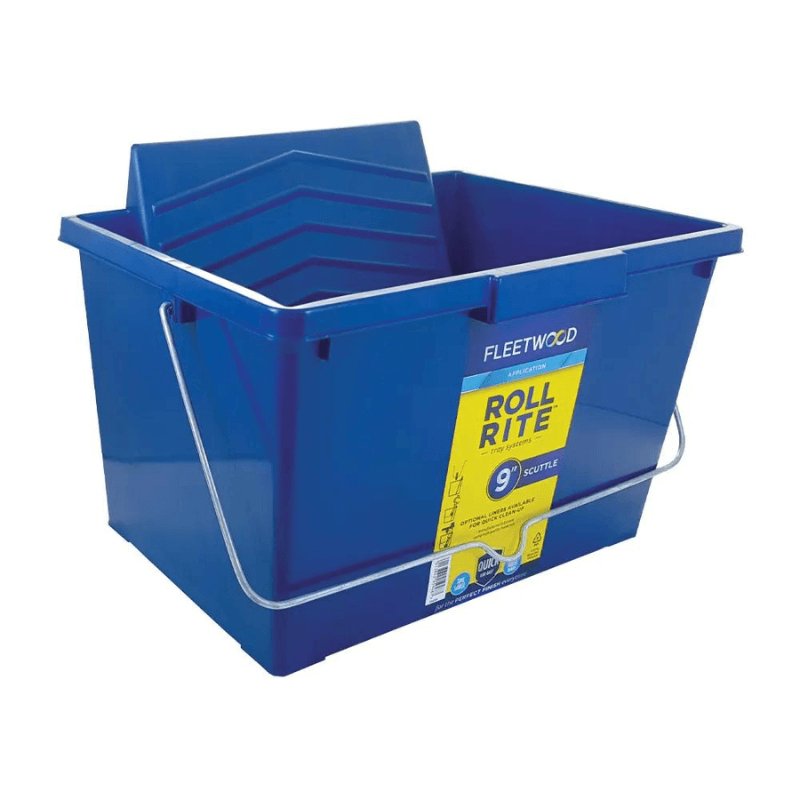
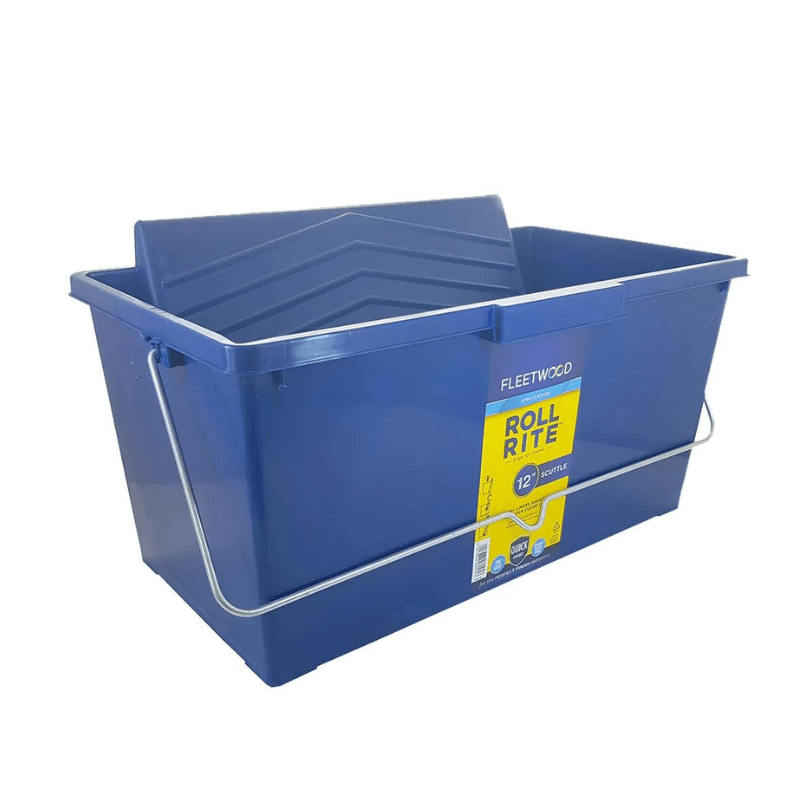
Fleetwood Paint Bucket Scuttle
Price range: €6.20 through €13.50 (Inc. VAT)

Step 5: Finishing up
You’ve done the hard part — now’s the moment to protect your work and bring the room back to life.
Timing matters: remove masking tape before the paint fully hardens to avoid tearing the finish. Peel it slowly and at a 45-degree angle for best results.
Once the paint is fully dry (refer to tin instructions, especially with washable emulsions like Dulux Easycare Washable Matt), reattach wall fittings and hang your décor.
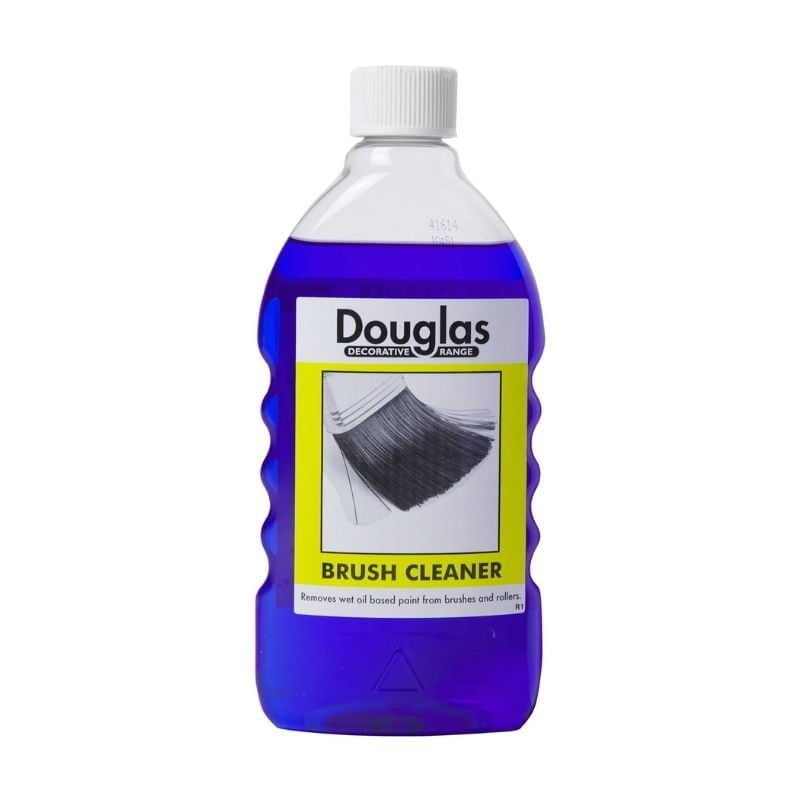
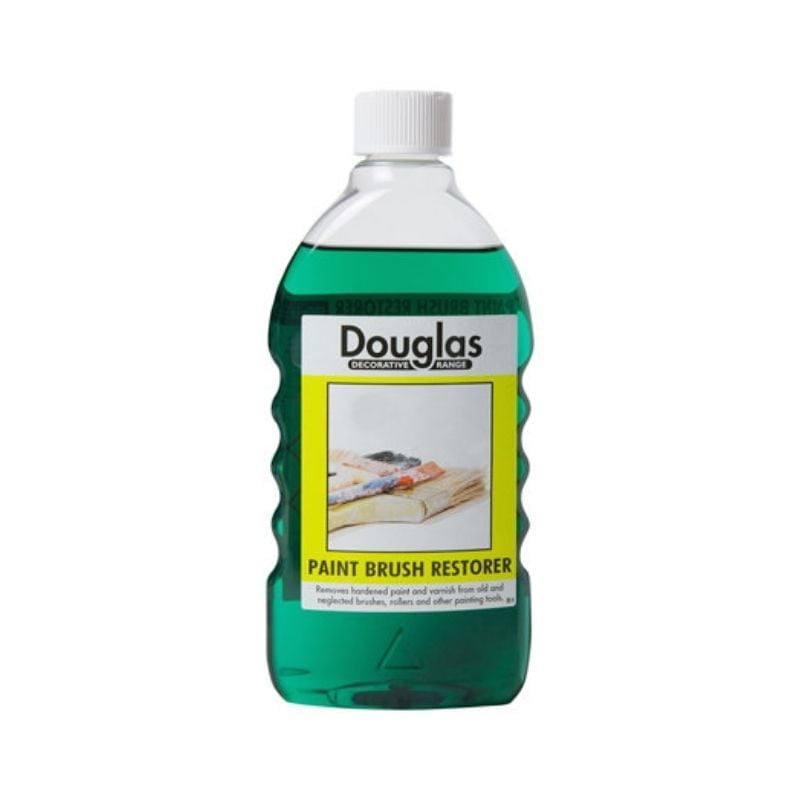
Clean your brushes and rollers thoroughly using brush cleaner or paint brush restorer.
Investing in good tools is only worthwhile if you care for them.
Touch up any areas you missed, and don’t forget to store leftover paint in a sealed tin.
Common doubts:
- “How long before I can move furniture back?” – Ideally 24–48 hours. Even if dry to touch, the paint may still be curing.
- “My tape pulled off some paint — why?” – It was likely left on too long. Remove it while the final coat is still just tacky.
-
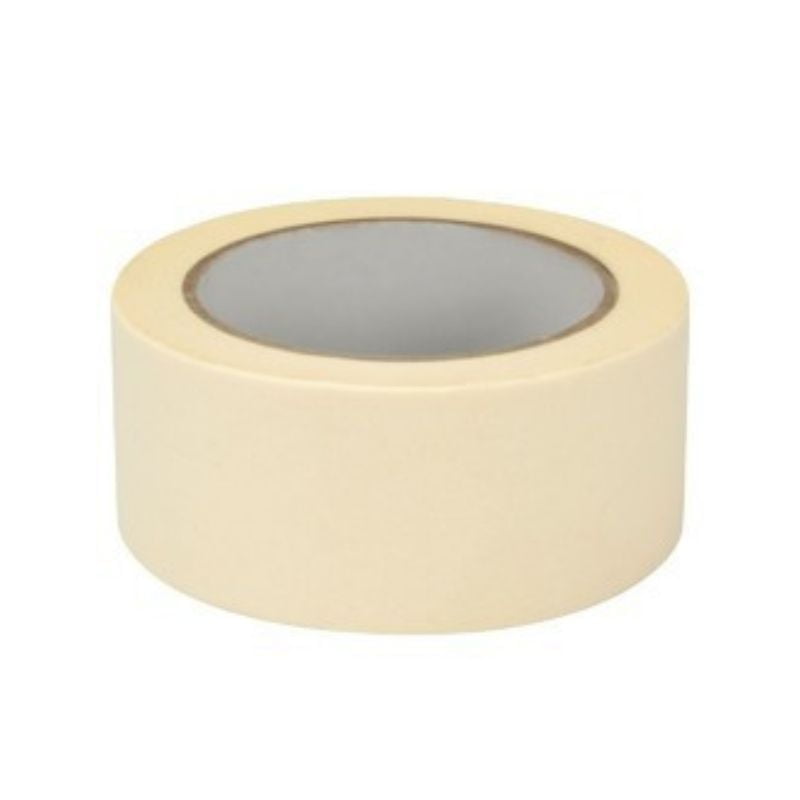 Shop options This product has multiple variants. The options may be chosen on the product page
Masking Tape
Price range: €1.99 through €3.50 (Inc. VAT)
Scenario 2: Full interior renovation project
When working with newly plastered or neglected walls, you’re not just changing the colour — you’re building the foundation for years of durability and finish.
This stage calls for patience and a systematic approach, but the results are worth it.
Step 1: Assess and sequence your Work
Painting should be the final flourish in your renovation journey — not a task squeezed in too early.
Before you even consider opening a paint tin, make sure all structural, plumbing, electrical, and plastering work is fully complete.
Dust, knocks, and last-minute drilling can undo hours of careful preparation.
Flooring should also be in place, or at least protected, to avoid splatter or sanding debris.
Tip: Write out a basic work sequence checklist. This prevents you from painting too early — one of the most common (and frustrating) mistakes in renovations.
Common doubts:
- “Can I paint if the electrician is nearly finished?” – Best to wait. Even minor wall adjustments can cause cracks or chips.
- “What about flooring?” – Protect with Guardian Floor Protector — avoid painting before final flooring where possible.
Step 2: Surface preparation
New or old, the key to paint adhesion lies in the condition of the surface beneath.
For new plaster, ensure it’s completely dry — this typically takes four to six weeks depending on the room’s ventilation.
The plaster should be light, powdery pink, not dark or patchy.
On older walls, scrape off loose paint or wallpaper using a heavy-duty scraper.
Sand down bumps and flaking areas with abrasive paper or sanding sponge.
Clean all surfaces thoroughly using a sugar soap solution to remove dust, grime, or smoke residue.
Tools to have ready:
- Dust mask and goggles (especially when sanding)
- Wide filling knife and multi-purpose filler
Common doubts:
- “The plaster looks dry — can I start?” – If in doubt, wait another week. Premature painting on damp plaster can lead to peeling or mould.
- “Do I need to remove old wallpaper glue?” – Absolutely. Leftover adhesive can bleed through your paint and cause bubbling.


Step 3: Apply a mist coat (on new plaster)
New plaster is extremely absorbent.
If you apply paint directly, it will soak in unevenly — resulting in patchy, blotchy coverage.
The solution? A mist coat.
A mist coat is simply 70% matt emulsion (non-vinyl) mixed with 30% clean water.
However, for a more reliable and professional result, especially over large areas, a dedicated primer or sealer offers greater consistency.
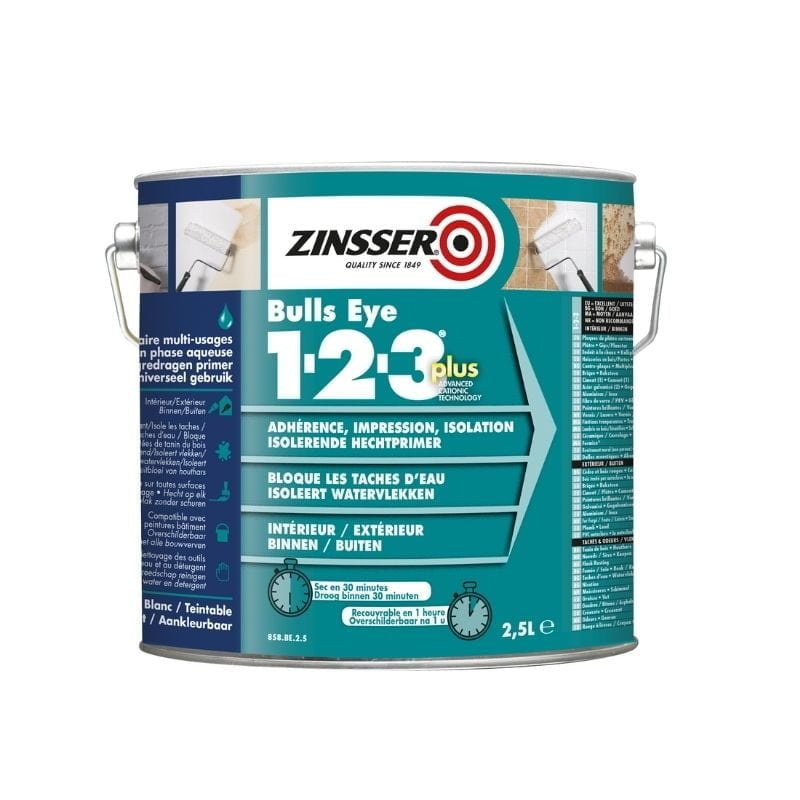
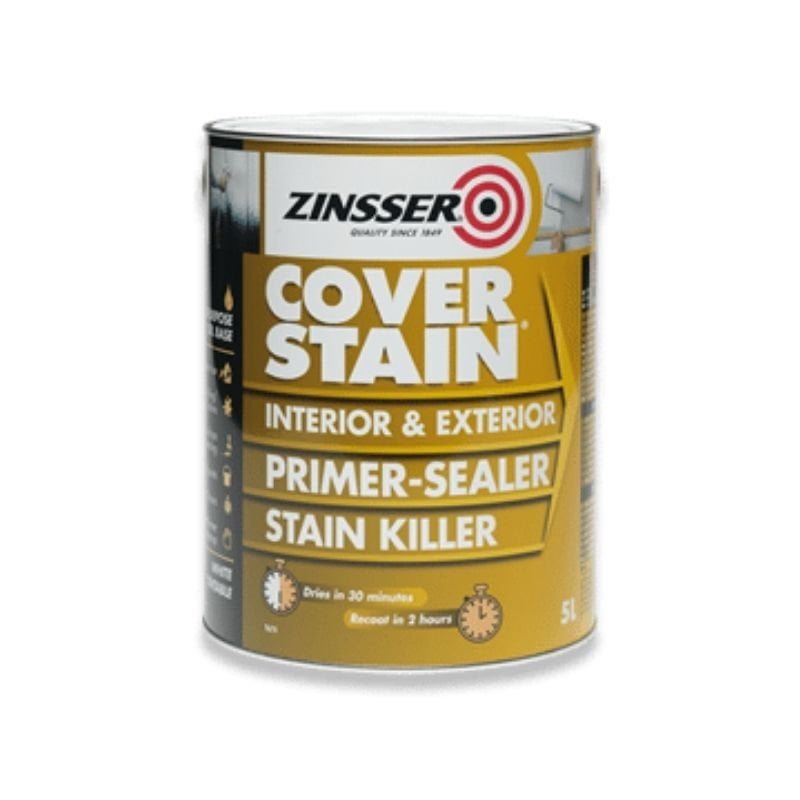
Products such as Zinsser Bulls Eye 123 Plus or Zinsser Cover Stain Primer Sealer are specifically formulated to tackle high-absorbency surfaces like bare plaster, helping to prevent issues with patchiness or peeling down the line.
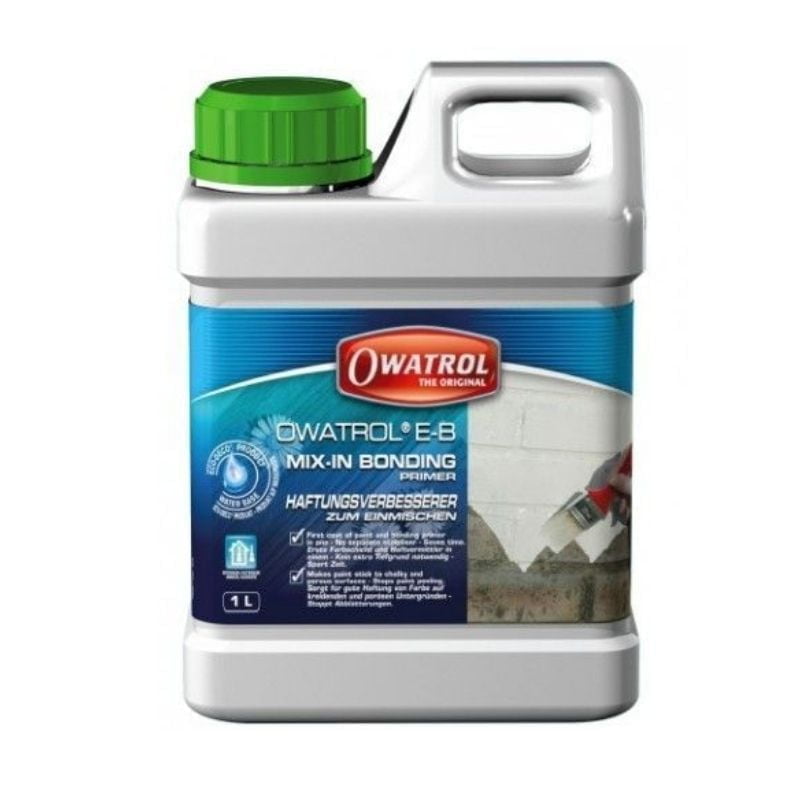
Alternatively, Owatrol E-B Mix-In Bonding Primer can be added directly into your first coat of emulsion, improving adhesion and helping the paint bond evenly to the fresh surface.
When applying the mist coat or sealer, use a roller or brush as you would with standard emulsion.
The coverage will look lighter and less opaque than usual—that’s completely normal.
This first layer is not about achieving colour depth; its job is to prepare the plaster so your topcoats apply smoothly and perform properly over time.
Tip: Don’t use vinyl paints or washable emulsions for your mist coat. They form a skin that prevents the wall from breathing, leading to flaking.
Common doubts:
- “Can I skip the mist coat and just do three coats of paint?” – No. Without proper sealing, your expensive topcoat won’t adhere — and may peel within months.
- “Can I use any emulsion?” – Stick to breathable matt emulsion for misting. Avoid silk or scrubbable finishes at this stage.
Step 4: Priming (if needed)
While new plaster only needs a mist coat, older or problem surfaces may benefit from priming.
This adds grip, blocks stains, and evens out absorbency.
Use a stabilising primer if the wall feels powdery, flaky, or patchy in suction.
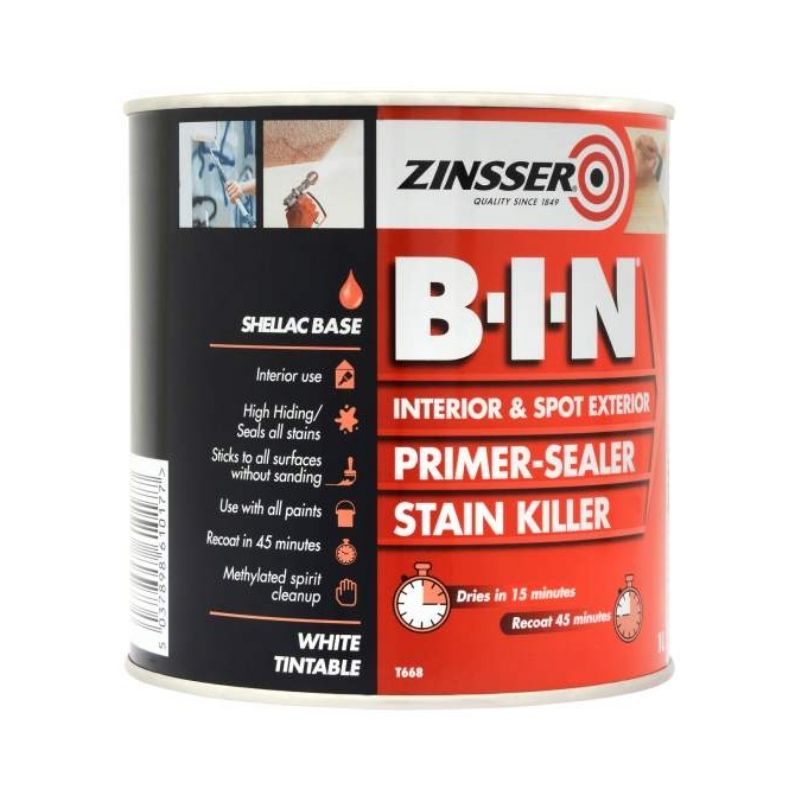
For previously painted timber or stained walls (e.g., water marks, nicotine, or knots), choose a stain-blocking primer like Zinsser B-I-N.
Benefits of priming:
- Helps your topcoat go on smoother and last longer
- Prevents visible marks bleeding through fresh paint
- Makes patchy or chalky walls uniform
Common doubts:
- “Do I need a primer and a mist coat?” – Not both on the same wall. Mist coat for new plaster, primer for older/problem areas.
- “Can I just use a thicker topcoat instead?” – That usually wastes paint and still won’t stop stains from bleeding through.
-
 Shop options This product has multiple variants. The options may be chosen on the product page
Zinsser Cover Stain Primer Sealer
Price range: €20.42 through €43.25 (Inc. VAT)
-
 Shop options This product has multiple variants. The options may be chosen on the product page
Owatrol E-B Mix-In Bonding Primer
Price range: €31.30 through €66.70 (Inc. VAT)
-
 Shop options This product has multiple variants. The options may be chosen on the product page
Zinsser Bin Primer Sealer
Price range: €19.80 through €146.24 (Inc. VAT)
Step 5: First and second coats
Once your walls are sealed and primed, it’s time for the satisfying part: painting.
Apply two full coats of emulsion, allowing each to dry thoroughly before moving on.
For most interior surfaces, a 9-inch roller with a medium pile delivers smooth, even coverage.
Use a quality brush like the Frenchic Oval, Flat, or Blending Brush to carefully cut in along edges and corners with control and precision.
Avoid overloading your roller — working in overlapping strokes ensures a consistent, professional finish.
Choose a paint suited to the space.
In family spaces, Dulux Easycare Washable Matt and Dulux Easycare Kids Matt are stain-resistant and wipe-clean, making them excellent for high-traffic rooms.
For a premium finish, Dulux Moda Luxury Matt offers designer-quality coverage.
Tip: Always paint in natural daylight where possible, and inspect your first coat from different angles to catch any missed spots before applying the second.
Common doubts:
- “Do I need to sand between coats?” – Only if you see visible imperfections or feel bumps. A light pass with fine-grade sandpaper can improve the second coat’s finish.
- “Can I apply the second coat soon?” – No — rushing leads to streaks and roller pull. Wait until fully dry (check tin instructions).
Step 6: Finish the details
Now bring it all together.
Start with ceilings, then move to walls, and finish with woodwork.
This order avoids splashes and lets you cut in accurately.
For skirting boards, door frames, and architraves, a durable, wipeable finish is essential.
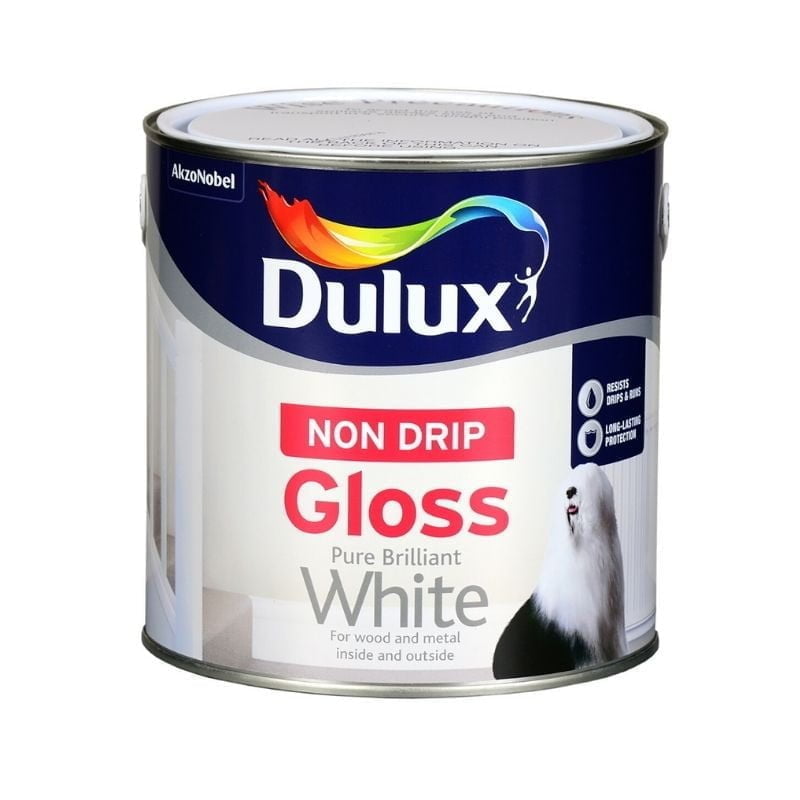
Dulux Non Drip Gloss provides a clean, long-lasting surface that resists yellowing and is easy to apply without runs or drips.
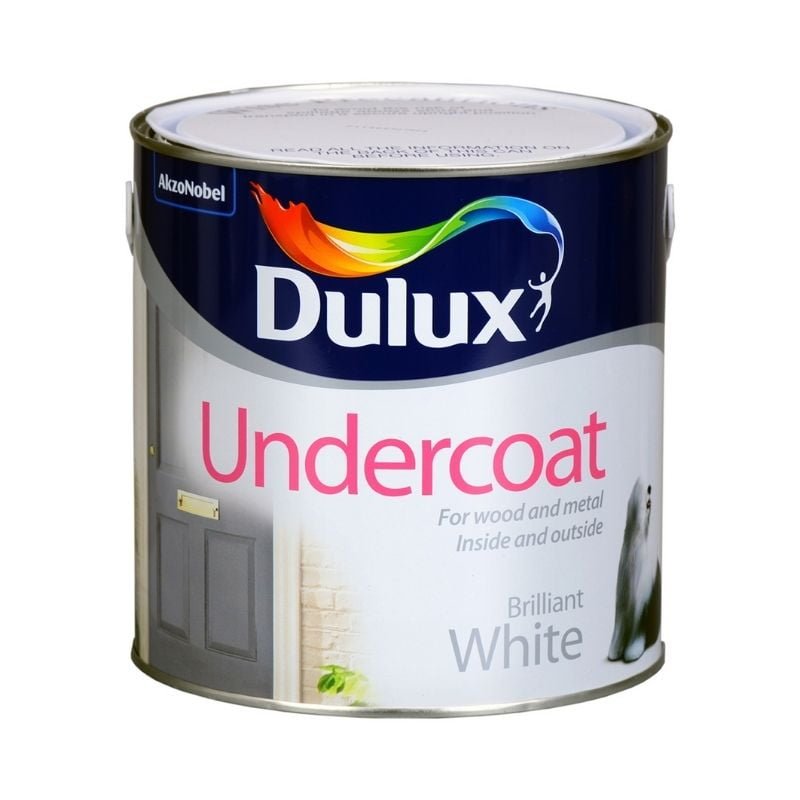
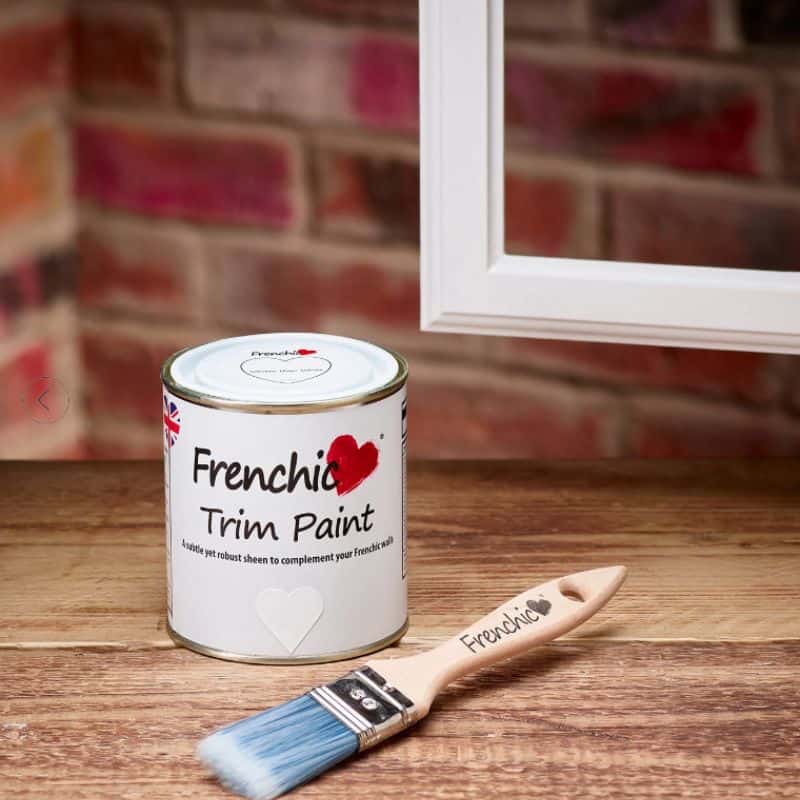
If you prefer a more muted sheen than full gloss, Dulux Undercoat followed by a topcoat of Frenchic Trim Paint offers a refined alternative with excellent durability.
When it comes to door panels, a small high-density foam roller delivers a smooth, brush-mark-free finish with ease.
Common doubts:
- “Why does my woodwork feel tacky days later?” – Humidity or heavy coats can delay curing. Use light coats and ventilate well.
- “Can I skip ceiling painting?” – Only if it’s pristine. A fresh ceiling often makes the entire room feel newer.
-
 Shop options This product has multiple variants. The options may be chosen on the product page
Trim Paint from Frenchic
Price range: €17.19 through €17.50 (Inc. VAT)
Final thoughts: A better finish starts with the right preparation
Painting your interior walls isn’t just about changing a colour — it’s about reshaping how your space feels and functions.
Whether you’re refreshing a single room or renovating an entire home, success starts with proper prep, smart sequencing, and the right materials.
From surface cleaning and filling to priming, mist coating, and applying those all-important finishing coats, each step plays a role in achieving a lasting, professional result.
Explore our full range of interior painting essentials, all carefully selected to support your project from start to flawless finish.
Need advice on stain blockers, colour palettes, or finishes that suit your home and lifestyle?
Our team is always happy to guide you.
Further reading:
Once your walls are freshly painted, you might be inspired to take your project a step further — whether that’s refining your technique, adding texture and character, or tying the room together with finishing touches.
These guides offer practical next steps and creative ideas to help you build on your progress, from advanced painting tips to complementary upgrades like panelling, furniture upcycling, and clever storage:
- Interior Wall Finishing Techniques Guide
Explore professional techniques to achieve smooth, lasting results — from mist coating to layering and dealing with tricky surfaces like bare plaster or patchy walls. - Frenchic Paint: Endless Possibilities
Ideal if you’re curious about eco-friendly, ultra-matt finishes and furniture upcycling. Discover how Frenchic transforms walls, woodwork, and even kitchen cabinets with minimal prep. - Revamp Your Space with DIY Wall Panelling Kits or Ceiling Boards
Looking to add architectural interest? This guide breaks down modern wall panelling as an easy, cost-effective upgrade that pairs beautifully with fresh paint. - DIY Shelving Solutions
Once your walls are finished, consider adding storage or display elements. This post gives stylish, practical shelving ideas that don’t compromise your new finish.
My Build Club
Calling all Trades Professionals, Self Builders, Renovators and DIY lovers!
We have created an entirely unique section of our website that has been designed to make your life easier.
Enjoy discounts, get an even more enhanced level of customer service, find all your paperwork easily and get unique offers and deals regularly.
My Build Club is a brand new innovative service for all Self Builders, Renovators, Trade Professionals and DIY lovers in Ireland.
We have revolutionised how you can source the right products at the very best prices along with putting you in touch with real life experts to help you every step of the way.
Why join today?
- Save money and time when sourcing the supplies you need
- Get Trade discounts just like you would at our Trade Counter
- On demand support from our experts – video calls, live chat and phone support
- All of your paperwork and invoices in the one place
- Arrange fast delivery – including to work sites