
How to Build a Fence: A Comprehensive Guide
Building a fence is a rewarding DIY project that not only enhances the aesthetic appeal of your garden but also provides privacy and security for your property.
Whether you are looking to enclose a garden, create a safe play area for children, or simply add a decorative touch to your landscape, constructing a fence can be a valuable investment.
In this guide, we’ll walk you through the benefits of building a fence, provide a detailed list of materials, and give you step-by-step instructions to ensure your project is a success.
Benefits of Building a Fence
Privacy and Security: A well-built fence acts as a barrier against prying eyes and potential intruders, giving you peace of mind and a sense of security.
Aesthetic Appeal: Fences come in a variety of styles and finishes that can complement your home and garden, enhancing the overall look of your property.
Property Value: A sturdy, attractive fence can increase the value of your home by improving kerb appeal and adding functional outdoor space.
Boundary Definition: Clearly marking your property lines with a fence helps prevent disputes with neighbours and defines your space.
Safety: Fences can keep children and pets safely contained within your garden, away from roads and other hazards.
Material List for Building a Fence with Loose Pickets
Before you begin, make sure you have all the necessary materials:
- Square Fence Posts: To support the fence structure.
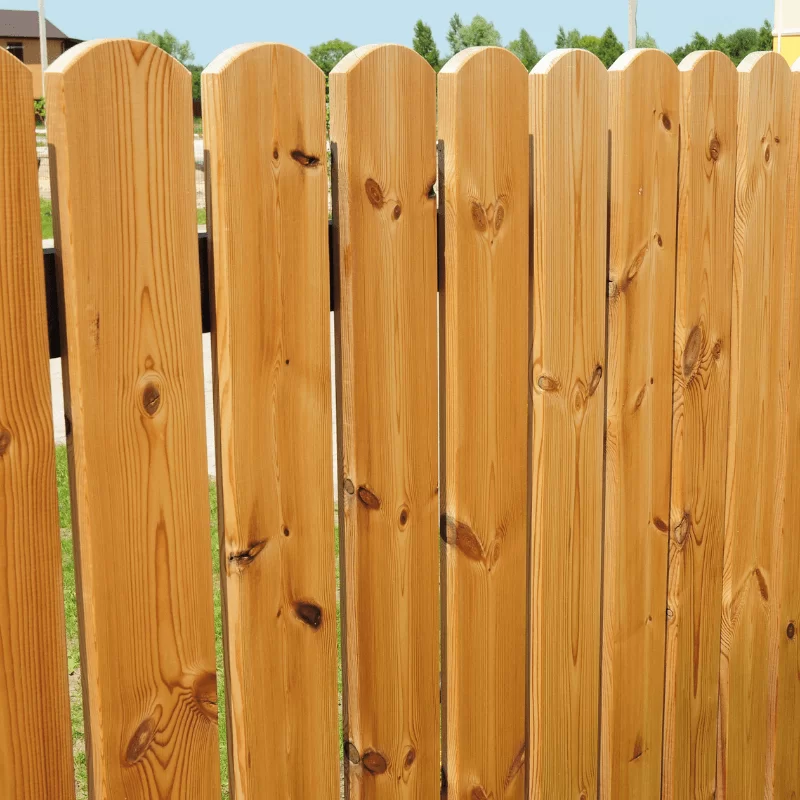
- Pickets: For the fence panels
- Post-mix Concrete: To secure the fence posts in the ground.
- Horizontal Rails: Typically, 2-3 per section, to which the pickets will be attached.
- Post Caps: For a finished look and extra protection against the elements.
- Brackets: For fixing the posts to a concrete base if not burying the post in the ground or using spikes.
- Galvanised Nails or Screws: To secure the pickets and rails.
- Galvanised Fence Post Spikes: As an alternative to setting posts in concrete, these provide a sturdy base and are easier to install.
- Wood Preservative, Paint, or Stain: To protect the wood from the elements.
Tools
- Post Hole Digger (if using concrete): To dig holes for the posts.
- Sledgehammer or Mallet (if using post spikes): To drive the spikes into the ground.
- Measuring Tape: To measure distances accurately.
- Spirit Level: To ensure posts and rails are level.
- Hammer or Screwdriver: Depending on whether you’re using nails or screws.
- Spacer Block: To ensure consistent spacing between pickets.
- Saw: To trim pickets if necessary.
- String and Stakes: To mark the boundary and post locations.
Step-by-Step Instructions
For this guide, we’ll focus on building a fence using Pickets. At the end, we’ll mention other possible setups using our other products.
- Planning and Preparation
Determine the perimeter where the fence will be installed. Use measuring tape to measure the length and mark the boundary with stakes and string.
Based on your measurements, calculate the number of posts, pickets, and other materials required. Ensure you have all the tools and materials before starting.
- Setting the Posts
Using your boundary string as a guide, mark where each post will go. Posts should be spaced evenly, about 1.8 to 2.4 metres (6 to 8 feet) apart.
Use a post hole digger to dig holes for the posts. Each hole should be approximately 60 cm (2 feet) deep to ensure stability.
Place the square fence posts into the holes (or the brackets if using them) . Use a spirit level to ensure each post is vertical and aligned with the next.
Fill the holes with post-mix concrete and allow it to set for at least 24 hours. Ensure the posts remain level as the concrete sets. You can also fix the tree stakes at an angle to them to prop them temporarily while the concrete sets.
If using brackets you can fix them to the concrete base using through bolts
- Attaching the Rails
Attach horizontal rails to the posts. These will support the pickets. Typically, two or three rails are used per fence section, depending on the height of the fence.
Use screws or nails to attach the rails firmly to the posts. Ensure they are level and evenly spaced.
- Installing the Pickets
Starting at one end, attach the pickets to the rails. Space the pickets evenly, using a spacer block or a picket on its edge to ensure consistent gaps.
Use galvanised nails or screws to attach each picket to the rails. Check each picket is vertical using a spirit level.
If needed, trim the final picket in each section to fit perfectly.
- Adding Decorative Elements
Add post caps to the top of each post for a finished look and extra protection against the elements.
Apply a wood preservative, paint, or stain to the fence to enhance its appearance and extend its lifespan.
- Finishing Touches
Inspect the Fence by walking along the length of the fence, checking for stability and making any necessary adjustments.
Remove any debris and tools from the work area.
Alternative Setups
While this guide focuses on using pickets, you might consider other setups depending on your needs and preferences:
Wooden Fence Panels (Shiplap): These panels offer quick and easy installation with a clean, uniform appearance. Simply attach the panels to the posts using brackets and screws.
Shiplap Fencing Panel Boards: For a more customisable design, use shiplap boards to create a fence with overlapping boards that provide excellent privacy and durability.
Timber Posts (5 Foot High): Ideal for shorter or decorative fencing projects, these posts work well with a variety of panel styles.
Frequently Asked Questions
How deep should fence posts be buried?
Fence posts should be buried at least 60 cm (2 feet) deep to ensure stability and prevent the fence from leaning or collapsing.
What type of wood is best for fence panels?
Shiplap fencing panels treated with a wood preservative are ideal as they are durable, resistant to rot, and aesthetically pleasing.
How can I prevent my fence from rotting?
Applying a wood preservative or stain and ensuring proper drainage around the fence posts can help prevent rot and extend the life of your fence.
Do I need planning permission to build a fence?
In most cases, you do not need planning permission for a fence under 2 metres high. However, it’s always best to check with your local council for any specific regulations.
How often should I maintain my fence?
Regular maintenance, such as cleaning, applying wood preservative, and checking for loose or damaged panels, should be done annually to keep your fence in good condition.
What if I still have doubts?
If you still have doubts or need further assistance, please contact our friendly staff who are always ready to help you with any questions or concerns you may have.
Building a fence is a satisfying project that can provide numerous benefits for your home and garden.
With the right materials and a clear plan, you can construct a fence that is both functional and attractive.
Happy building!