
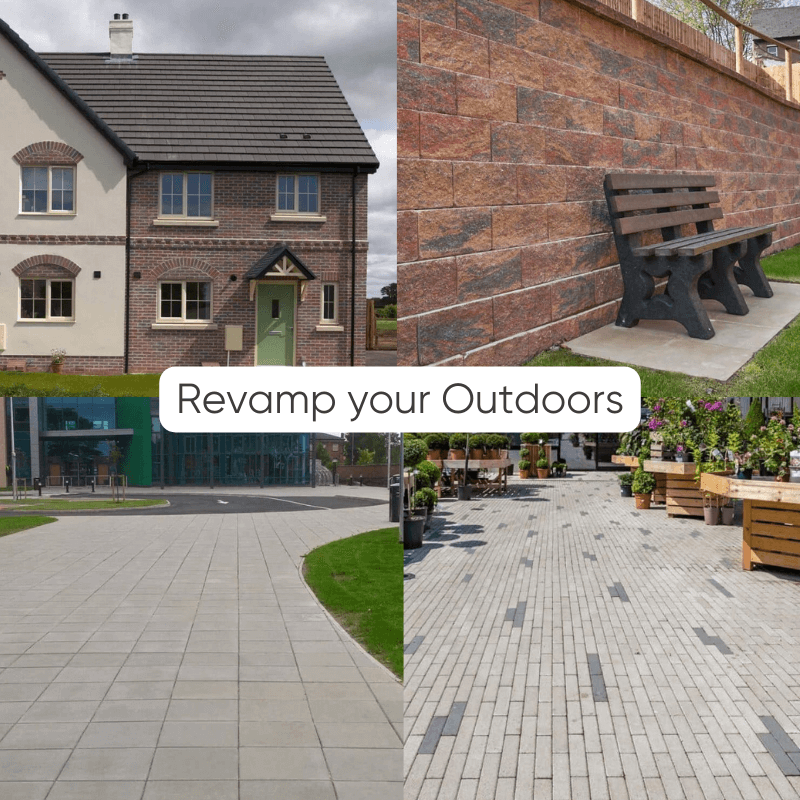
From Planning to Perfection: Revamp Your Outdoors with Tobermore
Creating a beautiful and functional outdoor space can significantly enhance your home’s kerb appeal and provide a wonderful area for relaxation and entertainment. Tobermore offers a range of high-quality products that can help you achieve stunning results. In this guide, we’ll walk you through some key steps to revamp your outdoor areas using Tobermore’s top offerings.
Step 1: Plan Your Space
Before embarking on any outdoor project, thorough planning is essential to ensure a successful outcome.
Proper planning helps you visualise the end result, allocate resources efficiently, and avoid potential issues during the construction phase.
Here’s a detailed guide to planning your outdoor space effectively:
Assess Your Current Space
Begin by assessing your current outdoor area. Take note of existing features such as trees, slopes, and structures.
Now, you need to identify any problem areas that need improvement, such as uneven ground, drainage issues, or unsightly views.
This initial assessment will help you understand the scope of your project and the challenges you may face.
Define Your Goals
Consider how you want to use your outdoor space: Do you need a relaxing patio for dining and entertaining, a safe and attractive pathway for easy access, or a sturdy retaining wall to create garden beds?
Defining your goals will help you determine the type of features you need and how to prioritise them.
- Patio for Dining and Entertaining: A well-designed patio can serve as an extension of your living space, providing a comfortable area for outdoor meals and gatherings. You will have to consider the size and layout of the patio and the placement of outdoor furniture and accessories.
- Pathway for Accessibility: Pathways enhance the functionality and aesthetics of your garden, also providing a safe and easy access to different areas of your yard by helping to guide the flow of foot traffic. It will be good to decide beforehand about the path’s width and route, ensuring it connects key areas like the patio, garden, and entryways.
- Retaining Wall for Garden Beds: Retaining walls are essential for managing slopes and creating level areas in your garden. They can also be used to create raised garden beds, which are not only attractive but also improve soil drainage and accessibility for planting and maintenance.
Create a Rough Sketch
Sketching a rough layout of your outdoor space can be immensely helpful. You can use graph paper or a digital tool to draw a scaled plan of your garden. Start by marking the location of existing features and add the new elements you’re planning to incorporate, such as patios, pathways, and retaining walls. This visual representation will help you see how everything will fit together and make necessary adjustments before you start the physical work.
Consider the Materials
Choosing the right materials is key to achieving the desired look and functionality of your outdoor space. Tobermore offers a variety of products that cater to different needs and styles:
Facing Bricks: Ideal for building durable and attractive facades or garden walls. They come in various colours and textures to match your design preferences.
Retaining Wall Systems: Perfect for creating sturdy and aesthetically pleasing retaining walls that blend seamlessly with your landscape.
Paving Flags: Versatile and elegant, paving flags are suitable for patios and pathways, providing a smooth and stylish surface.
Block Paving: Durable and flexible, block paving is great for high-traffic areas like driveways and walkways, offering a range of finishes and colours.
Plan for Sustainability
You may consider incorporating sustainability into your planning process by choosing environmentally friendly products and practices.
Tobermore’s products are manufactured with a focus on recycling and reducing waste, making them a responsible choice for eco-conscious homeowners.
Additionally, it’s important to consider incorporating permeable paving solutions to manage rainwater runoff and reduce the impact on local drainage systems.
Budget and Timeline
Finally, establish a budget and timeline for your project.
You will have to determine how much you’re willing to invest in materials and labour and set a realistic timeline for completion.
Having a clear budget and timeline will help you stay on track and make informed decisions throughout the project.
Step 2: Choose the Right Facing Bricks
Facing bricks are a versatile and aesthetically pleasing option for enhancing your property’s exterior. They can be used for creating stunning facades, building garden walls, or adding structural elements to your landscape.
Here’s how to choose the right facing bricks for your project:
Consider the Aesthetic
Facing bricks come in various colours, textures, and finishes., so it’s important to choose a style that complements your home’s architecture and the overall design of your outdoor space. For a traditional look, you may consider bricks with a weathered or rustic finish. For a more contemporary appearance, opt for smooth, sleek bricks in modern shades.
Evaluate Durability and Maintenance
When selecting facing bricks, consider their durability and maintenance requirements. Tobermore’s facing bricks are known for their strength and resilience, making them an excellent choice for long-lasting structures. They are designed to withstand harsh weather conditions and require minimal maintenance, ensuring your outdoor space looks great for years to come.
Plan for Installation
Proper installation is essential to achieve a professional finish, so you will have to ensure that you have the right tools and materials, and follow best practices for laying bricks. If you’re not confident in your masonry skills, consider hiring a professional to ensure the job is done correctly.
Step 3: Install Retaining Walls for Functionality and Style
Retaining walls are essential for managing slopes, preventing soil erosion, and creating level areas in your landscape. They also add a stylish element to your garden.
Here’s how to plan and install retaining walls effectively:
Determine the Purpose
Identify the primary function of your retaining wall: Is it to create a level garden bed, support a slope, or enhance your landscape’s aesthetic appeal? As you understand it’s purpose it will help you choose the right materials and design.
Choose the Right System
Tobermore’s retaining wall systems are designed for both functionality and style. These systems are easy to install and offer a range of designs to suit your landscape, whether you need a simple, sturdy wall or a decorative feature.
Prepare the Site
Site preparation is a fundamental step for a stable and durable retaining wall. Clear the area of debris and dig a trench for the foundation. You will have to ensure that the base is level and compacted to provide a solid foundation for the wall.
Build the Wall
Follow the installation guidelines for your chosen retaining wall system. You can start by stacking the blocks or units according to the instructions, ensuring each layer is level. Also, use appropriate backfill material and drainage solutions to prevent water buildup behind the wall.
Step 4: Lay Paving Flags for Patios and Pathways
Paving flags are an excellent choice for creating patios, pathways, and other paved areas in your garden as they offer a clean, elegant look and are available in various styles.
Here’s how to lay paving flags effectively:
Design Your Layout
You can start planning the layout of your patio or pathway and considering the size, shape, and pattern of the paving flags. Then, you can mark the area with stakes and string to visualise the final design and ensure it fits within your space.
Prepare the Base
A strong and stable base is essential for a long-lasting paved area. You can do this by excavating the area to the required depth and removing any vegetation and debris. Then add a layer of compacted gravel or hardcore to provide a solid foundation.
Lay the Flags
Start laying the paving flags from one corner, working your way across the area. Use a rubber mallet to gently tap each flag into place, ensuring they are level and aligned with the adjacent flags. Always thrive to maintain consistent gaps between the flags for a professional finish.
Fill the Joints
Once all the flags are in place, fill the joints with fine sand or a suitable jointing compound. Then, sweep the material into the gaps, ensuring they are completely filled. This step helps to lock the flags in place and prevent movement.
Step 5: Select Block Paving for Driveways and Walkways
Block paving is ideal for high-traffic areas such as driveways and walkways. It offers durability, flexibility, and a wide range of design options.
Here’s how to select and install block paving:
Choose the Style
Block paving comes in various styles, colours, and finishes. You may consider the overall look you want to achieve and choose blocks that complement your home’s exterior and landscape design. Tobermore’s block paving options provide numerous possibilities for customisation.
Prepare the Ground
Excavate the area to the required depth, removing any existing paving, soil, or vegetation. Also, ensure the sub-base is level and compacted as a well-prepared base is essential for the longevity and stability of your block paving.
Lay the Blocks
Start by laying the blocks from one edge, following your chosen pattern. You can use a string line to keep the blocks straight and aligned. Then, tap each block gently into place with a rubber mallet and maintain an even spacing between the blocks for a uniform appearance.
Add Edging and Jointing
Install edging stones along the perimeter to keep the blocks in place. Once all the blocks are laid, fill the joints with kiln-dried sand. Sweep the sand into the gaps, and compact the paving to ensure a solid, stable surface.
Step 6: Add Finishing Touches with Step Risers, Kerbstones, and Coping Stones
The finishing touches can make a significant difference in the overall appearance and functionality of your outdoor space.
Here’s how to incorporate step risers, kerbstones, and coping stones into your project:
Step Risers
Step risers are essential for creating safe and accessible steps in your garden. You may want to choose step risers that match your paving and walling materials for a cohesive look. Always ensure the steps are evenly spaced and properly aligned.
Kerbstones
Kerbstones add a neat, professional edge to pathways, driveways, and flower beds. They help define the borders and prevent the paving from spreading. You may want to select kerbstones that complement your block paving for a harmonious design.
Coping Stones
Coping stones are perfect for finishing walls and steps, providing a smooth and attractive top surface. They come in various styles and finishes, allowing you to match them with your walling and paving materials.
Transforming your outdoor space involves careful planning and the right materials. By following these steps and utilising Tobermore’s high-quality products, you can create a beautiful and functional garden that enhances your home’s appeal.
Explore our full range of Tobermore products at MyBuildingSupplies and start your outdoor renovation project today!