DIY Wall Panelling
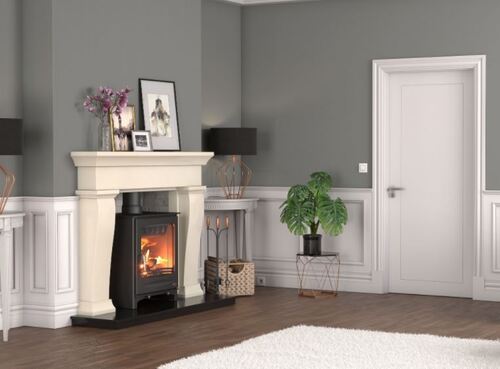
DIY wall panelling is an excellent way to add character and texture to any room in your home. It’s also a great way to save money compared to hiring a professional to install it for you.
Our wall panelling kits have been really popular over the last few years as these are simple enough to put into place and ultimately look fantastic.
So let’s take a look at the basics of DIY wall panelling and provide tips to help you get started.
Materials Needed
Before you begin, you will need a few materials to get started. Here are the materials you will need for DIY wall panelling:
- These Wood Panelling kits
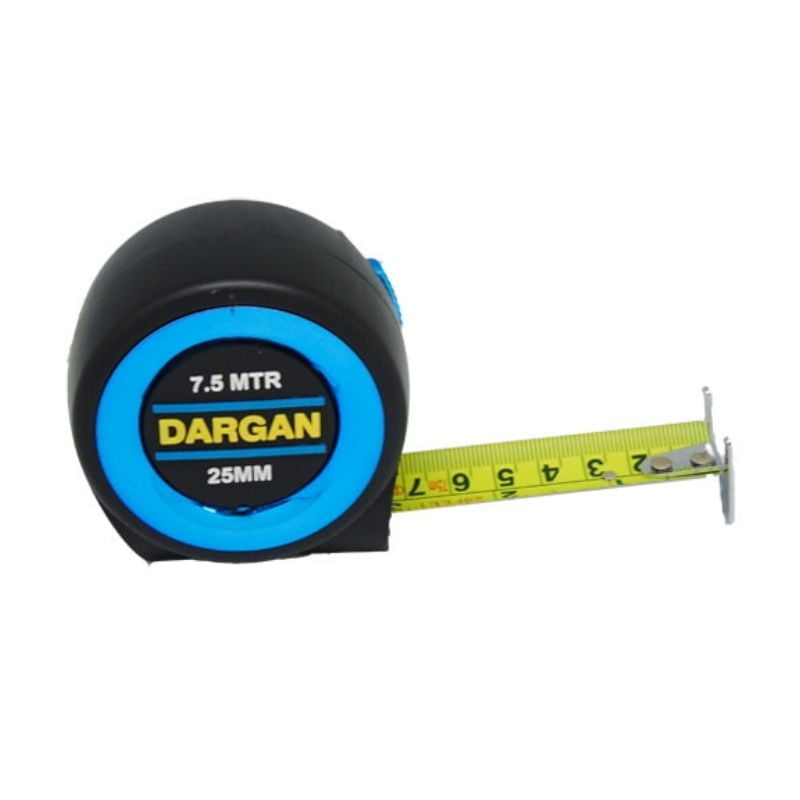
- Measuring tape
- Saw
- Sandpaper
- Adhesive or nail gun / hammer and nails
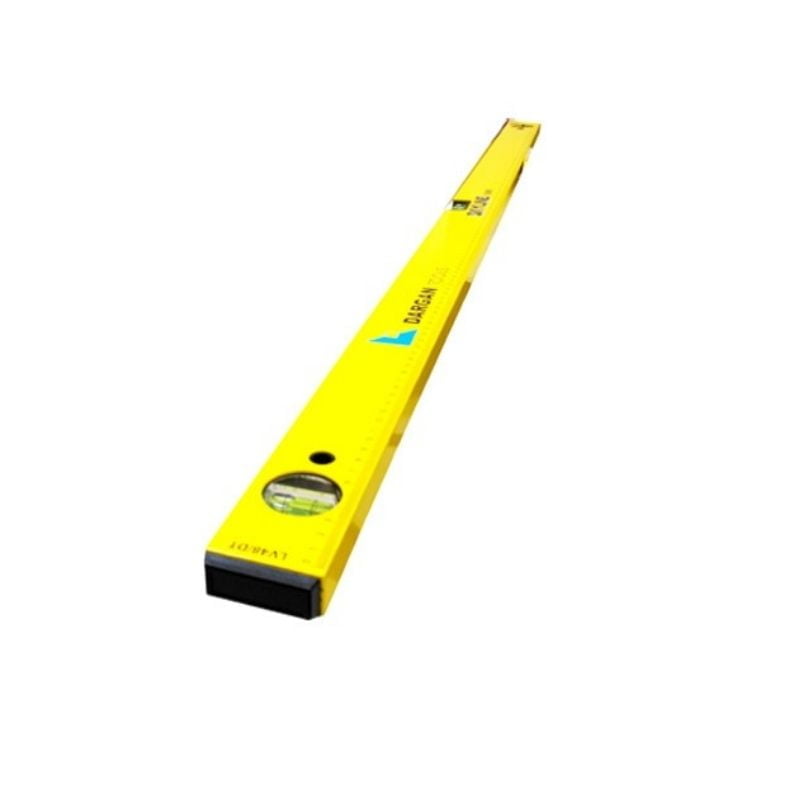
- Level
- Stud finder (only if you decide to use nails)
- Paint or stain (optional)
Step-by-Step Guide
- Measure the wall: Measure the wall where you want to install the panelling. Measure the height and width of the wall to determine how many panels you will need. It’s always a good idea to purchase extra panels in case of mistakes or miscalculations.
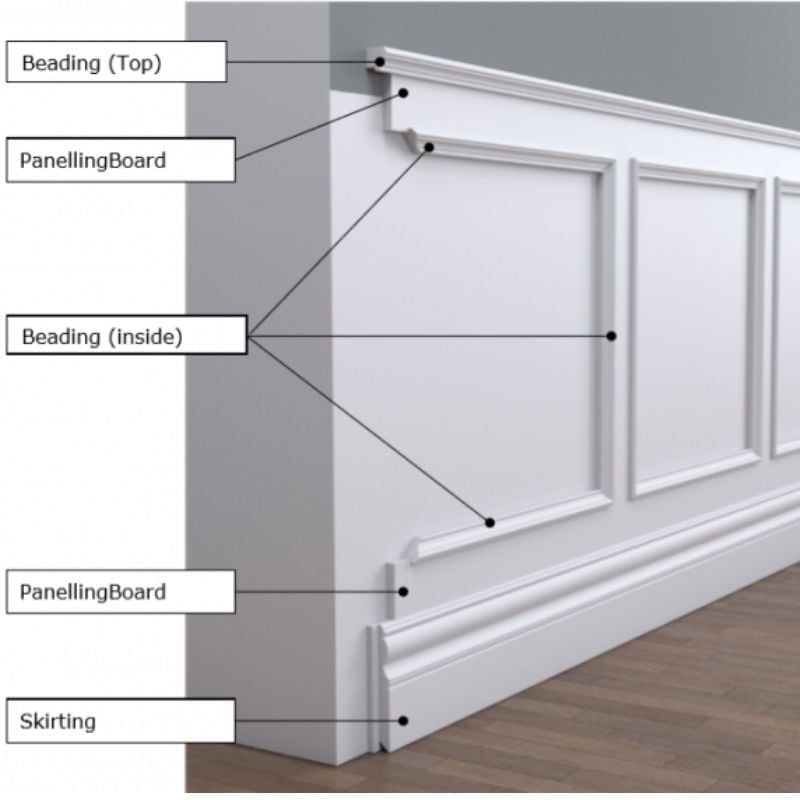
- Each of our Wall Panelling kits gives a coverage of 2.93m3.Each Single pack of wall panelling comes with:
- 1 x (2420mm x 34mm x 31mm) length of large (top) beading
- 4 x (2420mm x 80mm x 15mm) lengths of board panelling
- 4 x (2420mm x 25mm x 31mm) lengths of (inside) beading
- As an example – if you choose to have your Wall Panels at a height of 1.21 metres (approx 4 foot) then you will have two full lengths of the 2.42 metre board panelling and inside beading sections in each kit and you will cut the other two sections to place on the wall vertically.
- If you want different heights then you simply cut the panels to suit. Using a saw, cut the panels to the desired length. Make sure to wear protective gear, such as safety goggles and gloves, when cutting the panels.
- Sand the panels: Sand the panels to smooth out any rough edges or splinters. This step will ensure a clean and polished finish.
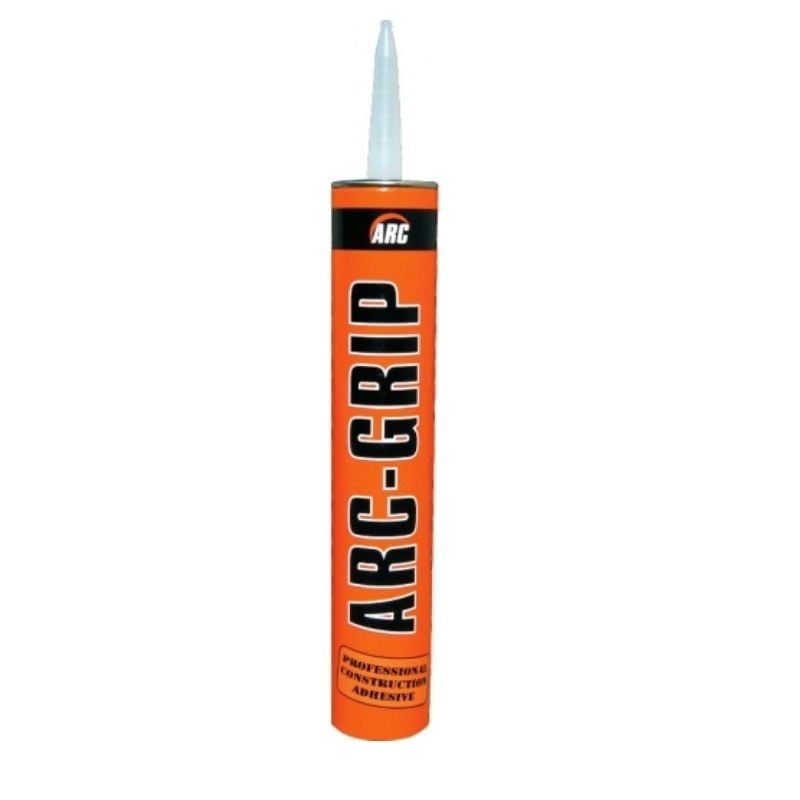
- Install the panels: Use a level to ensure that the panels are straight and level. Most people just go with the likes of this strong adhesive which is applied using a cartridge gun. You could also choose to use small nails but you need to ensure you are not nailing into wires or cables etc. You can use this detector to help you ensure that. If you do this you simply nail the panels into the studs in the wall using a nail gun or hammer and nails. You can also use the adhesive in conjunction with this to provide extra stability and support.
- Finish the panels: If desired, you can paint or stain the panels to match the decor of the room. This step is optional but can add an extra touch of elegance to the finished product.
Tips and Tricks
- Make sure to measure the wall accurately before cutting the panels. This will prevent you from making mistakes or having to start over.
- Always wear protective gear when cutting the panels. Safety should be your top priority.
- Use a stud finder to locate the studs in the wall before installing the panels. This will ensure that the panels are securely attached to the wall.
- Apply wood glue to the back of the panels before nailing them into place. This will provide extra stability and support.
- Consider painting or staining the panels to match the decor of the room. This step is optional but can add an extra touch of elegance to the finished product.
DIY wall panelling is a great way to add character and texture to any room in your home. It’s also a cost-effective way to achieve a high-end look without breaking the bank. With the right materials and tools, you can easily install wall panelling in just a few steps. Remember to measure accurately, wear protective gear, and use a stud finder to ensure a secure and stable installation.
My Build Club
Calling all Trades Professionals, Self Builders, Renovators and DIY lovers!
We have created an entirely unique section of our website that has been designed to make your life easier.
Enjoy discounts, get an even more enhanced level of customer service, find all your paperwork easily and get unique offers and deals regularly.
My Build Club is a brand new innovative service for all Self Builders, Renovators, Trade Professionals and DIY lovers in Ireland.
We have revolutionised how you can source the right products at the very best prices along with putting you in touch with real life experts to help you every step of the way.
Why join today?
- Save money and time when sourcing the supplies you need
- Get Trade discounts just like you would at our Trade Counter
- On demand support from our experts – video calls, live chat and phone support
- All of your paperwork and invoices in the one place
- Arrange fast delivery – including to work sites
