Upcycling your Kitchen: A step-by-step DIY makeover guide
If you’re dreaming of a kitchen refresh but want to avoid a full renovation, upcycling is a fantastic option.
It’s all about transforming what you already have into something fresh, unique, and personal.
Plus, upcycling offers an affordable, sustainable, and creative way to make your kitchen shine.
This step-by-step guide will help you bring your dream kitchen to life with DIY projects that are fun, fulfilling, and perfect for non-professionals.
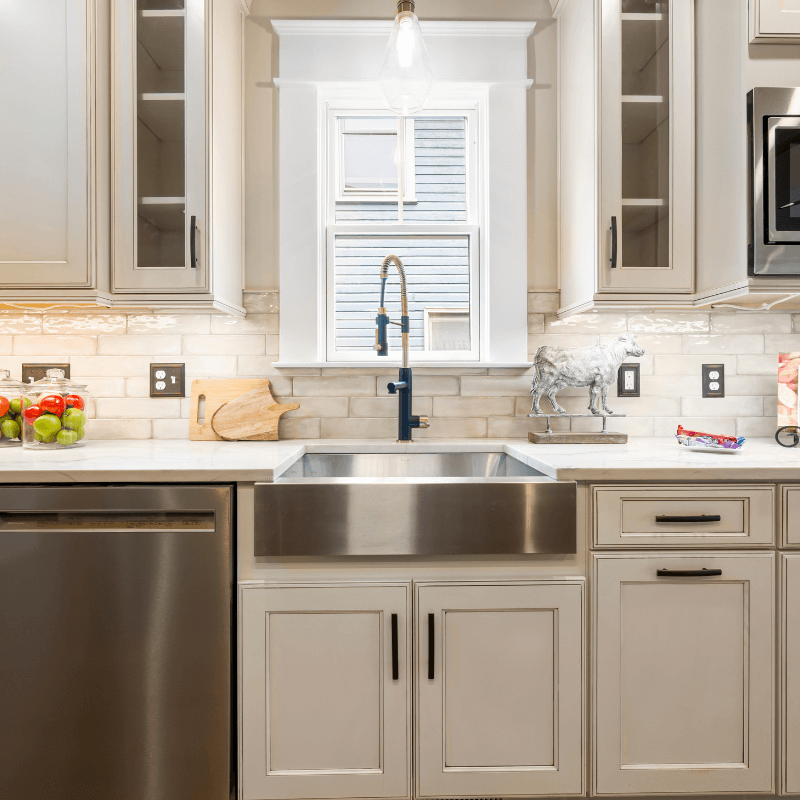
Step 1: Reimagine your cabinets
Materials:

Instructions:
- Prepare the cabinets: Begin by removing the cabinet doors and hardware. Use a screwdriver or drill to take off the hinges and handles.
- Clean and sand: Thoroughly clean the surfaces with a mild detergent to remove any grease or dirt. Sand the cabinet surfaces lightly to create a smooth surface for the paint to adhere to.
- Prime (if needed): If your cabinets are dark or have a glossy finish, apply a coat of primer before painting. This step ensures even coverage and long-lasting results.
- Paint the cabinets: Using a brush or roller, apply your chosen paint in thin, even layers. Chalk paint is ideal because it requires minimal prep and offers a smooth, matte finish. Allow the first coat to dry, then apply a second coat if necessary.
- Reassemble and install new hardware: Once the paint is dry, reattach the doors and add new handles or knobs to give the cabinets a polished, modern look.
Step 2: Create open shelving
Materials:
- Wooden shelves or reclaimed wood
- Brackets
- Screws and wall plugs
- Drill and level
- Sandpaper and wood stain or paint (optional)
Instructions:
- Remove cabinet doors: Select the cabinets you want to convert into open shelving. Use a screwdriver to remove the doors and any hinges or hardware.
- Prepare the shelves: If you’re using reclaimed wood or new shelves, sand the edges to smooth out any roughness. You can stain or paint the shelves to match your kitchen’s aesthetic.
- Install brackets: Use a level to mark where your brackets will go. Drill holes into the wall and insert wall plugs, then screw the brackets securely into place.
- Mount the shelves: Place the shelves onto the brackets and screw them in for added stability. Make sure everything is level before tightening the screws completely.
- Style the shelves: Once installed, style your shelves with everyday items like dishes, glassware, or decorative jars for a functional yet attractive display.
Step 3: Upcycle a kitchen island
Materials:
- An old dresser, sideboard, or table
- Sandpaper
- Paint or wood stain
- Butcher block top or reclaimed wood (optional)
- Castors (optional for mobility)
- Wood glue and screws (for attaching the new top)
Instructions:
- Prep the furniture: If using an old dresser or table, start by sanding the surface to remove any old varnish or rough spots. Clean off any dust.
- Paint or stain: Apply a coat of paint or wood stain to match your kitchen’s style. For a more rustic look, leave the wood natural or add a distressed finish.
- Add a new top (optional): If you want a new surface for your island, cut a piece of butcher block or reclaimed wood to size. Attach it securely to the base using wood glue and screws.
- Add castors (optional): For mobility, attach castors to the bottom of the island legs. This makes the island easy to move around when needed.
- Final touches: Add hooks for kitchen towels or extra shelving underneath for storage. Your upcycled kitchen island is now ready for action!
Upcycling your kitchen doesn’t have to be complicated. With these detailed steps, you can create a space that feels new, stylish, and uniquely yours, all without the need for professional help.
For expert advice and high-quality materials, visit our store to explore your upcycling options.
Prefer a hands-off approach? Let us handle it all.
While a DIY upcycling project can be an exciting way to refresh your kitchen, we know that sometimes you might prefer to leave it to the professionals.
That’s where we come in with our expert kitchen service.
If you’re building a new home or planning a complete kitchen upgrade, we offer a tailored service to bring your vision to life.
We Measure
We’ll visit your home to take precise measurements, ensuring the perfect kitchen fit for your space and lifestyle.
We Design
With your measurements in hand, we’ll create a custom design using our Articad system. We collaborate closely with you to refine the details, ensuring you’re delighted with the design before providing a quote.
We Fit
Once your design is finalised, our skilled fitters will install your dream kitchen. From order to completion, the process takes just 3 to 4 weeks, with fitting typically done in 5 days.
Whether you choose the DIY route or want expert assistance, we’re here to make your dream kitchen a reality.
Learn more at rogerskitchens.ie.

