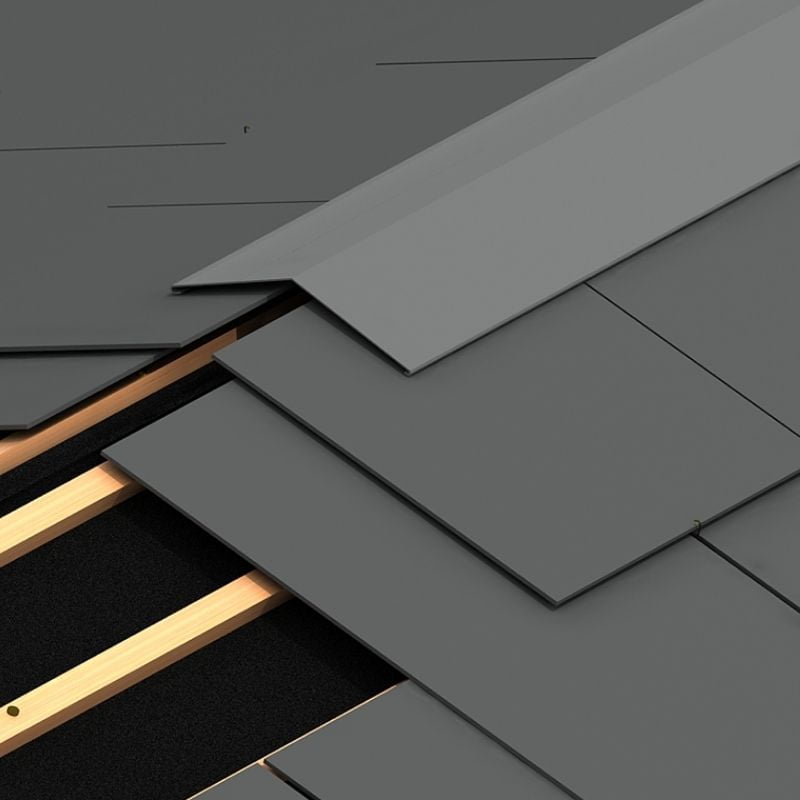
How to repair or replace a ridge cap on your roof
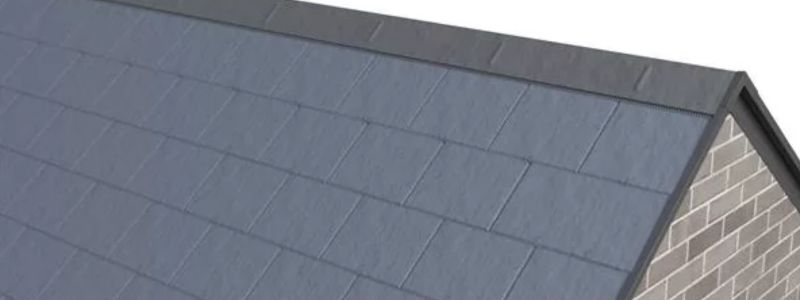
Your roof is one of the most crucial components of your home, protecting you and your possessions from the elements. The ridge cap, the peak of your roof, is especially important because it provides an extra layer of protection against water infiltration and serves as a finishing touch to your roof’s aesthetics.
Over time, ridge caps may deteriorate due to weather exposure or general wear and tear. When this happens, it’s essential to replace or repair them to maintain the integrity of your roof. So let’s take a look at the process of replacing and repairing a ridge cap on your roof.
Tools and Materials You’ll Need
Before you begin, gather the necessary tools and materials:
- Safety gear: Safety goggles, gloves, and a harness if your roof has a steep pitch.
- Ladder: Ensure it’s stable and securely positioned.
- Roofing materials: Ridge cap, roofing cement, and nails.
- Pry bar or roofing shovel.
- Hammer or roofing nail gun.
- Utility knife.
- Caulking gun and roofing caulk.
- Measuring tape.
- Chalk line.
- Roofing cement applicator or putty knife.
Step 1: Safety First
Always prioritise safety. Inspect your ladder, wear appropriate protective gear, and ensure you have a spotter or helper nearby. If your roof has a steep pitch or is too high, consider hiring a professional roofer.
Step 2: Remove the Old Ridge Cap
Start by using the pry bar or roofing shovel to carefully lift the old ridge cap shingles. Work systematically, removing nails as you go. Be cautious not to damage the underlying roof shingles.
Step 3: Clean the Area
Once the old ridge cap is removed, clean the area thoroughly. Remove any remaining debris, nails, or old roofing cement. A clean surface is essential for proper adhesion of the new ridge cap.
Step 4: Measure and Cut the New Ridge Cap
Measure the length of your ridge and cut the new ridge cap accordingly if required. Use a chalk line to mark straight lines for precise cuts. Ensure that the new shingles are long enough to overlap the underlying roof shingles.
Step 5: Apply Roofing Cement
Apply a generous layer of roofing cement along the ridge. This will help seal the ridge cap and provide additional waterproofing.
Step 6: Install the New Ridge Cap
Carefully place the cut ridge cap onto the cement, ensuring they overlap each other and the underlying roof material. Nail them in place using a hammer or roofing nail gun. Use roofing cement to seal the edges and ends of each cap for added security.
Step 7: Secure the Ridge Cap
To ensure the ridge cap is firmly attached, use roofing nails or screws to secure it to the roof decking. Make sure it’s aligned with the ridge and evenly spaced.
Step 8: Seal the Joints
Using a caulking gun, apply roofing caulk along the joints and seams of the ridge cap. This will provide an extra layer of protection against water infiltration.
Step 9: Inspect and Clean Up
Carefully inspect your work to ensure the ridge cap is securely in place and all seams are sealed. Remove any excess roofing cement or caulk. Dispose of old materials and debris properly.
Replacing or repairing a ridge cap on your roof is a manageable DIY project if you have the necessary tools, materials, and safety precautions in place. However, if you’re uncomfortable working at heights or dealing with roofing materials, it’s always wise to consult with a professional roofer. Properly maintained ridge caps are essential for a leak-free and long-lasting roof, so take the time to ensure your roof’s peak is in good condition.
-
Shop options This product has multiple variants. The options may be chosen on the product page
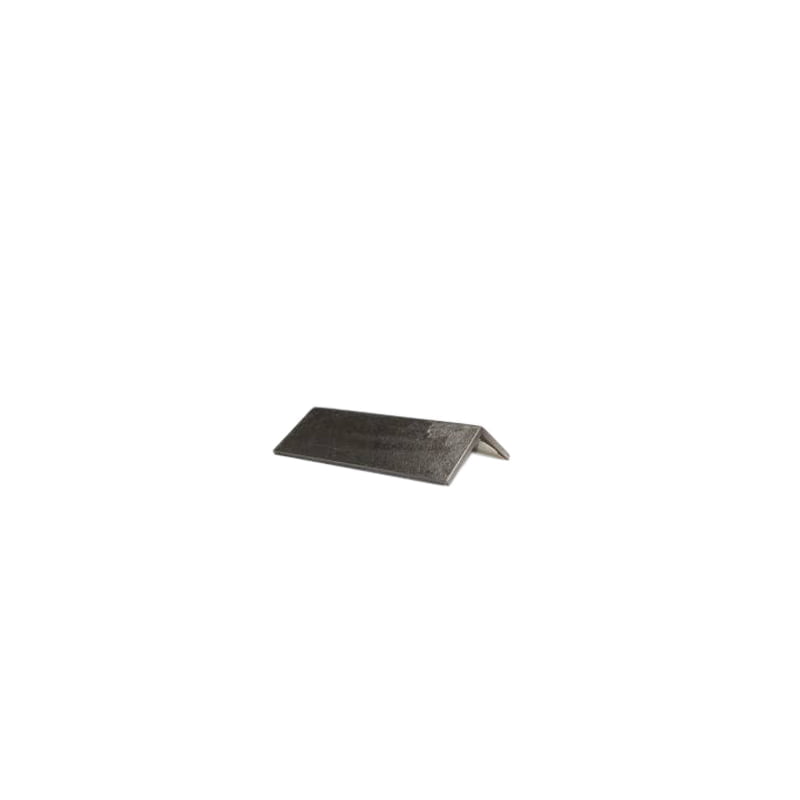
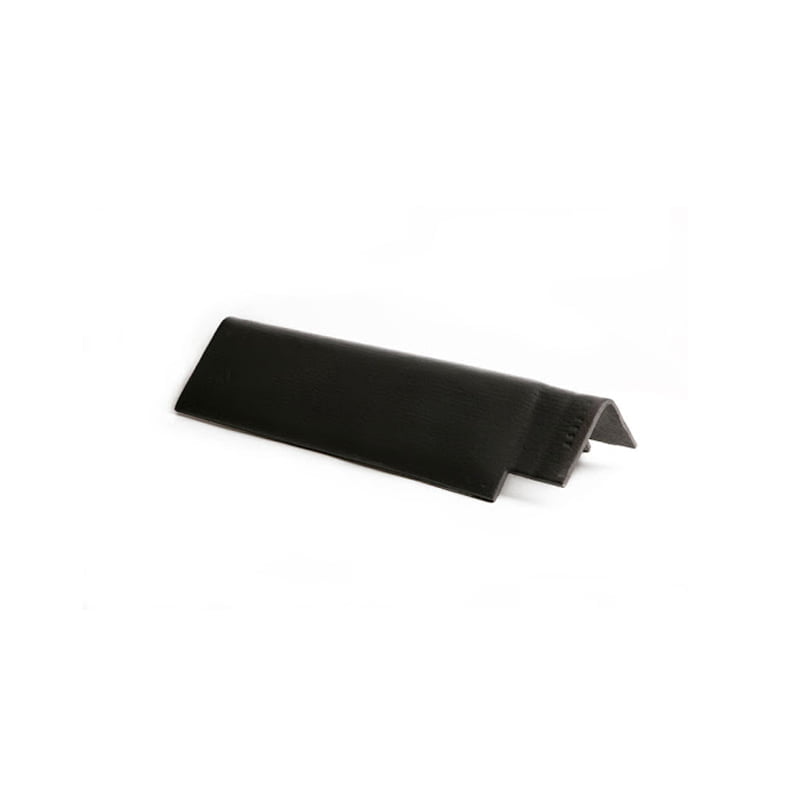
Ridge Tile – Black Concrete
€7.60 (Inc. VAT)Ridge Tile – Black Concrete
Concrete Ridge Tiles in Black
Key features:
- Concrete
- Black
- Choice of degrees
- Suitable for new builds and repair / maintenance work
- 460mm long
€7.60 (Inc. VAT) -
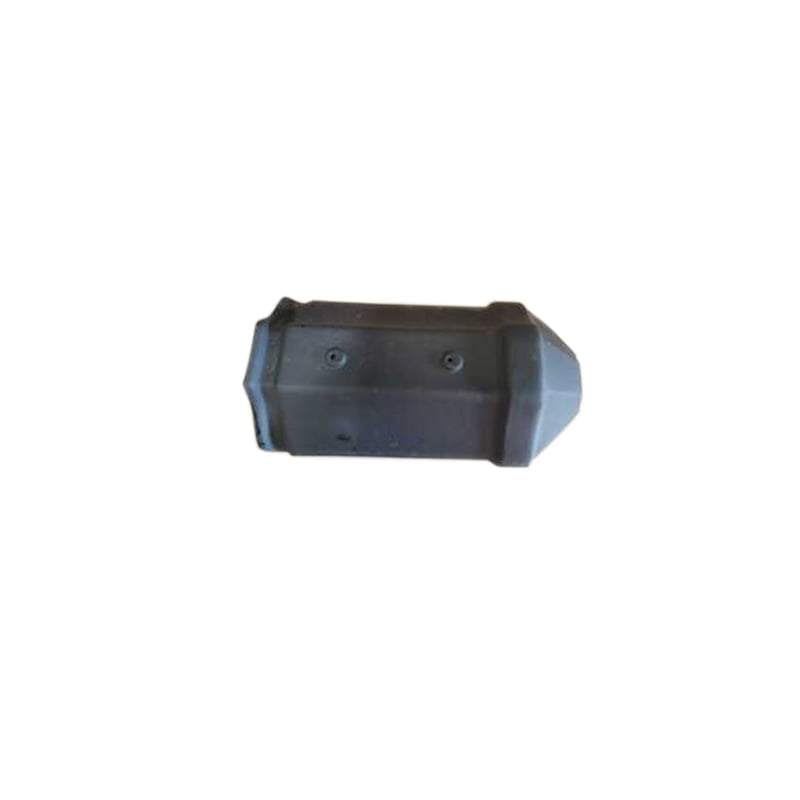
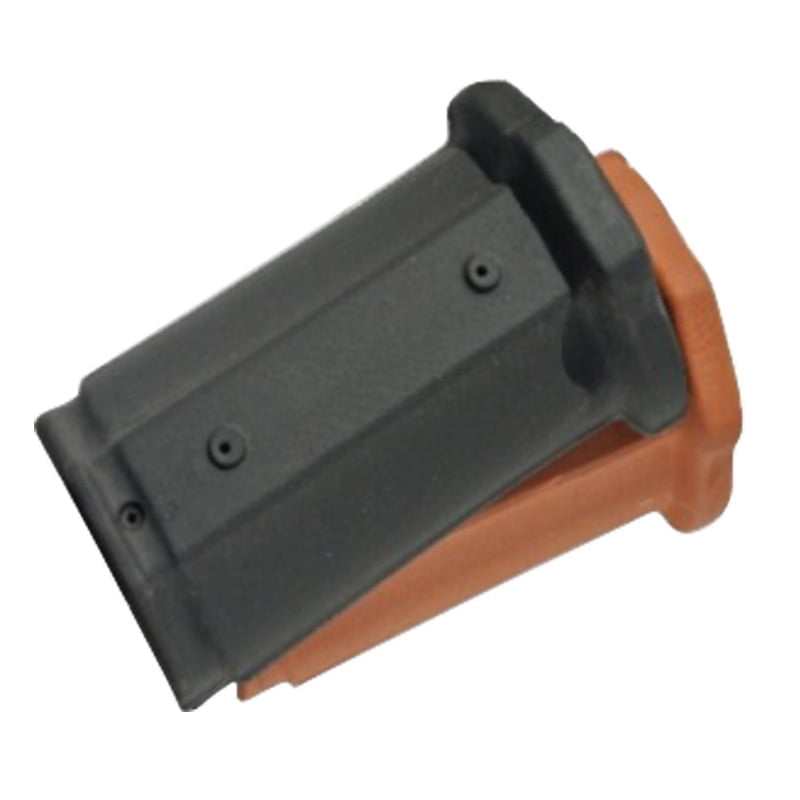
Ridge Tile Ogee Black Hip End Cap
Hip End Cap
Key features:
- Ogee Style and design
- Black End Cap
- Weather resisitant.
€20.38 (Inc. VAT) -
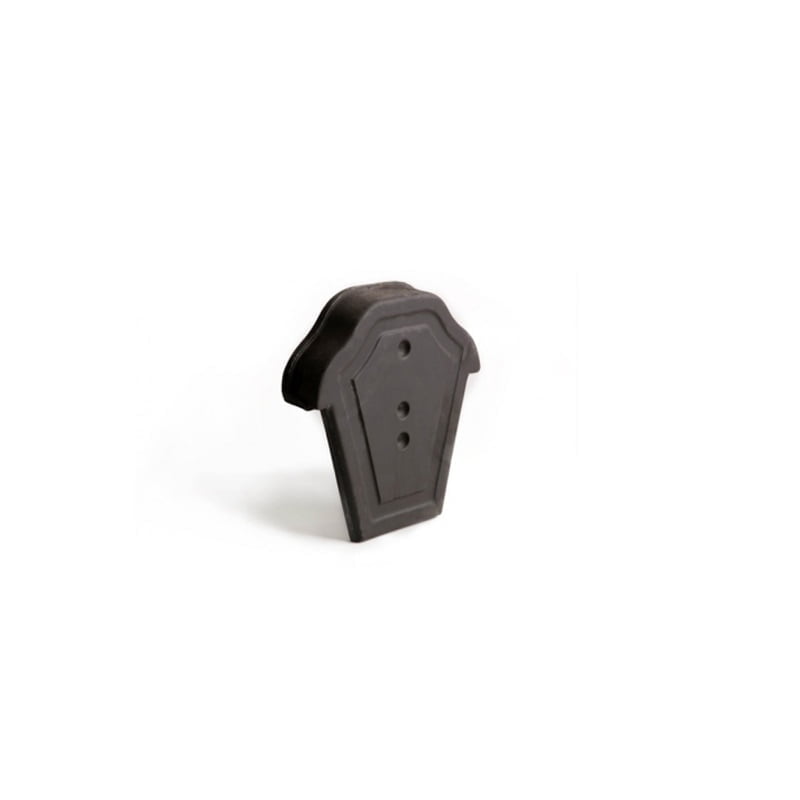
Ridge Tile Ogee Black Gable End Cap.
Ridge Cap
Key features:
- Ogee Style and design
- Gable End Cap
- Weather resisitant.
€38.95 (Inc. VAT) -
Shop options This product has multiple variants. The options may be chosen on the product page
Ogee Ridge Tiles
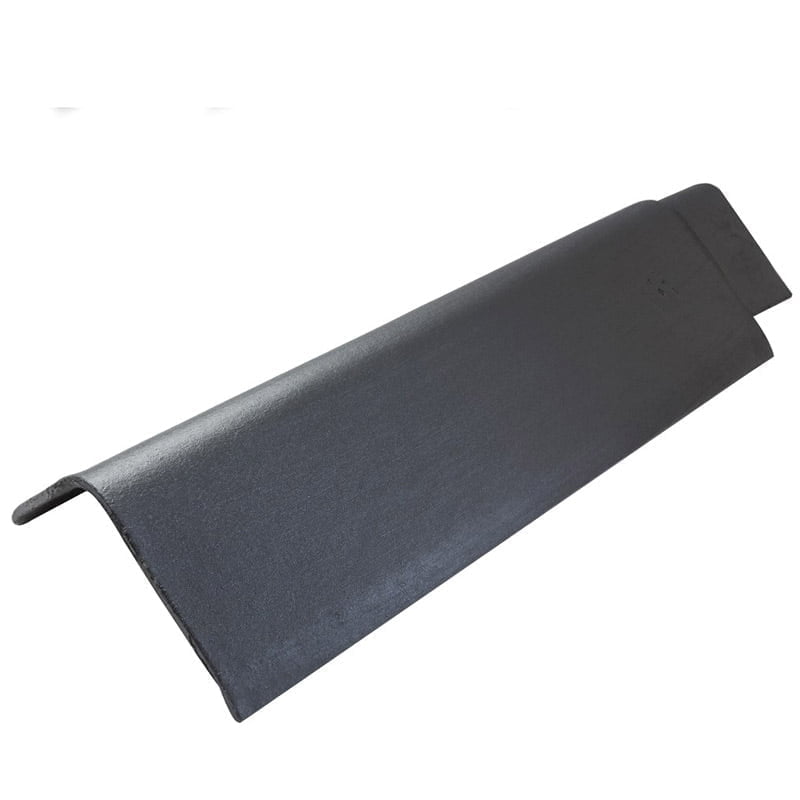
€11.54 – €14.83 (Inc. VAT)Ogee Ridge Tiles
Ridge Tile
Key features:
- Terrracotta or black available
- Ogee Style
- Weather resistant
- 400mm long
€11.54 – €14.83 (Inc. VAT) -
Shop options This product has multiple variants. The options may be chosen on the product page
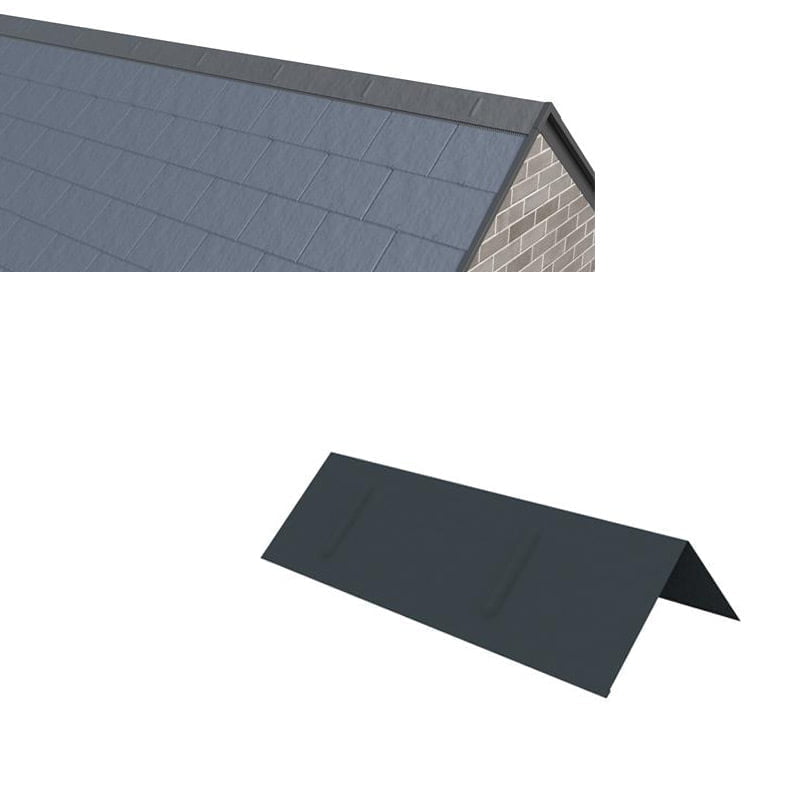
Berona Black Ridge Roof Tiles
€13.01 – €15.55 (Inc. VAT)Berona Black Ridge Roof Tiles
Ridge Tile
Key features:
- Complete the roofline of a building
- Durable and Safe
- Different Degree available
- Black
- Length 500mm per tile
€13.01 – €15.55 (Inc. VAT) -
Shop options This product has multiple variants. The options may be chosen on the product page
Berona Xtra Ridge Roof Tiles
€14.15 – €14.32 (Inc. VAT)Berona Xtra Ridge Roof Tiles
Ridge Tile
Key features:
- Complete the roofline of a building
- Durable and safe
- Different degrees available
- 500mm length
€14.15 – €14.32 (Inc. VAT) -
Shop options This product has multiple variants. The options may be chosen on the product page
Aluminium Ridge Cap
€44.00 (Inc. VAT)Aluminium Ridge Cap
Aluminium Ridge Capping
Key features:
- Aluminium
- Strong and durable
- Weather resistant
- Choice of Black or Blue/Black
- 3 metres long and 6″ / 152mm wide on each side of the apex
Enter Eircode at checkout for delivery pricing.
€44.00 (Inc. VAT) -
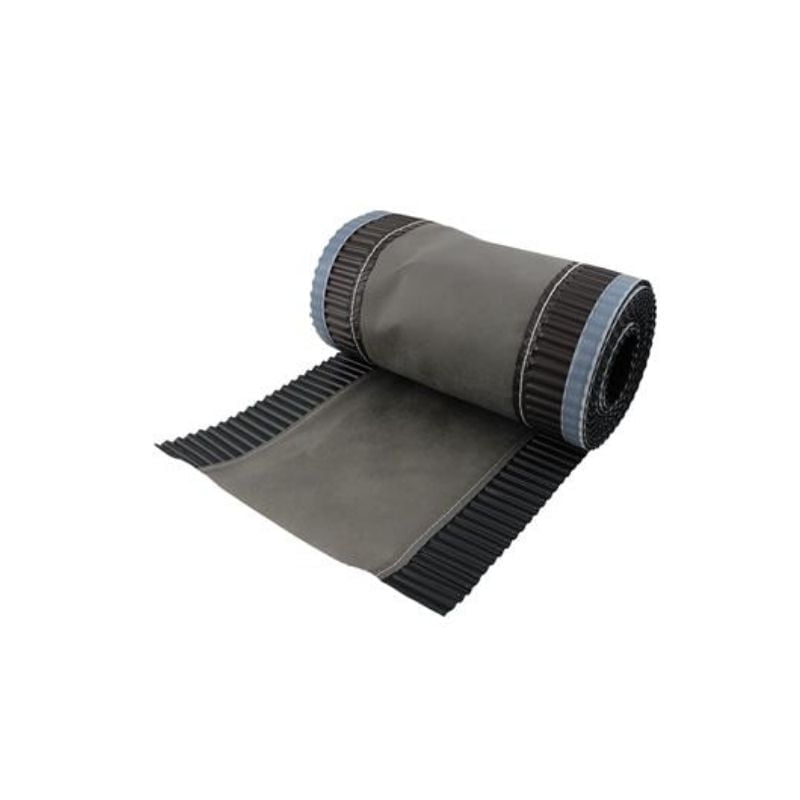
Ventilated Anthracite Ridge Roll Eco 6 metres
A Ridge Roll that is friendlier to the environment
Key features:
- Friendlier to the environment than traditional Ridge Rolls
- 6 metre roll
- Easy to use
- Suitable for most concrete & clay ridge/hip tiles
€42.95 (Inc. VAT)
My Build Club
Calling all Trades Professionals, Self Builders, Renovators and DIY lovers!
We have created an entirely unique section of our website that has been designed to make your life easier.
Enjoy discounts, get an even more enhanced level of customer service, find all your paperwork easily and get unique offers and deals regularly.
My Build Club is a brand new innovative service for all Self Builders, Renovators, Trade Professionals and DIY lovers in Ireland.
We have revolutionised how you can source the right products at the very best prices along with putting you in touch with real life experts to help you every step of the way.
Why join today?
- Save money and time when sourcing the supplies you need
- Get Trade discounts just like you would at our Trade Counter
- On demand support from our experts – video calls, live chat and phone support
- All of your paperwork and invoices in the one place
- Arrange fast delivery – including to work sites


